> ## Documentation Index
> Fetch the complete documentation index at: https://docs.requestly.com/llms.txt
> Use this file to discover all available pages before exploring further.
# Introduction
> Create a mock server in the Requestly API Client to serve sample HTTP responses from a hosted URL, with routes, multiple responses, and request-matching rules.
A mock server lets you stand up a fake API in seconds. Instead of waiting for a backend to be built or deployed, you define the routes and the responses yourself, and Requestly serves them from a hosted URL that you can call from your app, your tests, or any HTTP client.
Reach for a mock server when you are developing against an API that does not exist yet, when you need to reproduce an edge case on demand (a `500`, a slow response, a specific error body), or when you want to give your frontend a stable target while the real service is still in flux.
## Prerequisites
Mock Server runs in the cloud, so you need to be signed in and working inside a cloud project (a private or team project synced to your account). It is not available for local projects.
Sign in from the top-right menu, then make sure a cloud project is active in the project switcher before you continue.
## Find the Mock Server
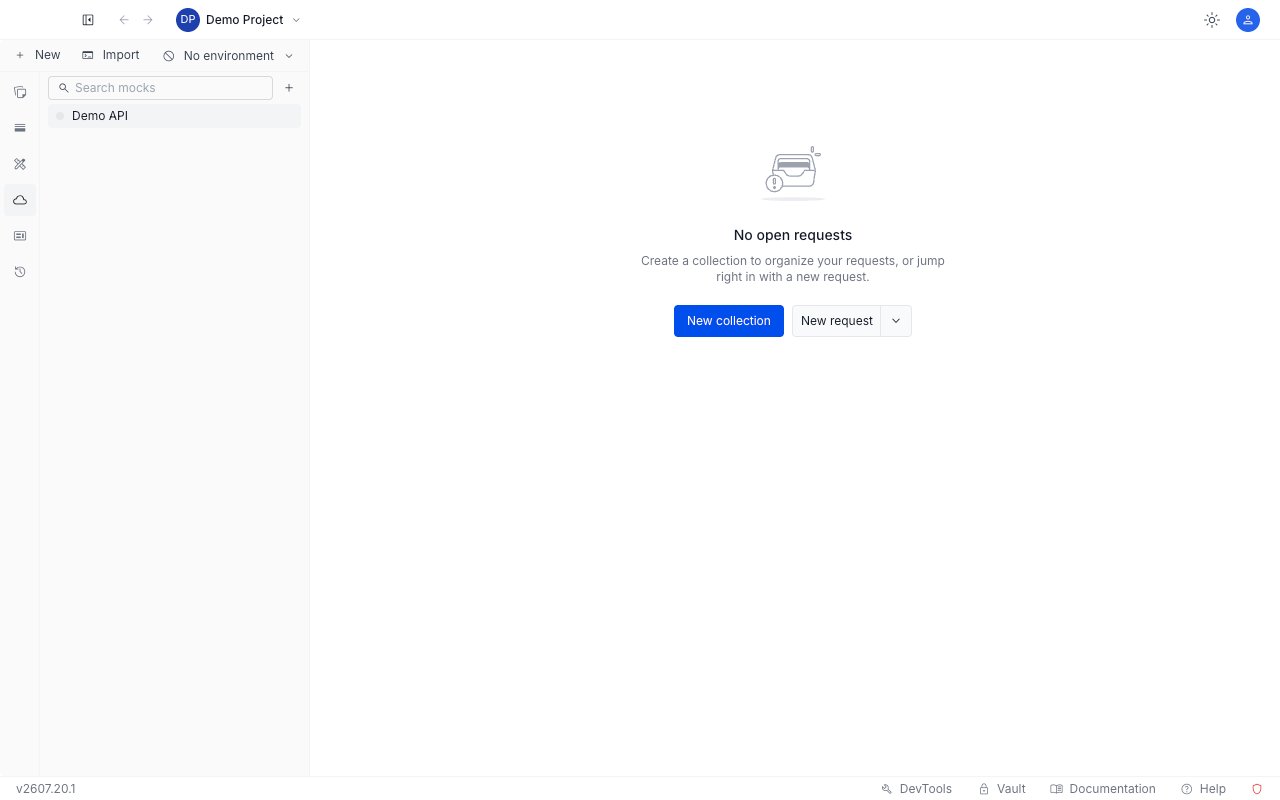
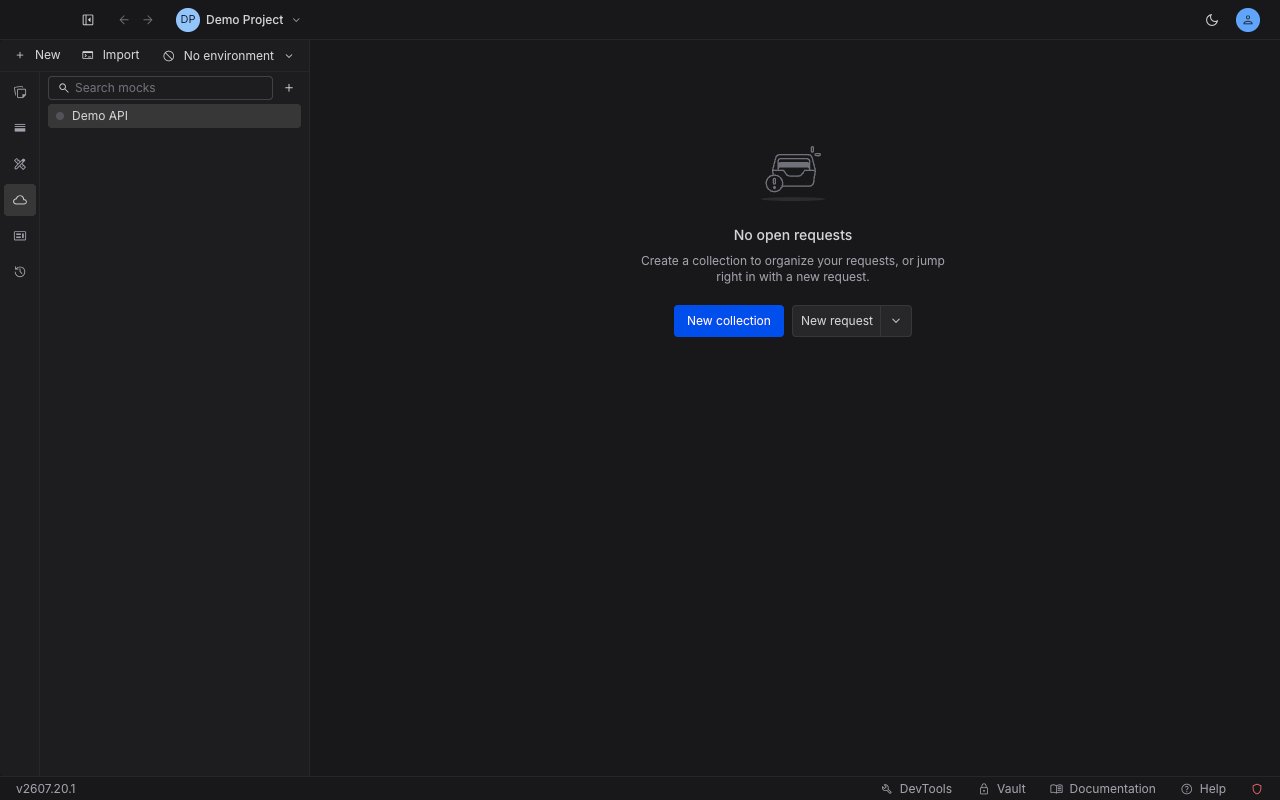
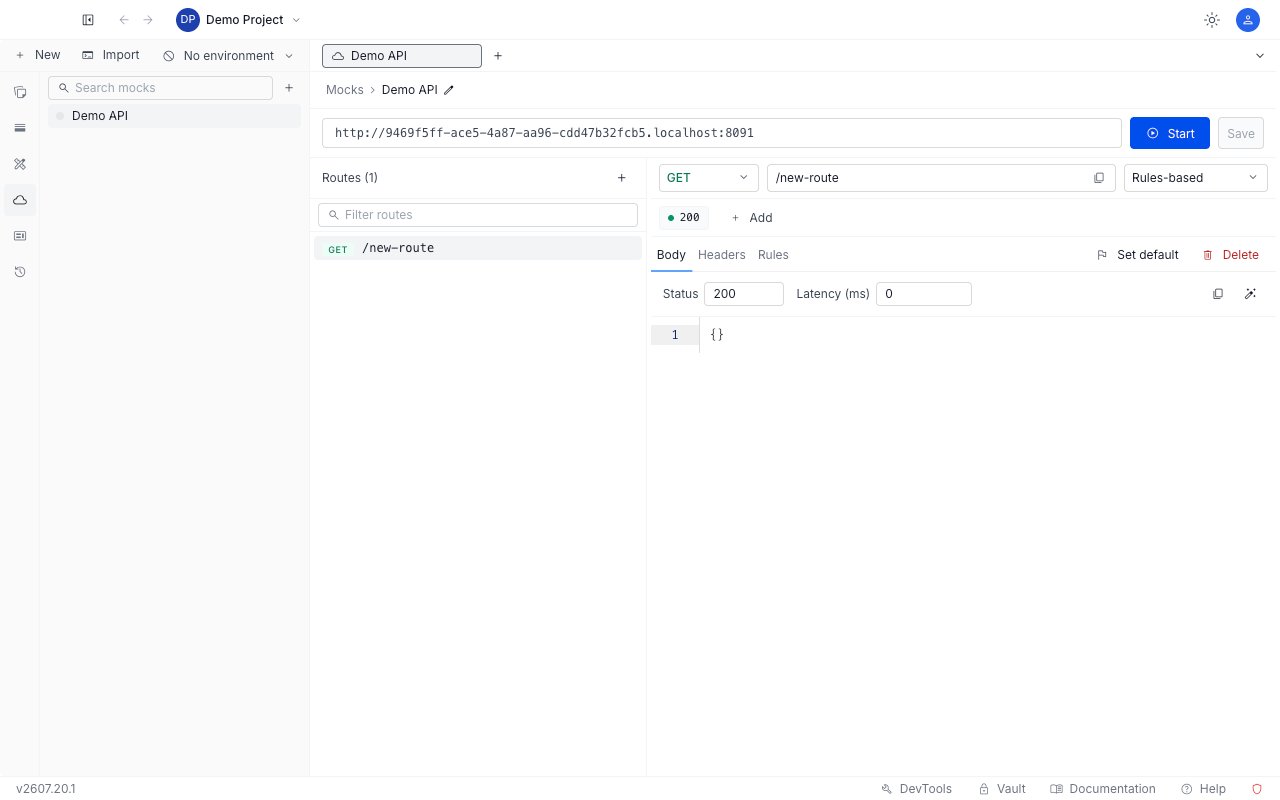
Open the **Mocks** section in the left sidebar of the API Client. This is where every mock server in the active project is listed. A colored dot next to each name shows whether it is currently serving: green and pulsing means active, grey means stopped.
 ## Quickstart: your first mock in 60 seconds
The fastest way to understand a mock server is to serve one response and call it. This walkthrough creates a `GET /hello` endpoint that returns a small JSON payload.
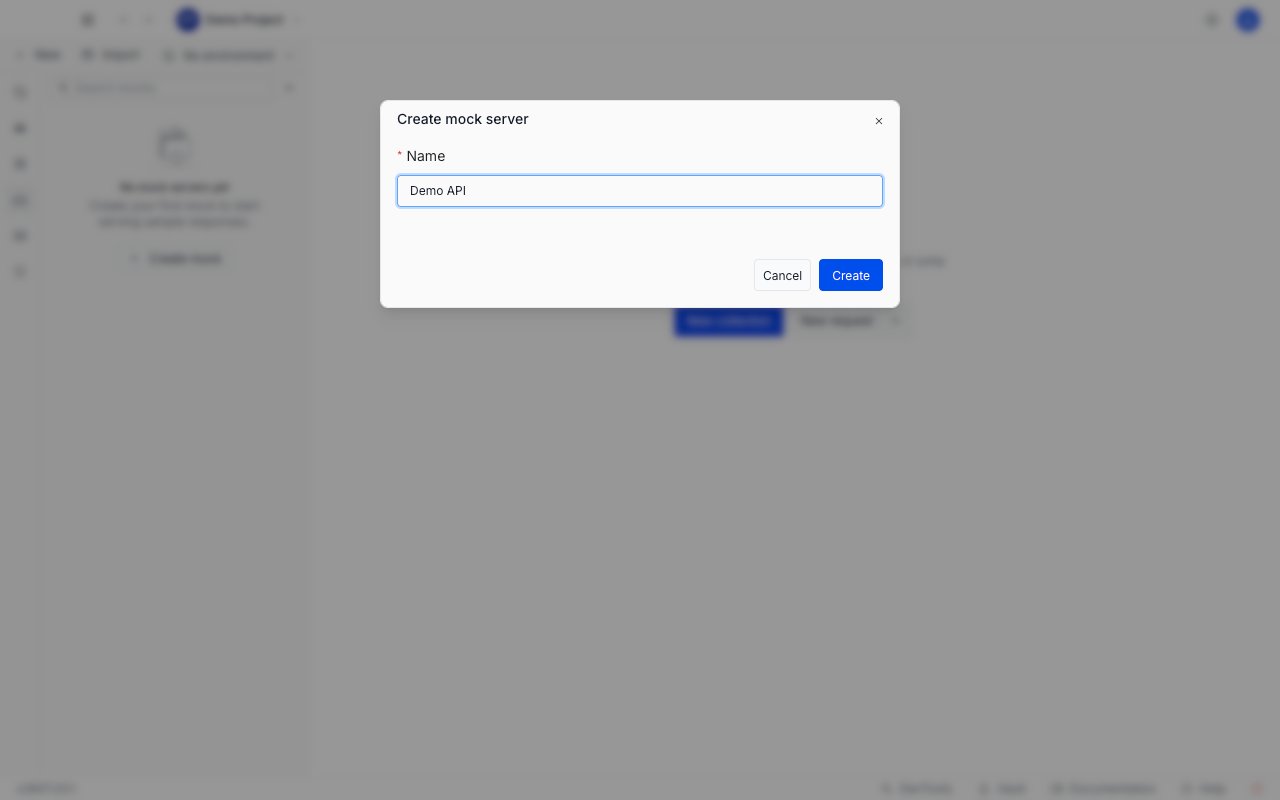
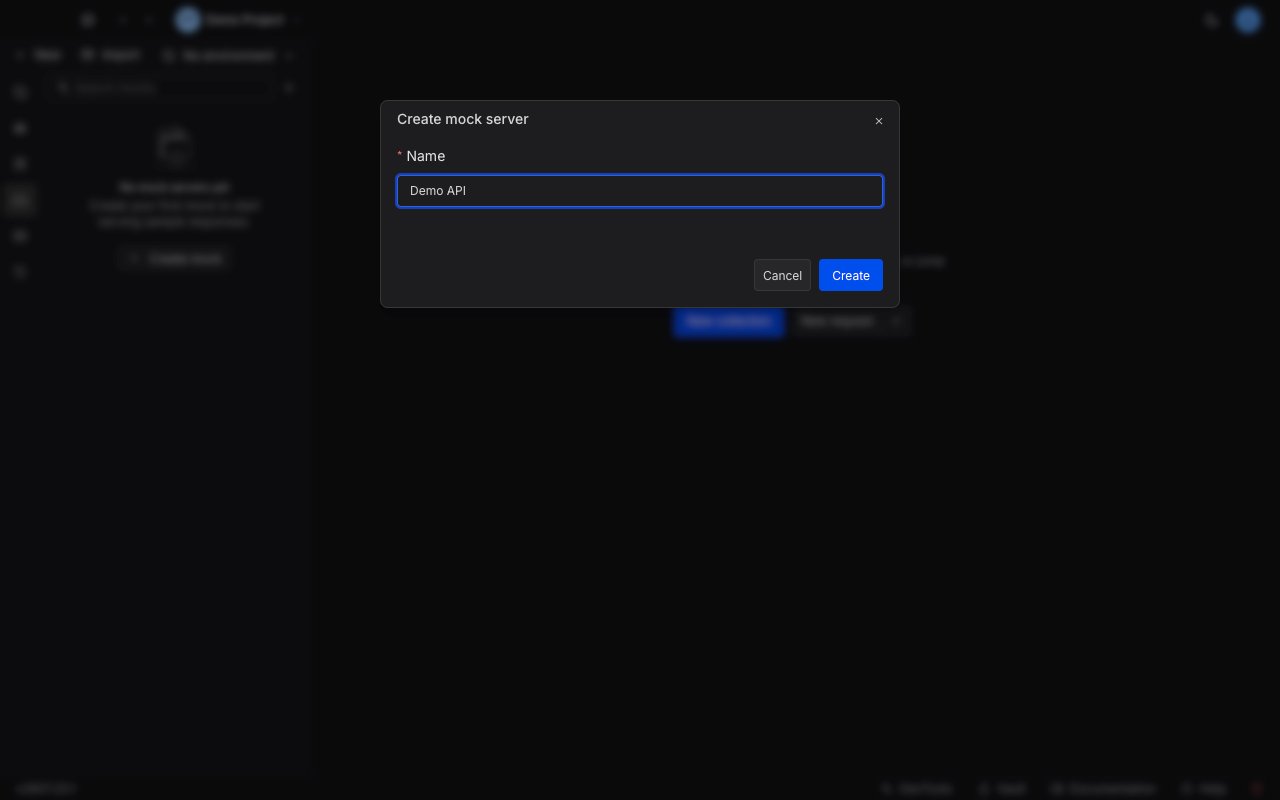
In the **Mocks** section, click the **+** button (or the **Create mock** button in the empty state), enter a name, and click **Create**. The mock opens in a new editor tab, already scaffolded with one route and one response so you have a working starting point.
## Quickstart: your first mock in 60 seconds
The fastest way to understand a mock server is to serve one response and call it. This walkthrough creates a `GET /hello` endpoint that returns a small JSON payload.
In the **Mocks** section, click the **+** button (or the **Create mock** button in the empty state), enter a name, and click **Create**. The mock opens in a new editor tab, already scaffolded with one route and one response so you have a working starting point.
 Select the scaffolded route and set its **Method** to `GET` and its **Path** to `/hello`. In the response pane, on the **Body** tab set the status to `200` and enter this body:
```json theme={null}
{"message":"Hello, World!"}
```
On the **Headers** tab, add `Content-Type` with the value `application/json` so the caller receives it as JSON. Inline bodies do not get a content type automatically.
Click **Save** in the URL strip to persist your edits, then click **Start** to make the mock live. The status dot in the sidebar turns green.
Copy the endpoint URL for the route, then call it from any HTTP client:
```bash theme={null}
curl https://.mocks.requestly.cloud/hello
```
You get back exactly the status and body you configured:
```json theme={null}
{"message":"Hello, World!"}
```
## The mock URL
Every mock server has its own hosted URL of the form `https://.mocks.requestly.cloud`, shown in the strip at the top of the editor. Each route lives under that base URL at the path you give it, so a route with path `/users` is served at `https://.mocks.requestly.cloud/users`.
To copy a full endpoint URL, hover a route in the routes list and click the copy icon, or use the copy button next to the path field in the response pane. Paste it into your app or another request to call the mock. When you run against a local development build, the base URL uses a `.localhost` host and an explicit port instead (for example `http://.localhost:8091`); the cloud URL above is what you use in production.
A mock only serves traffic while it is running. Click **Start** in the URL strip to begin serving and **Stop** to take it offline. A request to a mock that is stopped returns `503`. The status dot in the sidebar reflects the current state.
## The editor at a glance
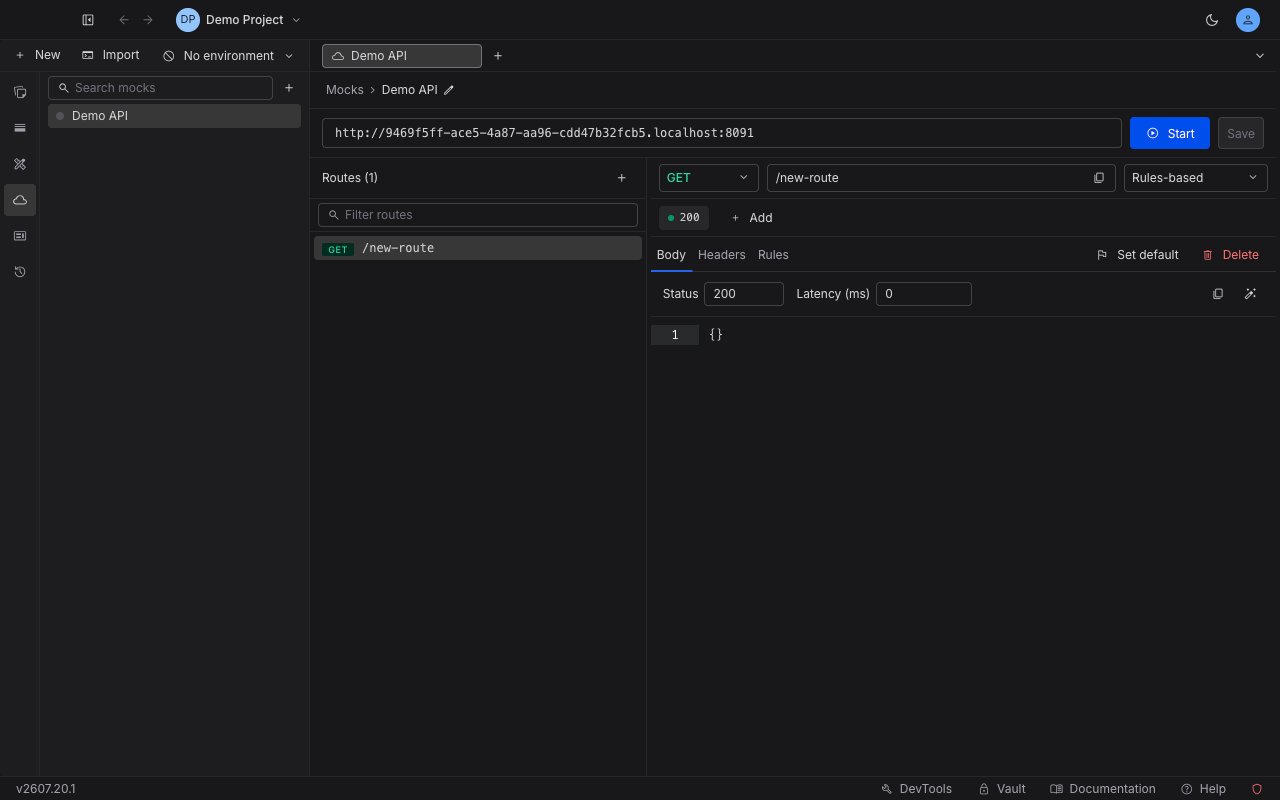
The mock editor is a two-pane tab. The left pane lists the routes, and the right pane configures the responses for whichever route is selected. Each response has its own **Body**, **Headers**, and **Rules** sub-tabs.
Select the scaffolded route and set its **Method** to `GET` and its **Path** to `/hello`. In the response pane, on the **Body** tab set the status to `200` and enter this body:
```json theme={null}
{"message":"Hello, World!"}
```
On the **Headers** tab, add `Content-Type` with the value `application/json` so the caller receives it as JSON. Inline bodies do not get a content type automatically.
Click **Save** in the URL strip to persist your edits, then click **Start** to make the mock live. The status dot in the sidebar turns green.
Copy the endpoint URL for the route, then call it from any HTTP client:
```bash theme={null}
curl https://.mocks.requestly.cloud/hello
```
You get back exactly the status and body you configured:
```json theme={null}
{"message":"Hello, World!"}
```
## The mock URL
Every mock server has its own hosted URL of the form `https://.mocks.requestly.cloud`, shown in the strip at the top of the editor. Each route lives under that base URL at the path you give it, so a route with path `/users` is served at `https://.mocks.requestly.cloud/users`.
To copy a full endpoint URL, hover a route in the routes list and click the copy icon, or use the copy button next to the path field in the response pane. Paste it into your app or another request to call the mock. When you run against a local development build, the base URL uses a `.localhost` host and an explicit port instead (for example `http://.localhost:8091`); the cloud URL above is what you use in production.
A mock only serves traffic while it is running. Click **Start** in the URL strip to begin serving and **Stop** to take it offline. A request to a mock that is stopped returns `503`. The status dot in the sidebar reflects the current state.
## The editor at a glance
The mock editor is a two-pane tab. The left pane lists the routes, and the right pane configures the responses for whichever route is selected. Each response has its own **Body**, **Headers**, and **Rules** sub-tabs.
 Edits to routes, responses, and rules are staged until you click **Save** in the URL strip. Navigating away from a mock with unsaved changes prompts you to save or discard.
Once you have the basics working, dig into each part of the editor:
Match requests by method and path, capture path parameters, use wildcards, and control which route wins when two overlap.
Configure the body, status, latency, and headers, insert dynamic values, and choose how the mock picks a response.
Serve a different response depending on the incoming request's query, header, body, cookie, or URL parameter.
Edits to routes, responses, and rules are staged until you click **Save** in the URL strip. Navigating away from a mock with unsaved changes prompts you to save or discard.
Once you have the basics working, dig into each part of the editor:
Match requests by method and path, capture path parameters, use wildcards, and control which route wins when two overlap.
Configure the body, status, latency, and headers, insert dynamic values, and choose how the mock picks a response.
Serve a different response depending on the incoming request's query, header, body, cookie, or URL parameter.