> ## Documentation Index
> Fetch the complete documentation index at: https://docs.requestly.com/llms.txt
> Use this file to discover all available pages before exploring further.
# Getting Started
> Install the Requestly API Client, send your first request, save it to a collection, and set up environment variables.
Requestly API Client is a lightweight, privacy-first tool for sending API requests, organizing them into collections, and automating tests with scripts. All your data stays local on your machine.
***
## Step 1: Install
The API Client runs as a **desktop app** on macOS, Windows, and Linux.
Download the latest version for [Apple Silicon](https://get.requestly.com/mac-api-client) or [Intel](https://get.requestly.com/mac-intel-api-client).
Download the [Windows installer](https://get.requestly.com/win-api-client).
Download the [Linux AppImage](https://get.requestly.com/linux-api-client).
**What about the browser extension?** The Requestly browser extension is a separate product, an HTTP interceptor for modifying network traffic. The API Client is a standalone desktop app. You do not need the extension to use the API Client.
***
## Step 2: Create an Account (Optional)
You can start using the API Client immediately, **no account required**. All requests, collections, and environments are stored locally.
If you want to sync data across devices or collaborate with a team, sign in with your Google or email account from the top-right menu.
***
## Step 3: Send Your First Request
Click **+ New** → **Request** in the left sidebar.
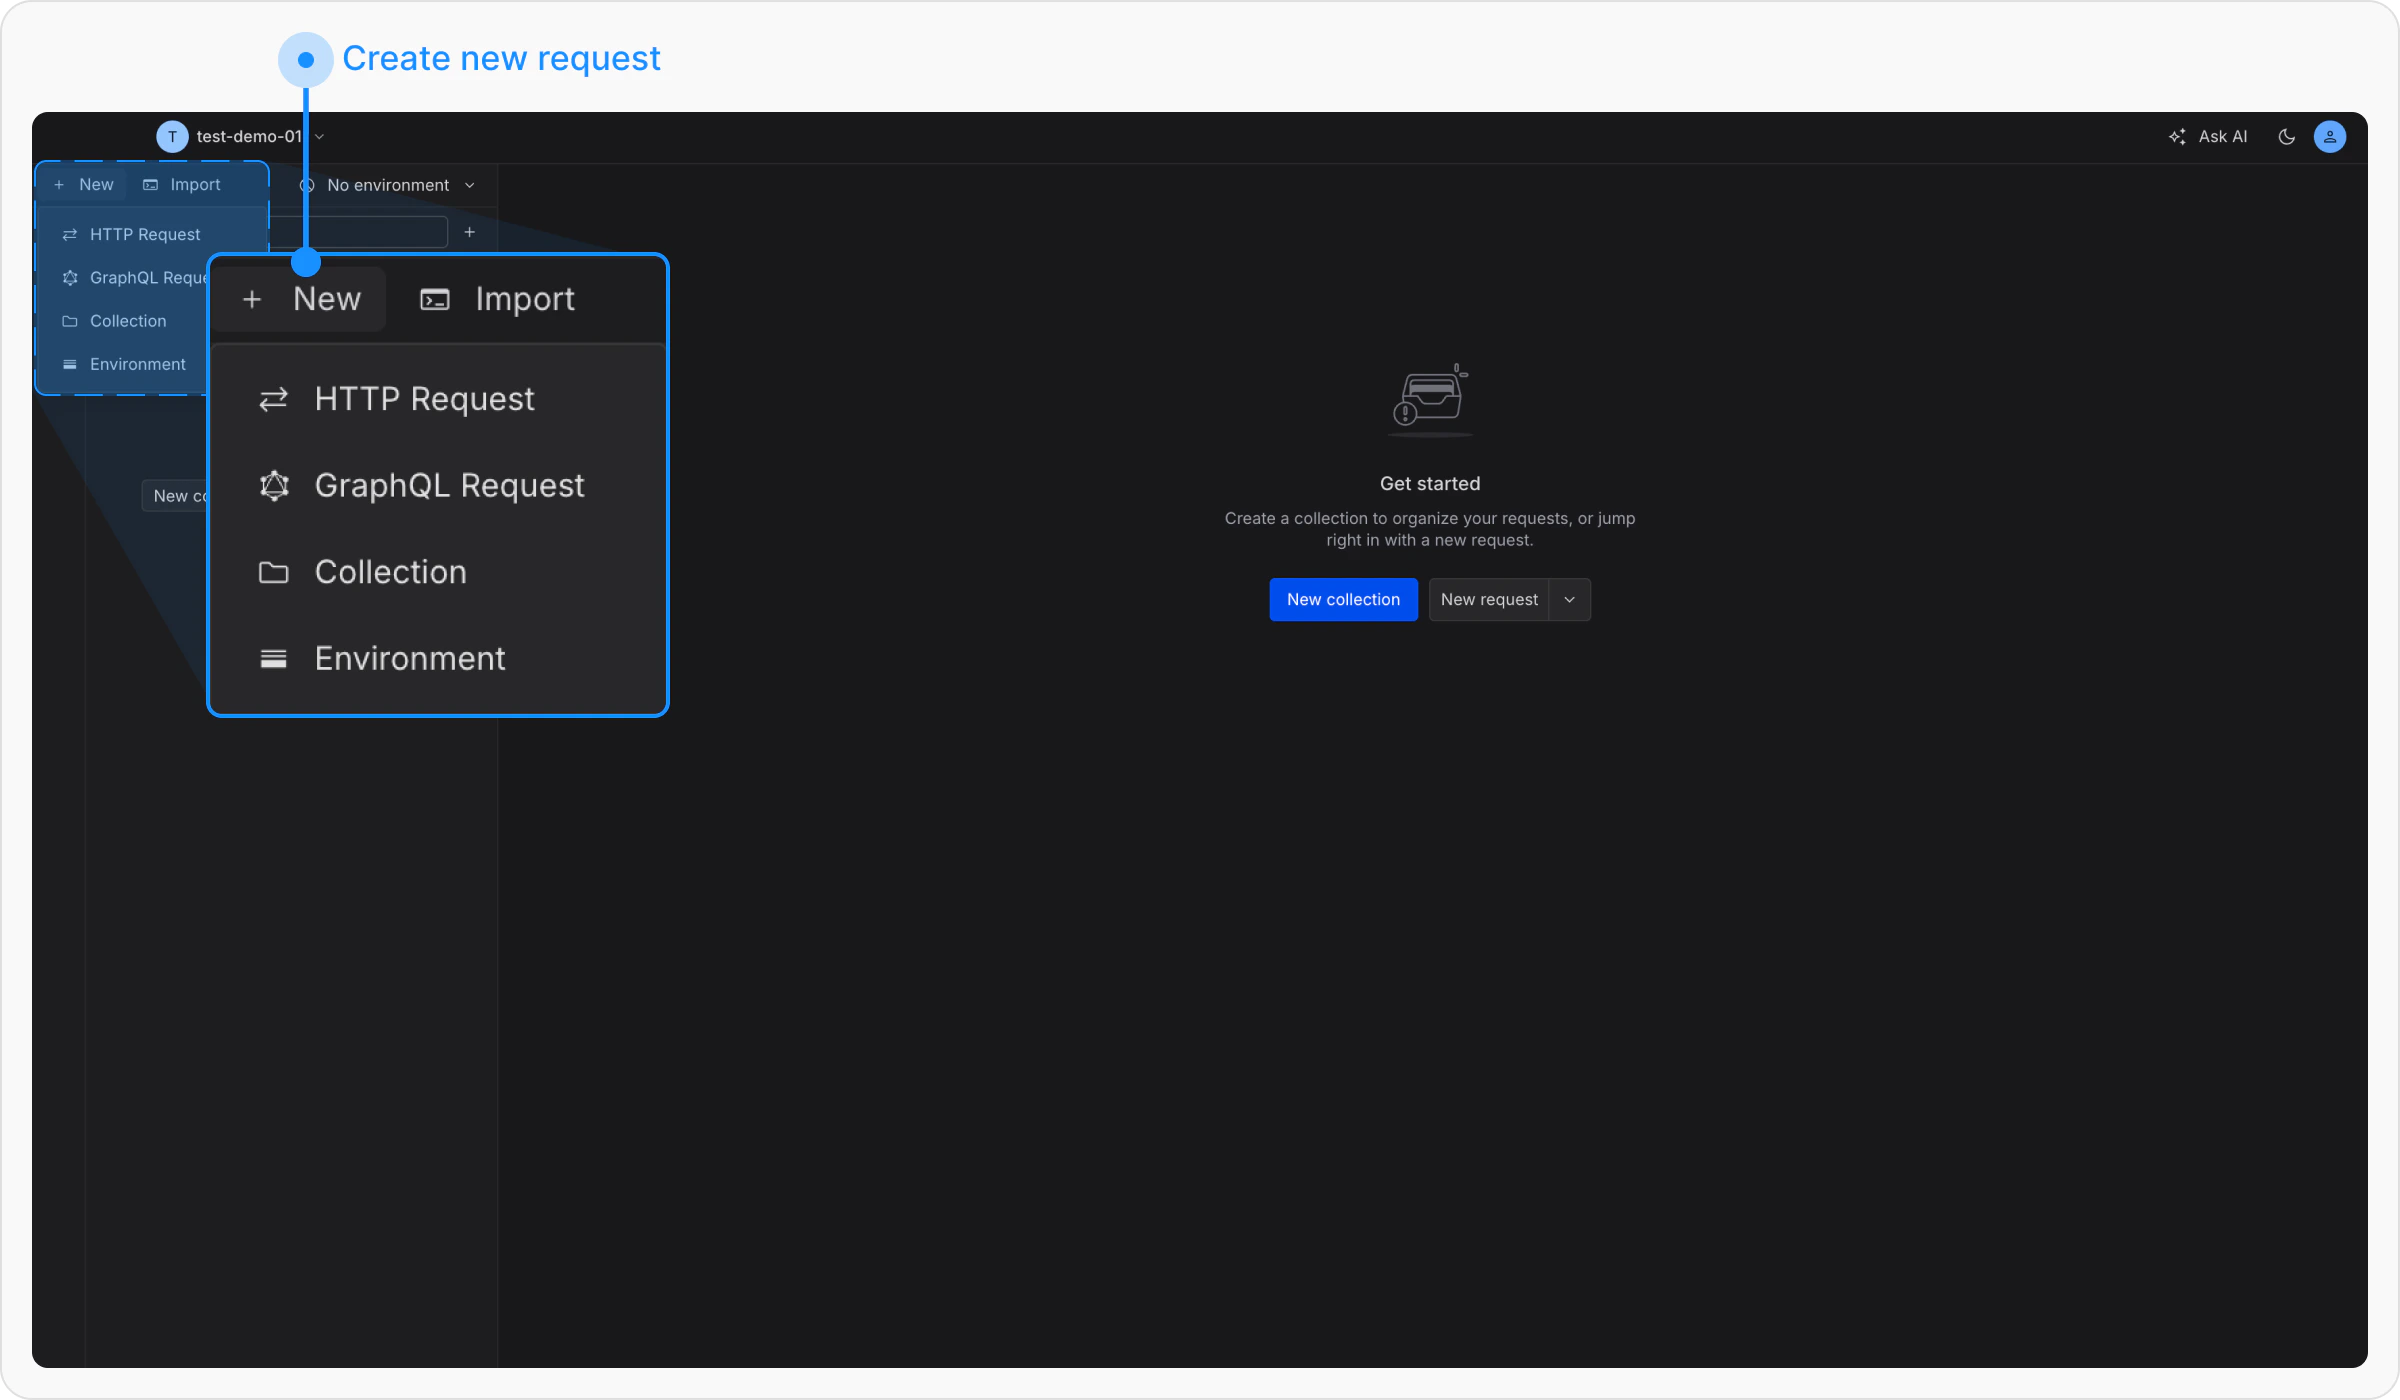
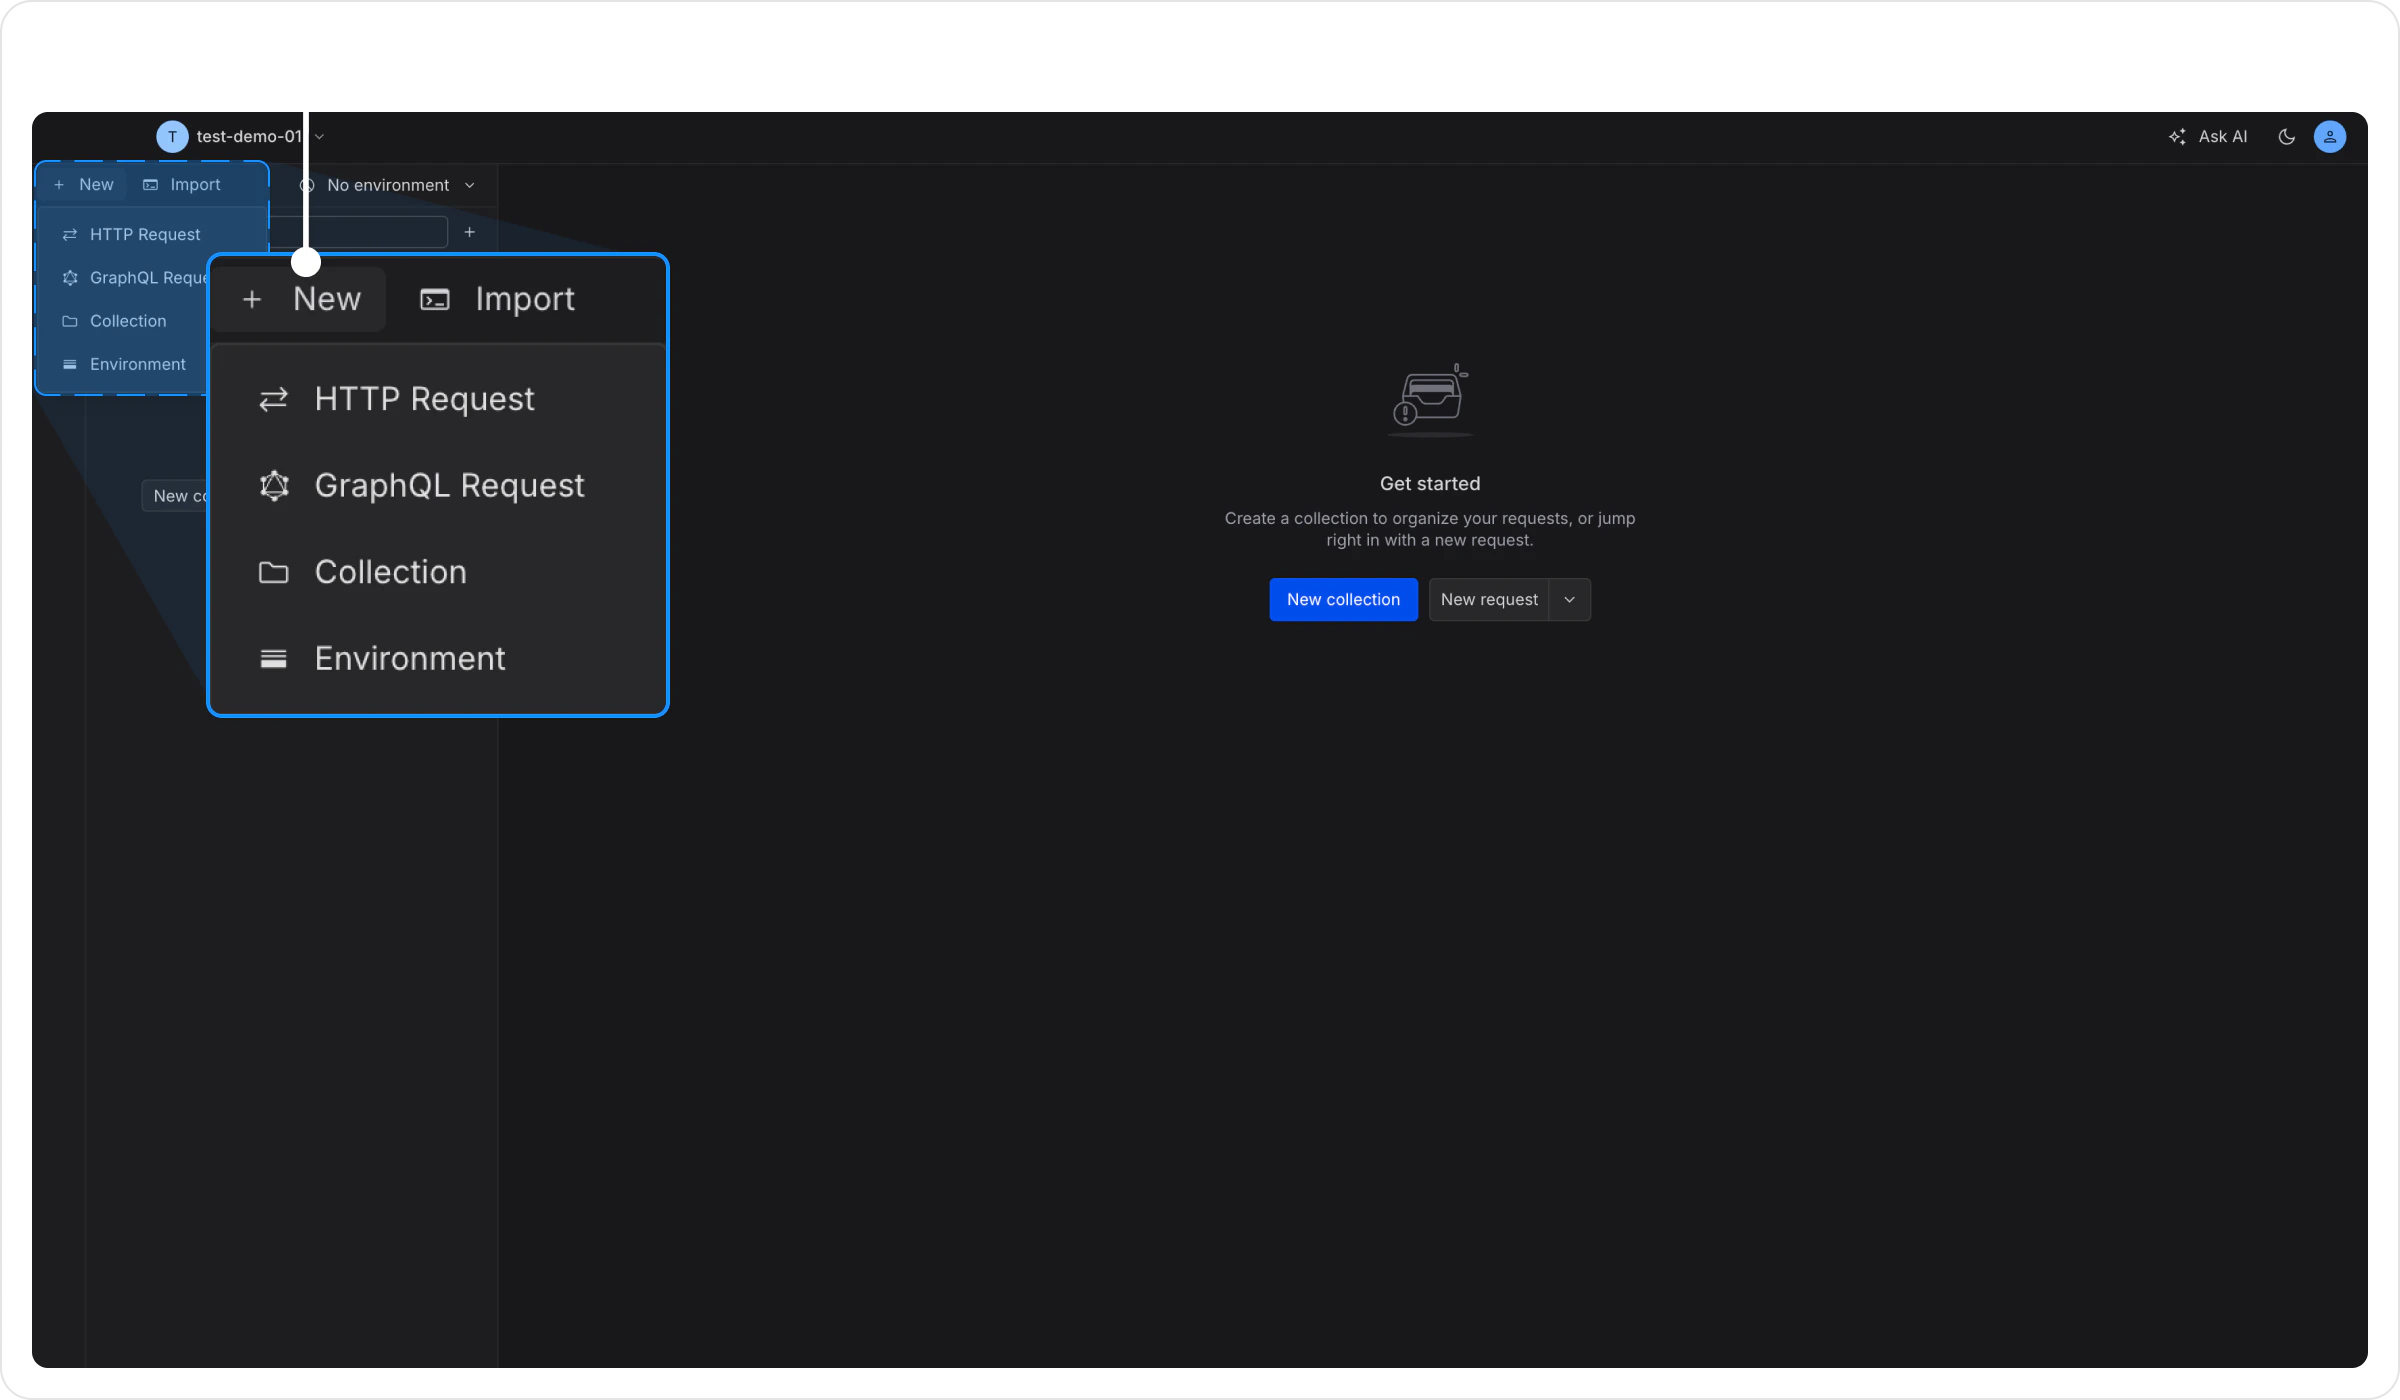 Set the method to **GET** and enter:
```text theme={null}
https://app.requestly.io/echo
```
Set the method to **GET** and enter:
```text theme={null}
https://app.requestly.io/echo
```
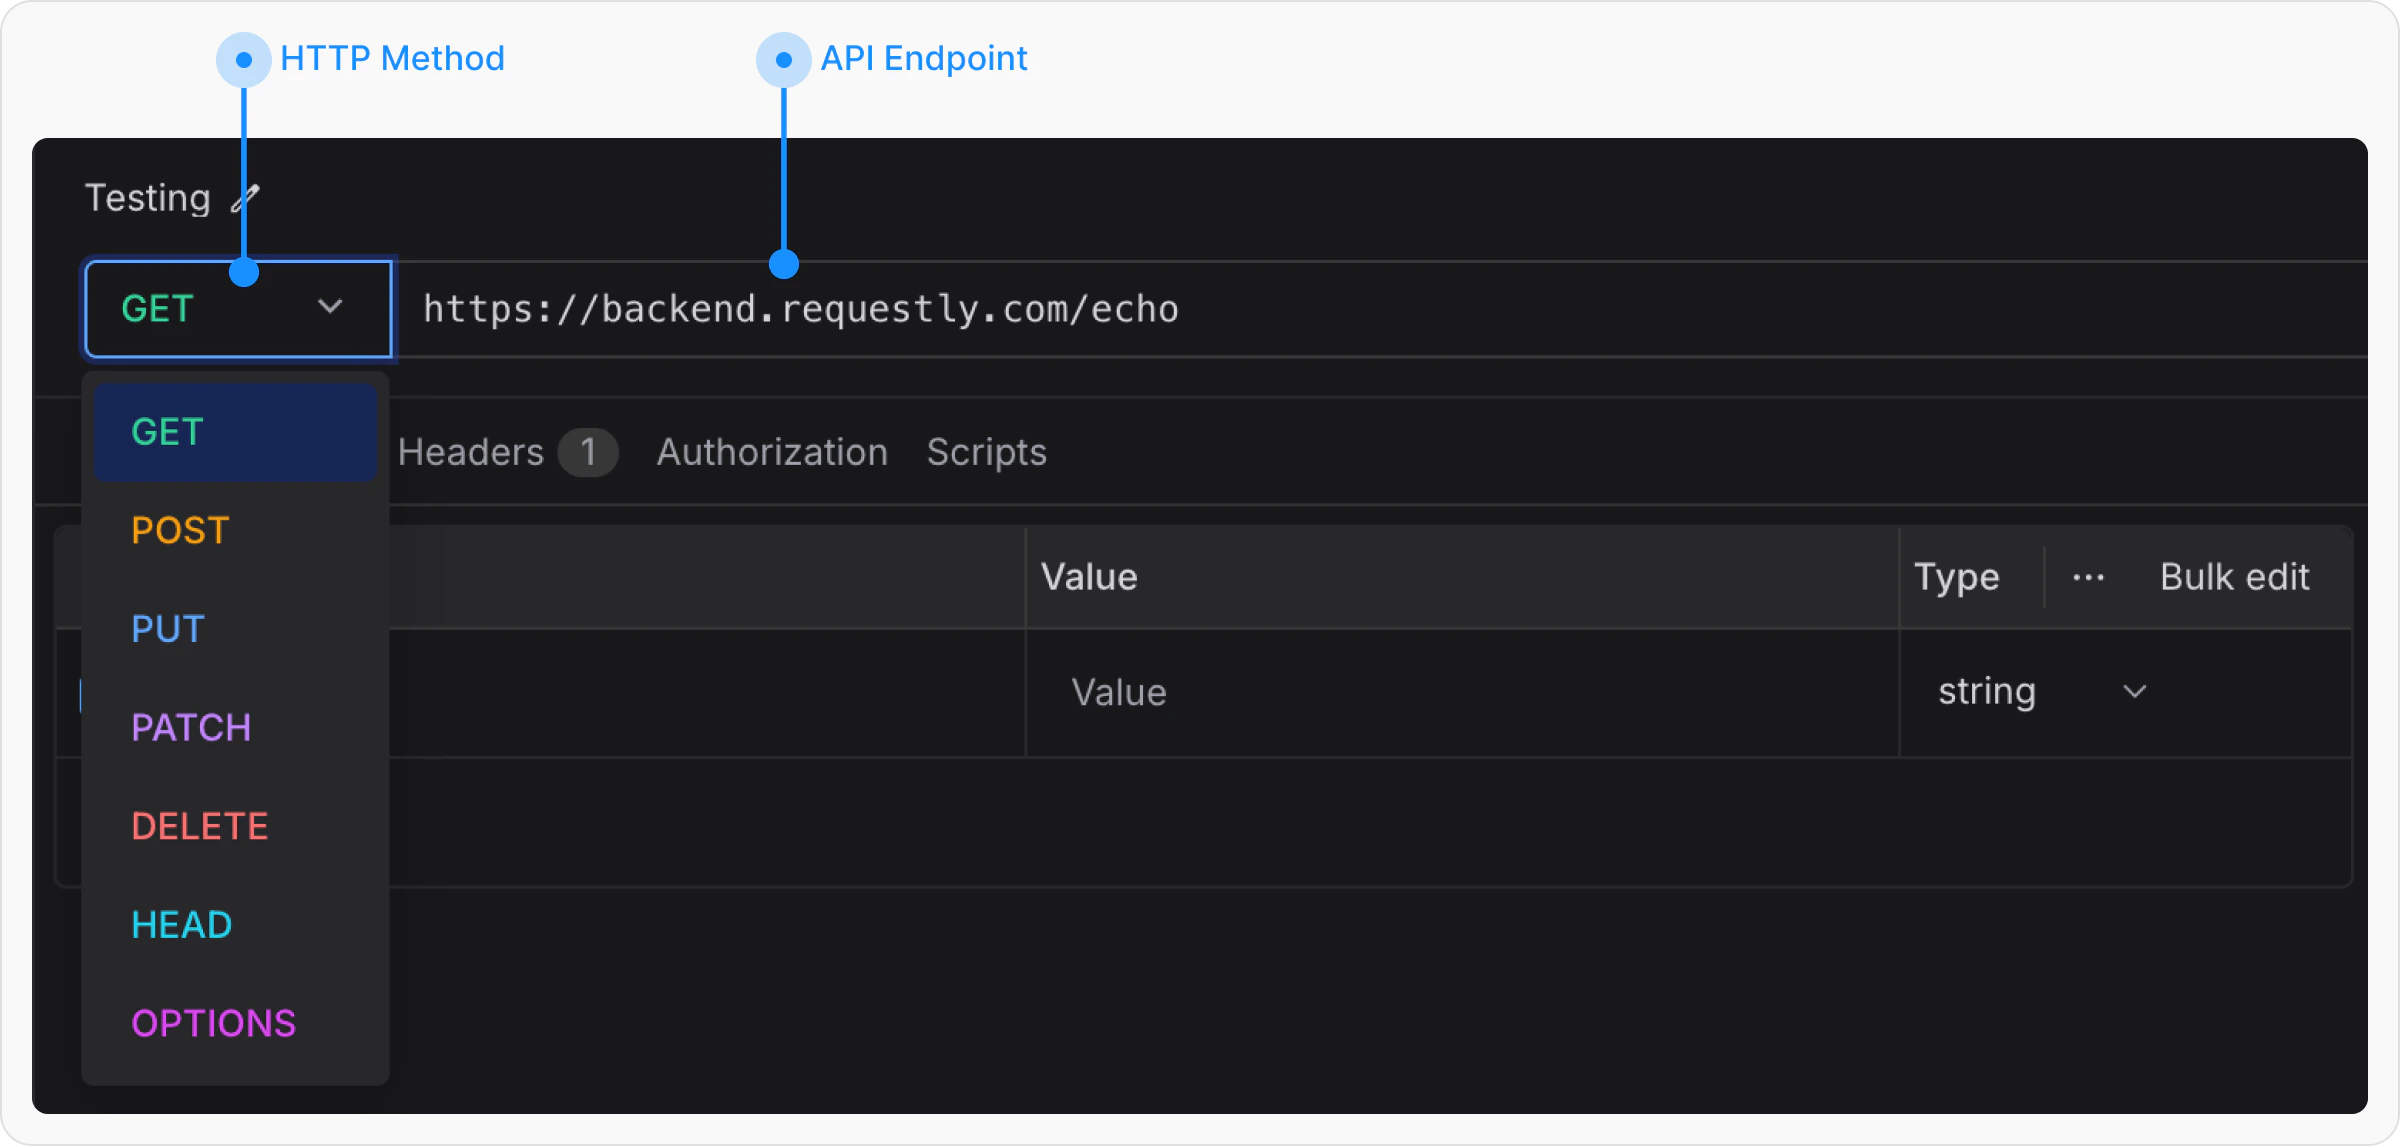
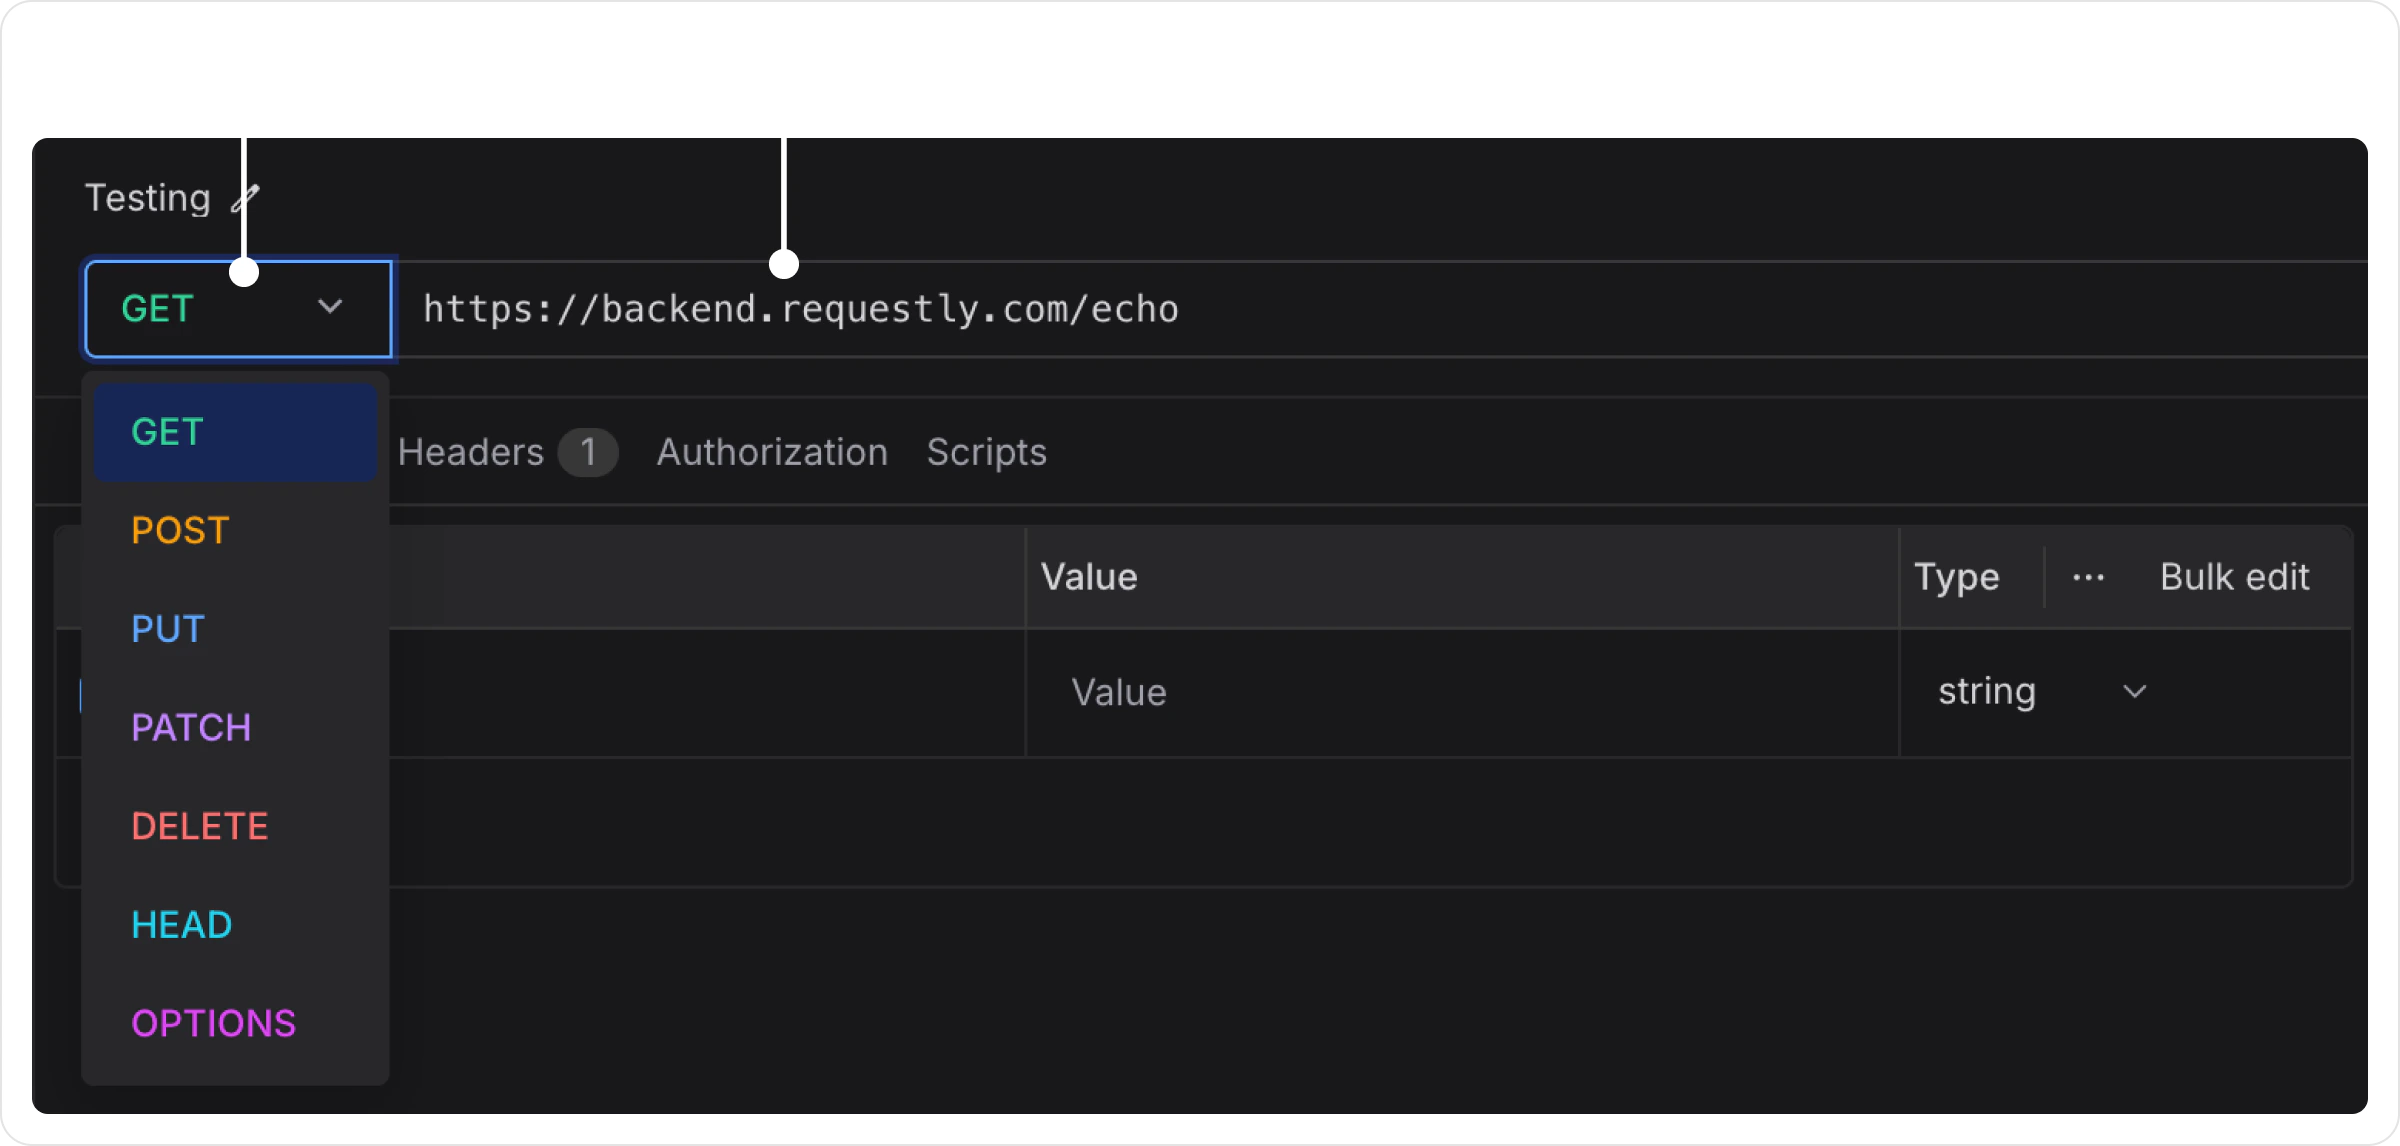 Click **Send**. You’ll see the echo server’s JSON response in the panel below.
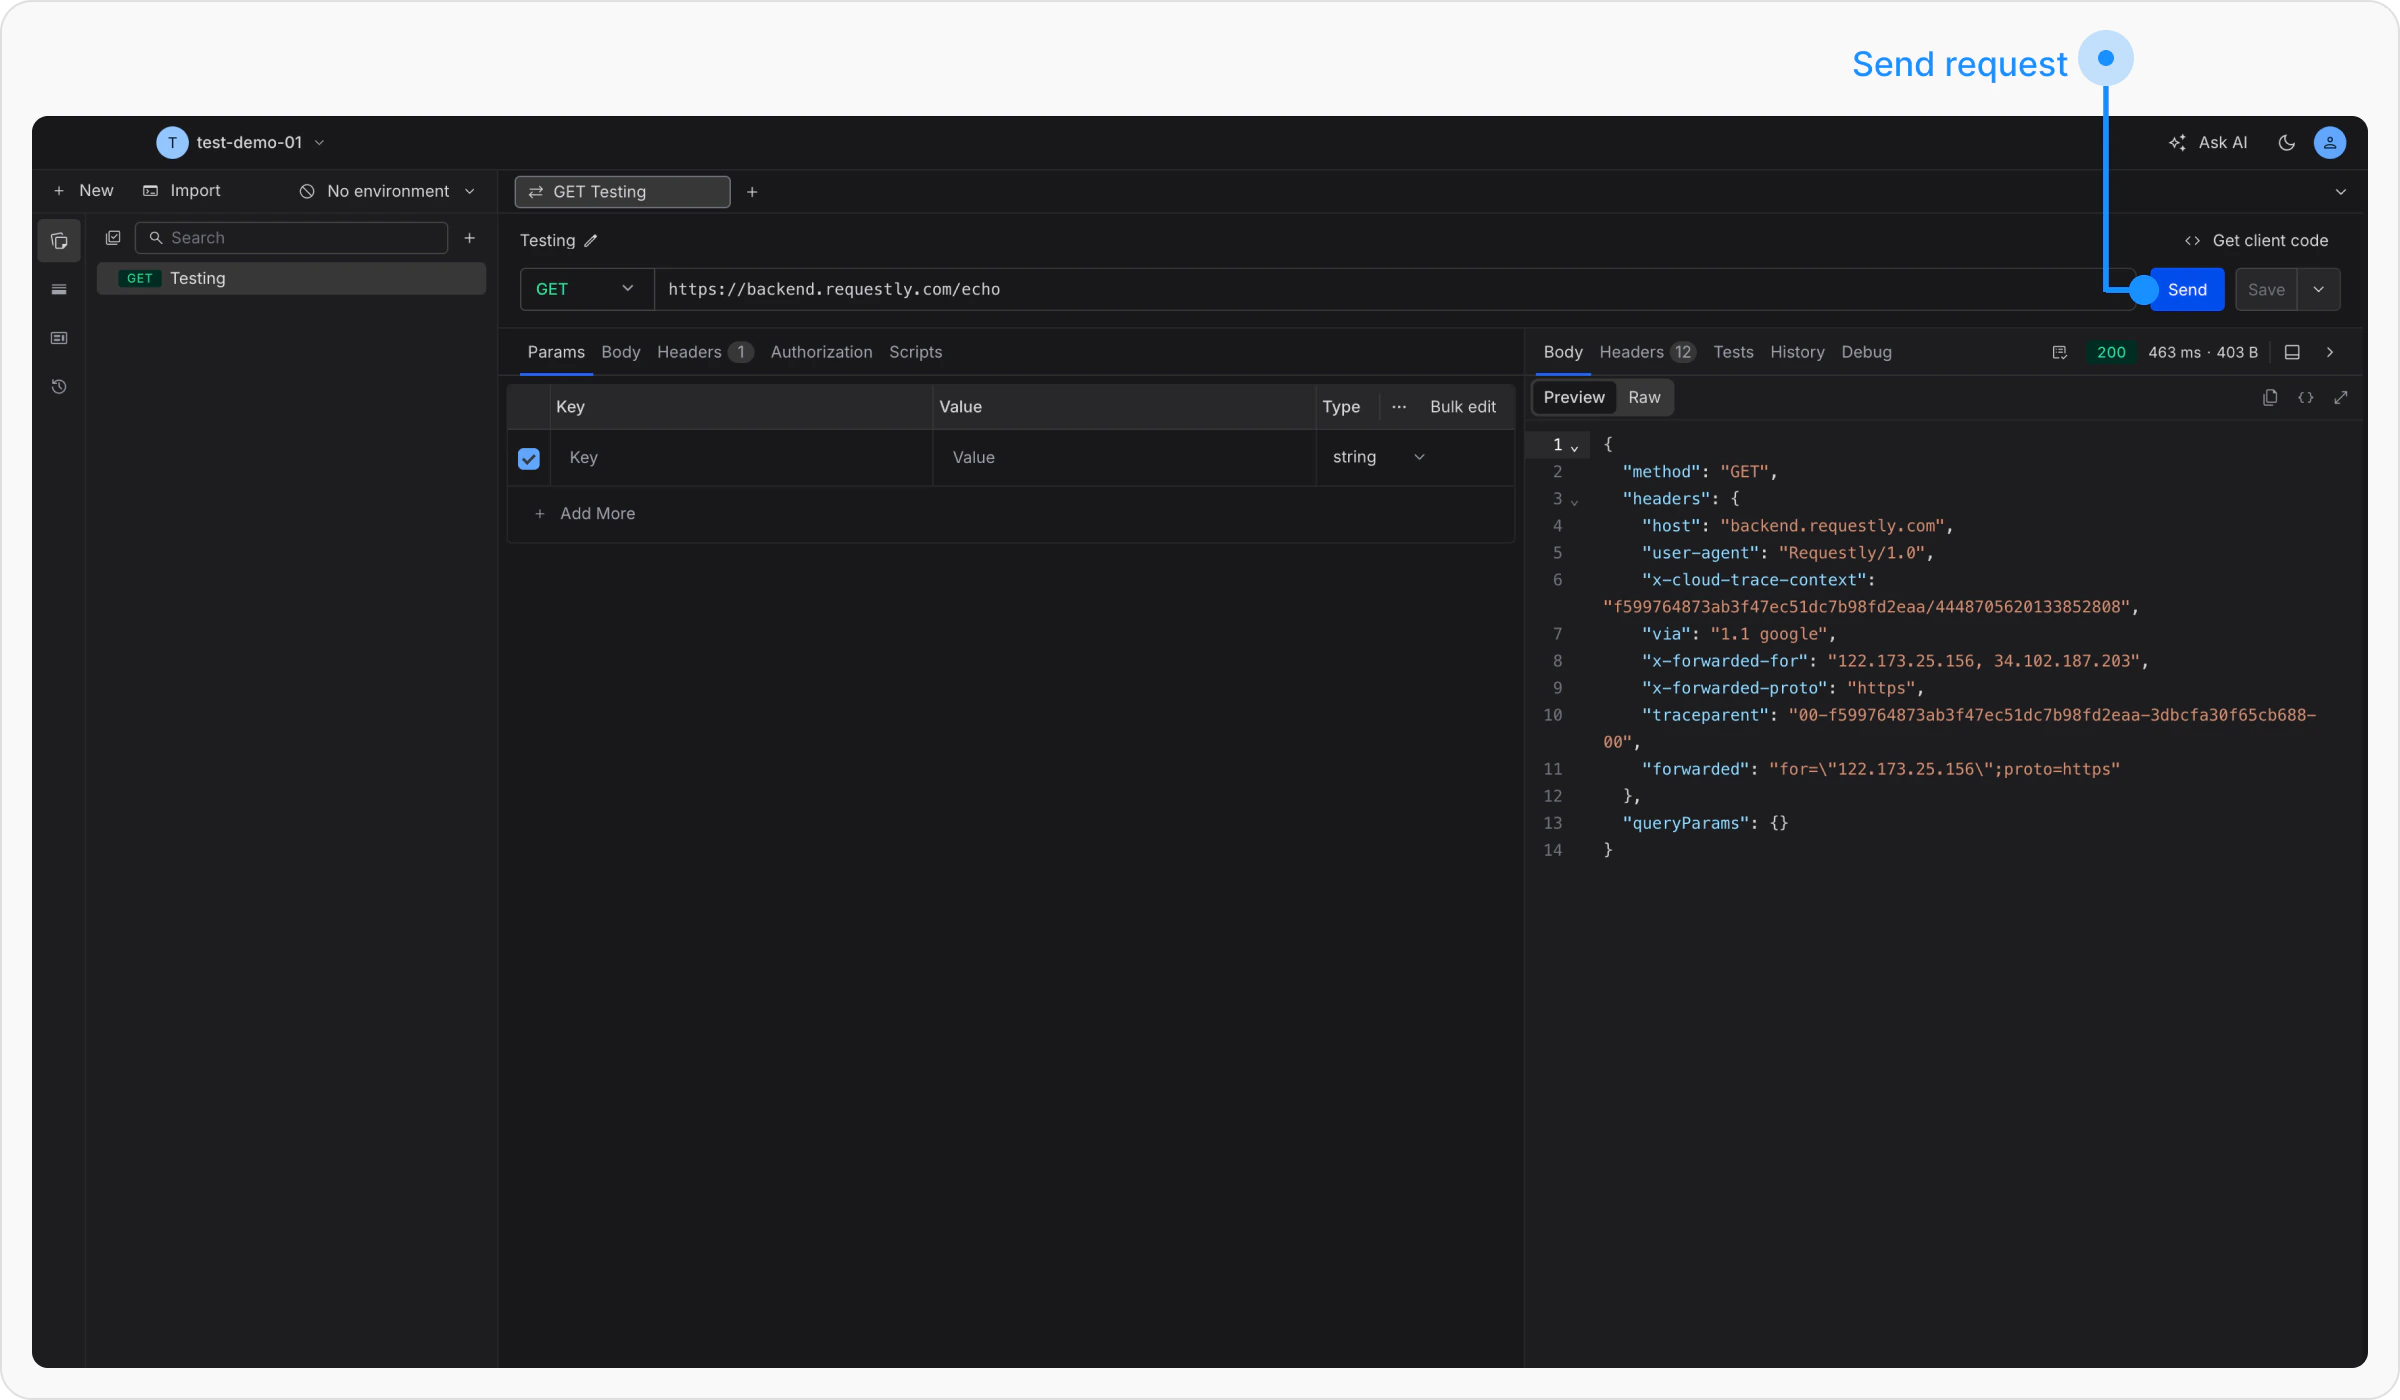
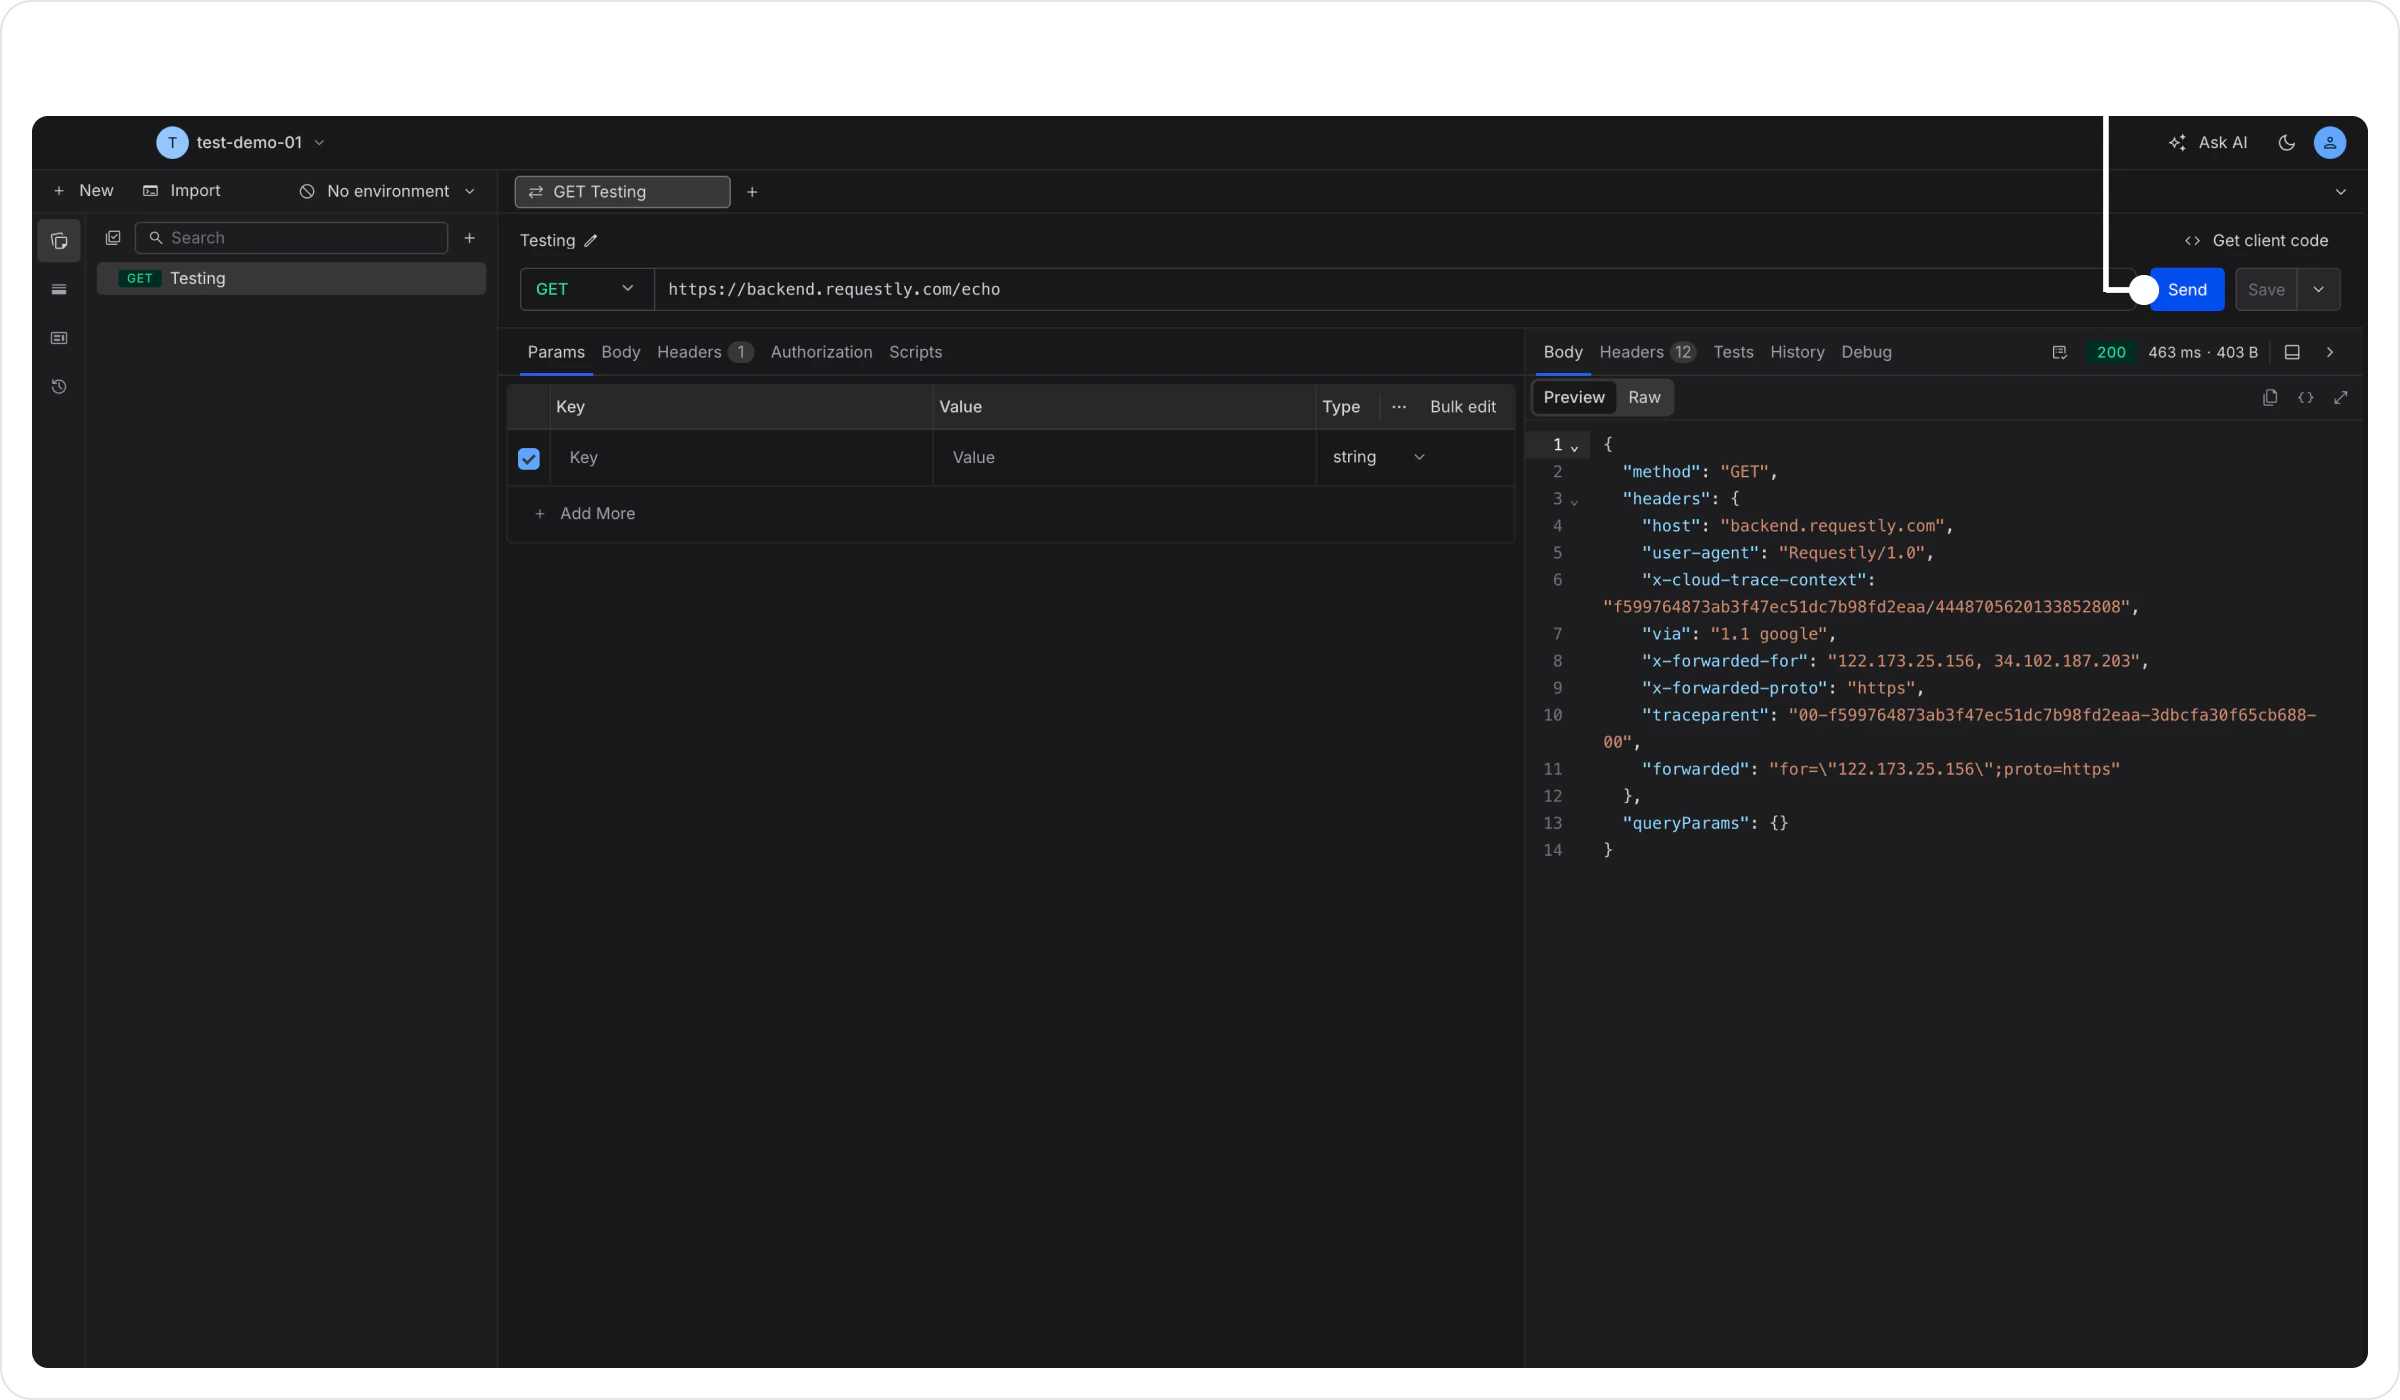 You’ve sent your first request. The response panel shows the body, headers, status code, and response time.
***
## Step 4: Save to a Collection
Collections keep related requests organized together.
Click **+ New** → **Collection**. Name it `My APIs`.
You’ve sent your first request. The response panel shows the body, headers, status code, and response time.
***
## Step 4: Save to a Collection
Collections keep related requests organized together.
Click **+ New** → **Collection**. Name it `My APIs`.
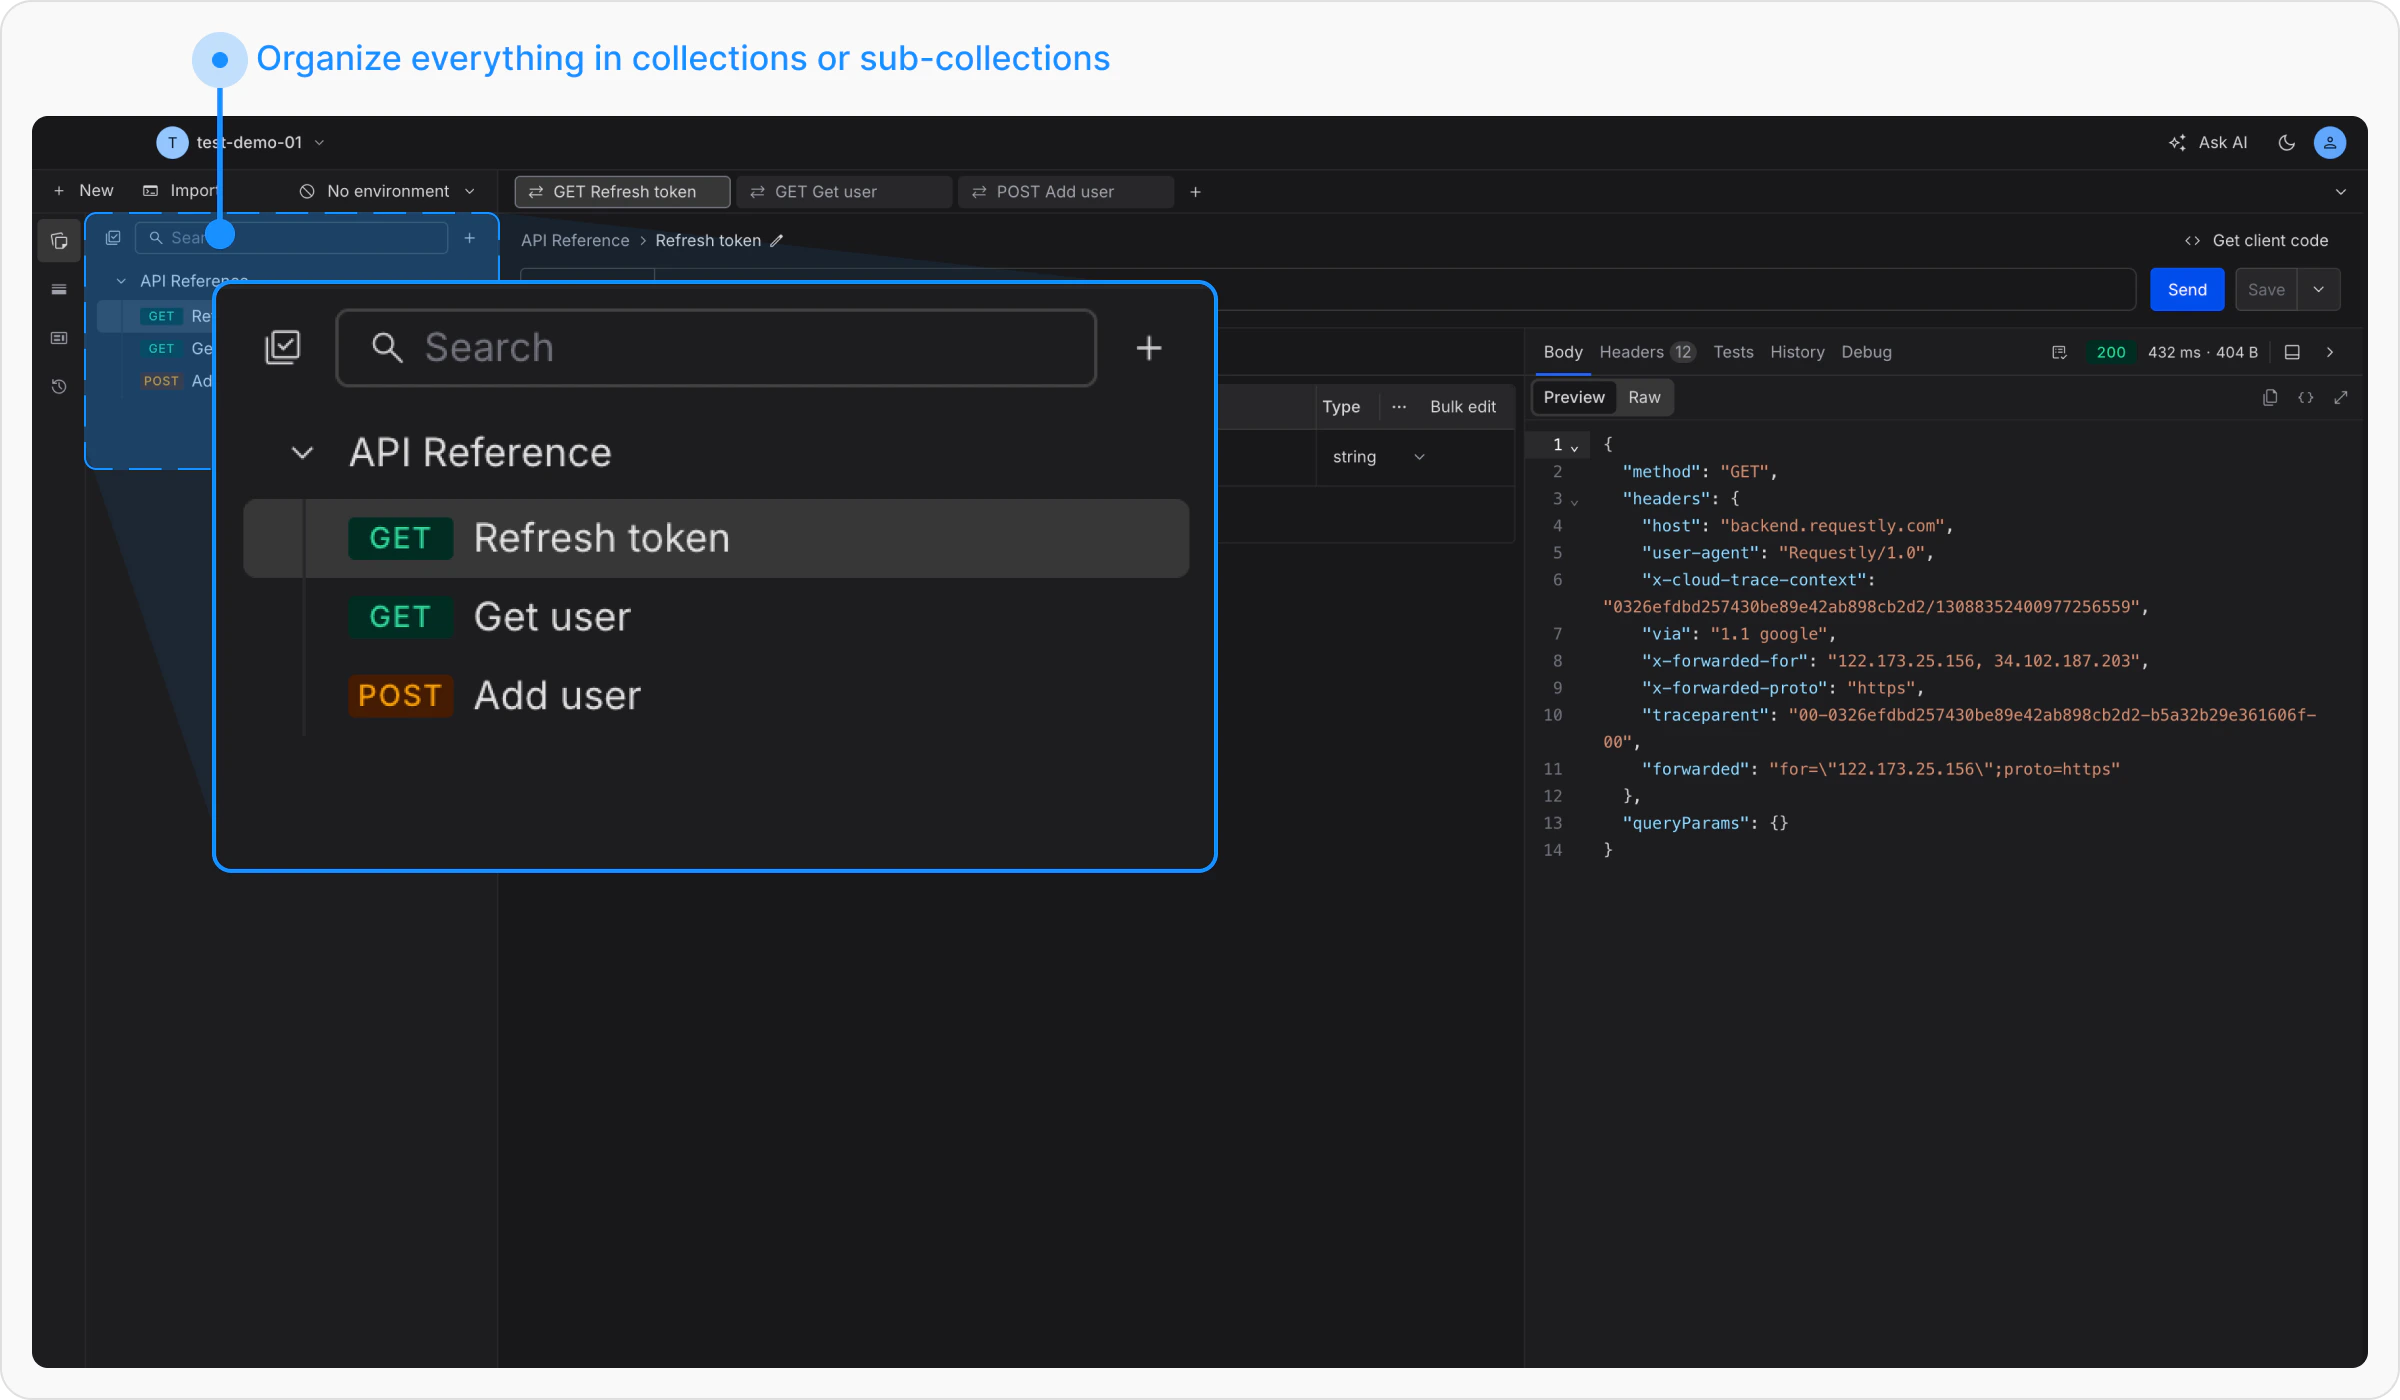
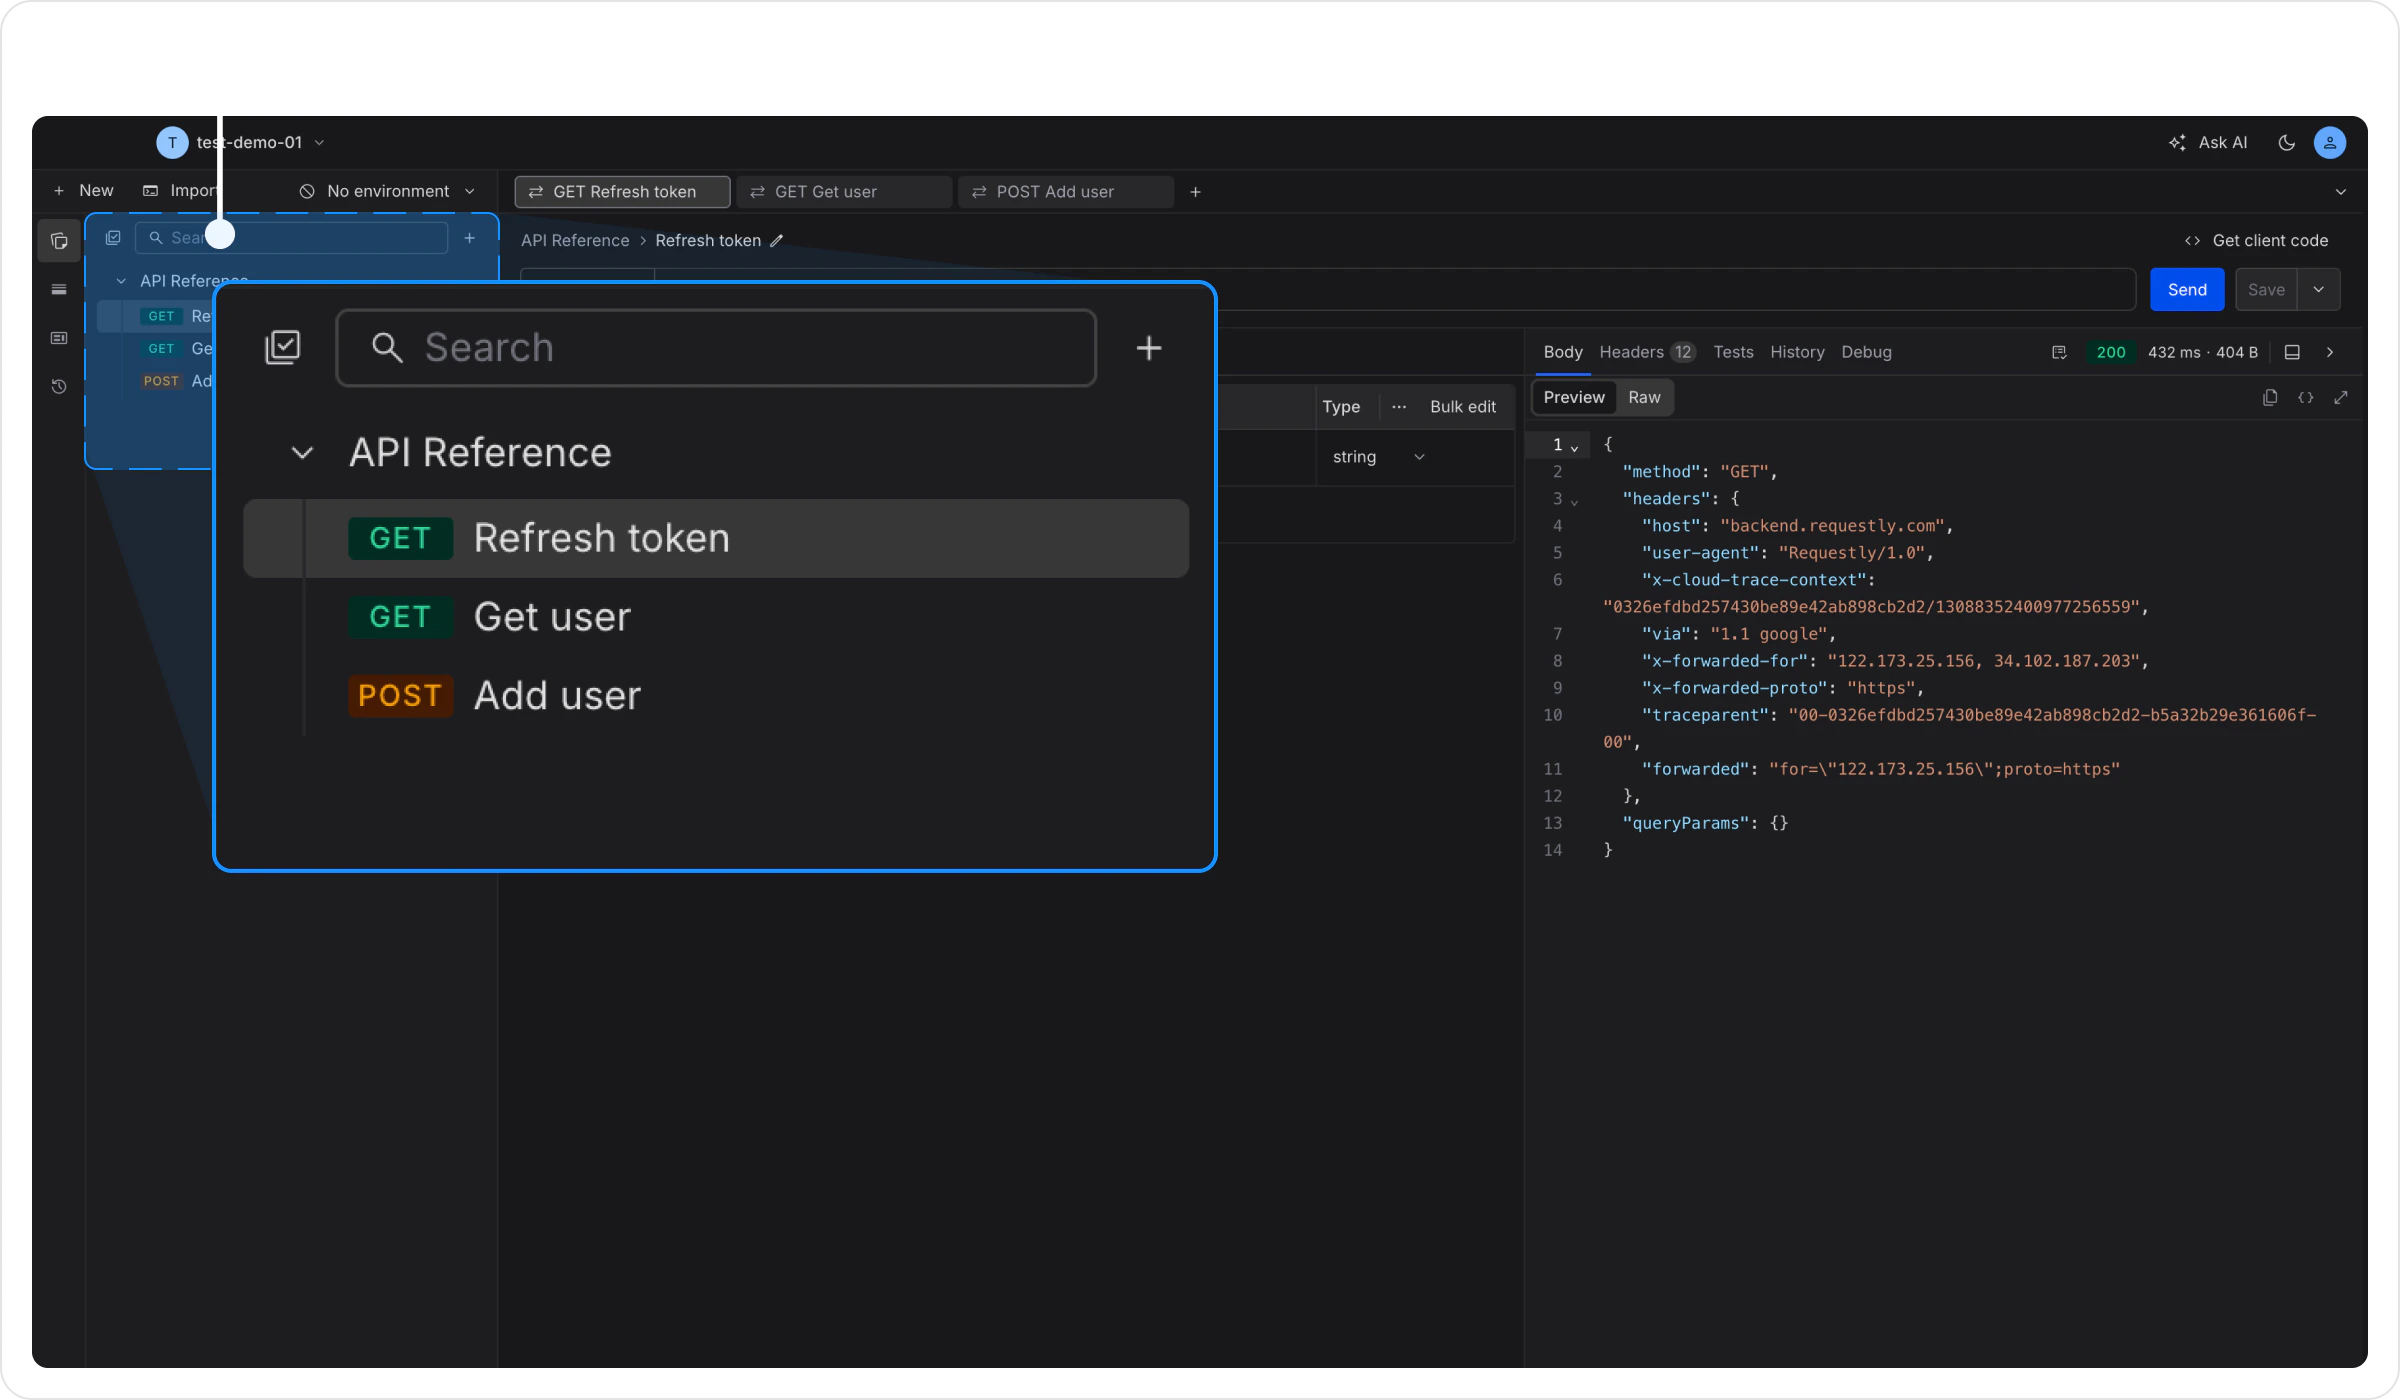 Drag the request you just created into the collection, or click the **+** icon next to the collection name to create new requests directly inside it.
You can also create folders inside collections to group requests by feature or endpoint. [Learn more about collections →](/api-client/api-collections)
***
## Step 5: Add an Environment Variable
Environment variables let you switch between dev, staging, and production without editing every request.
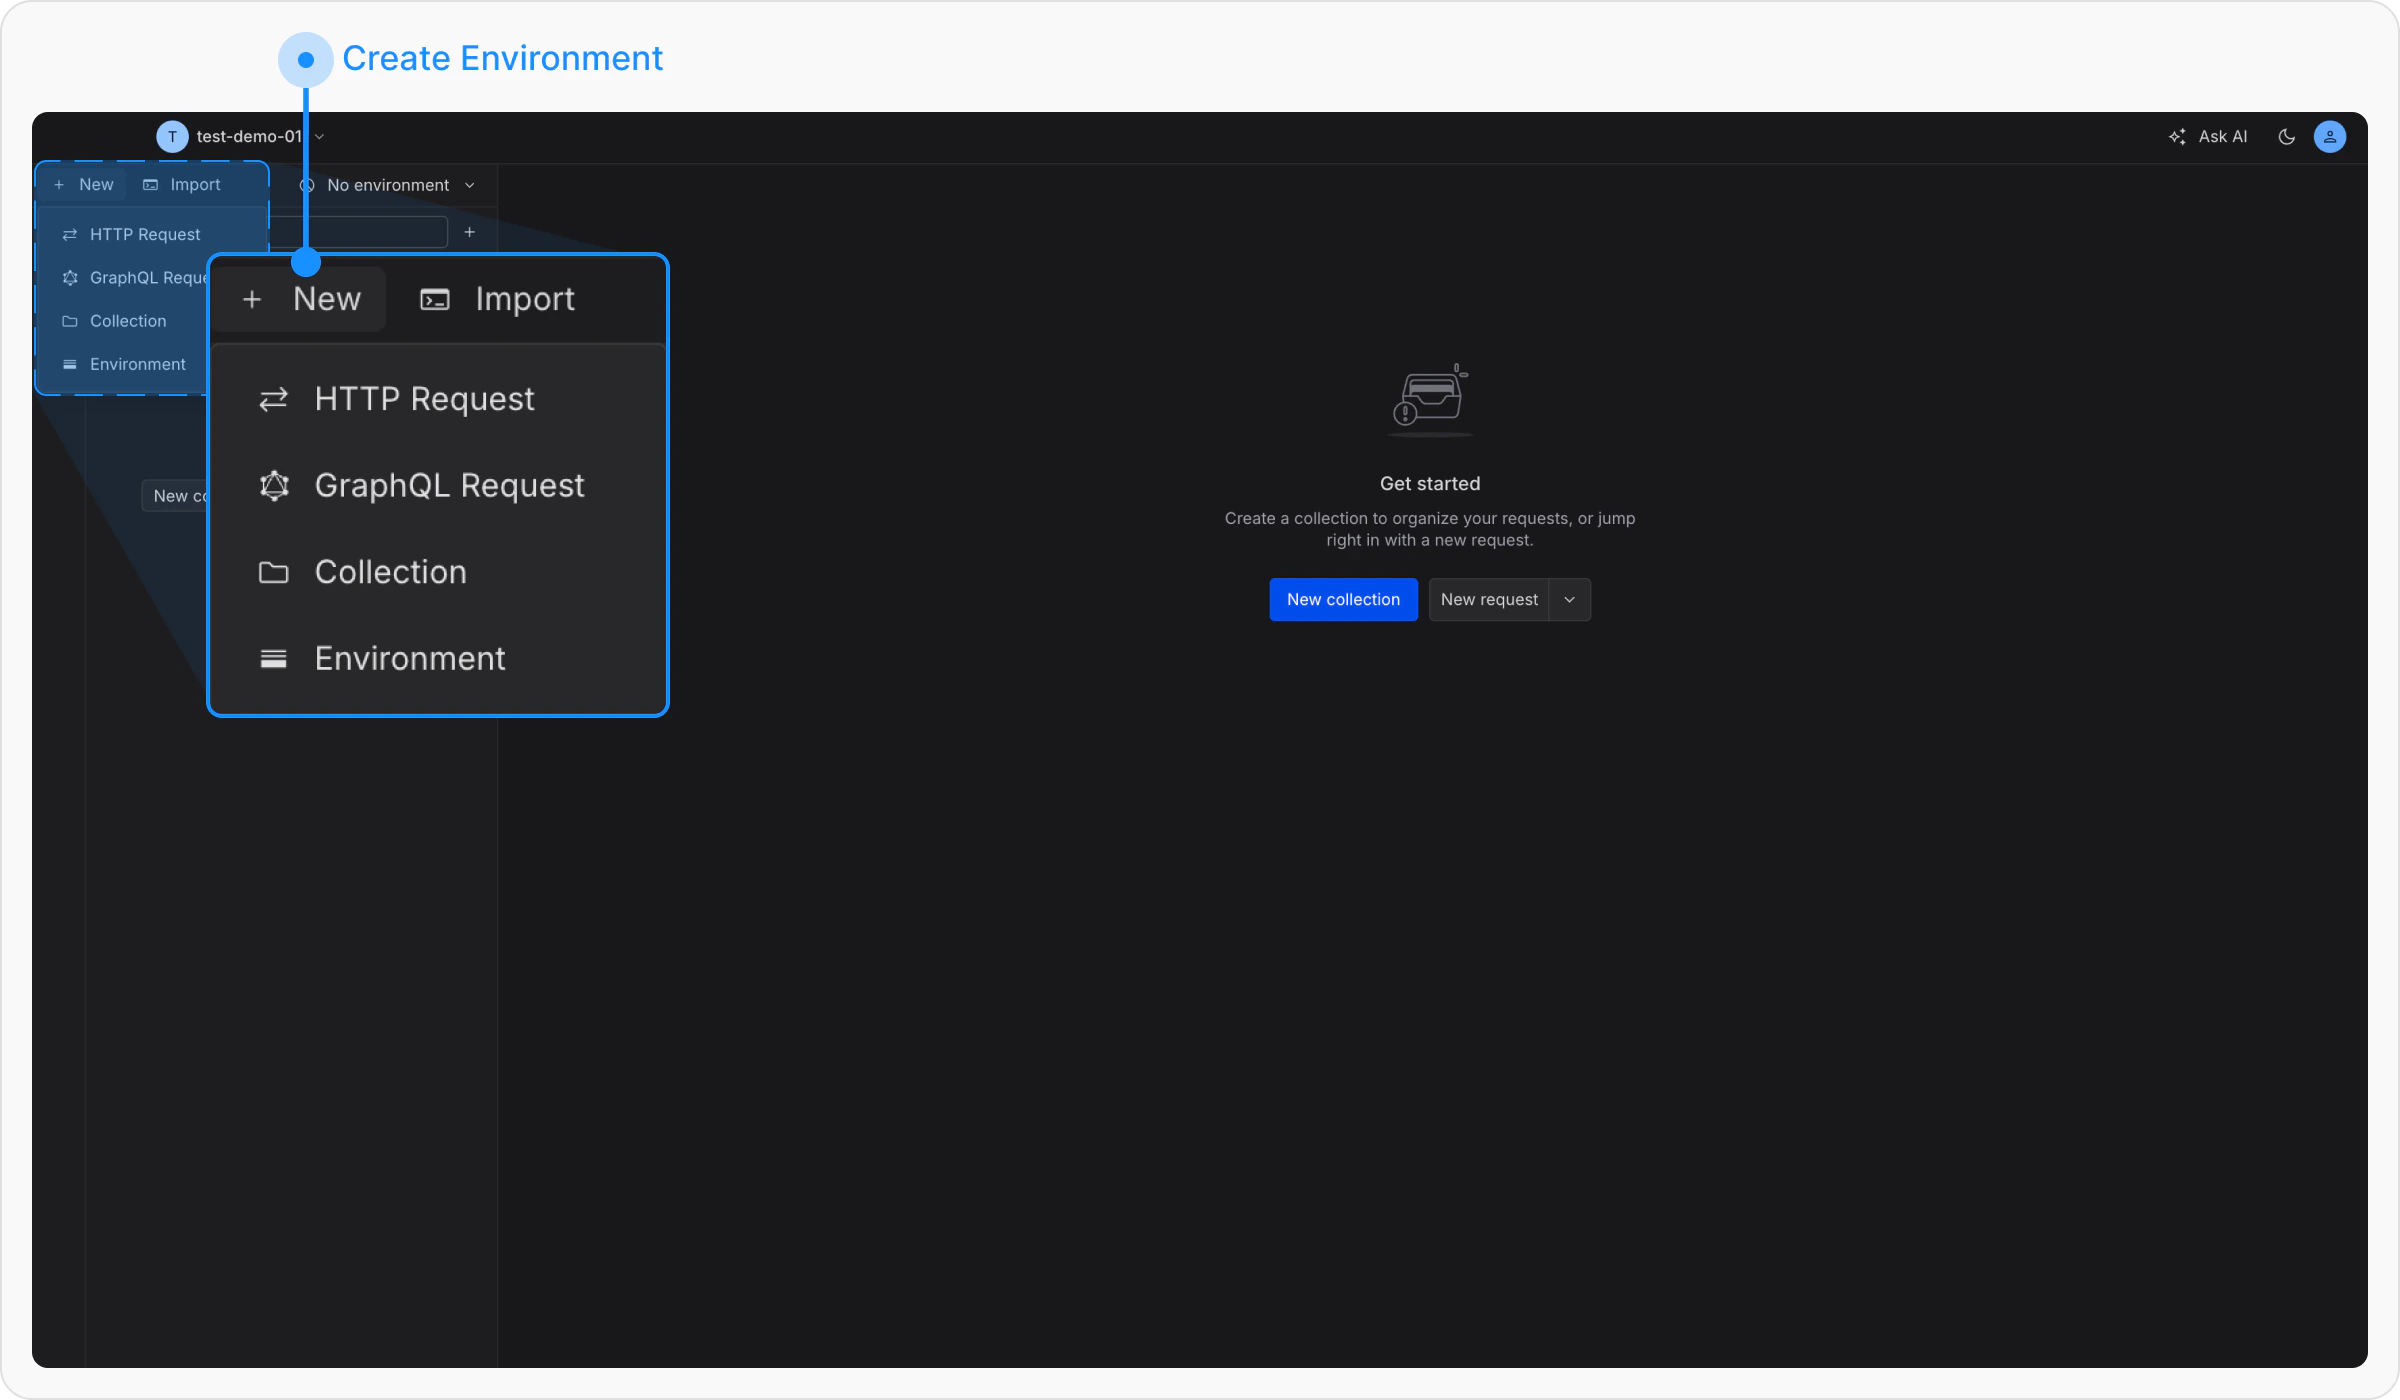
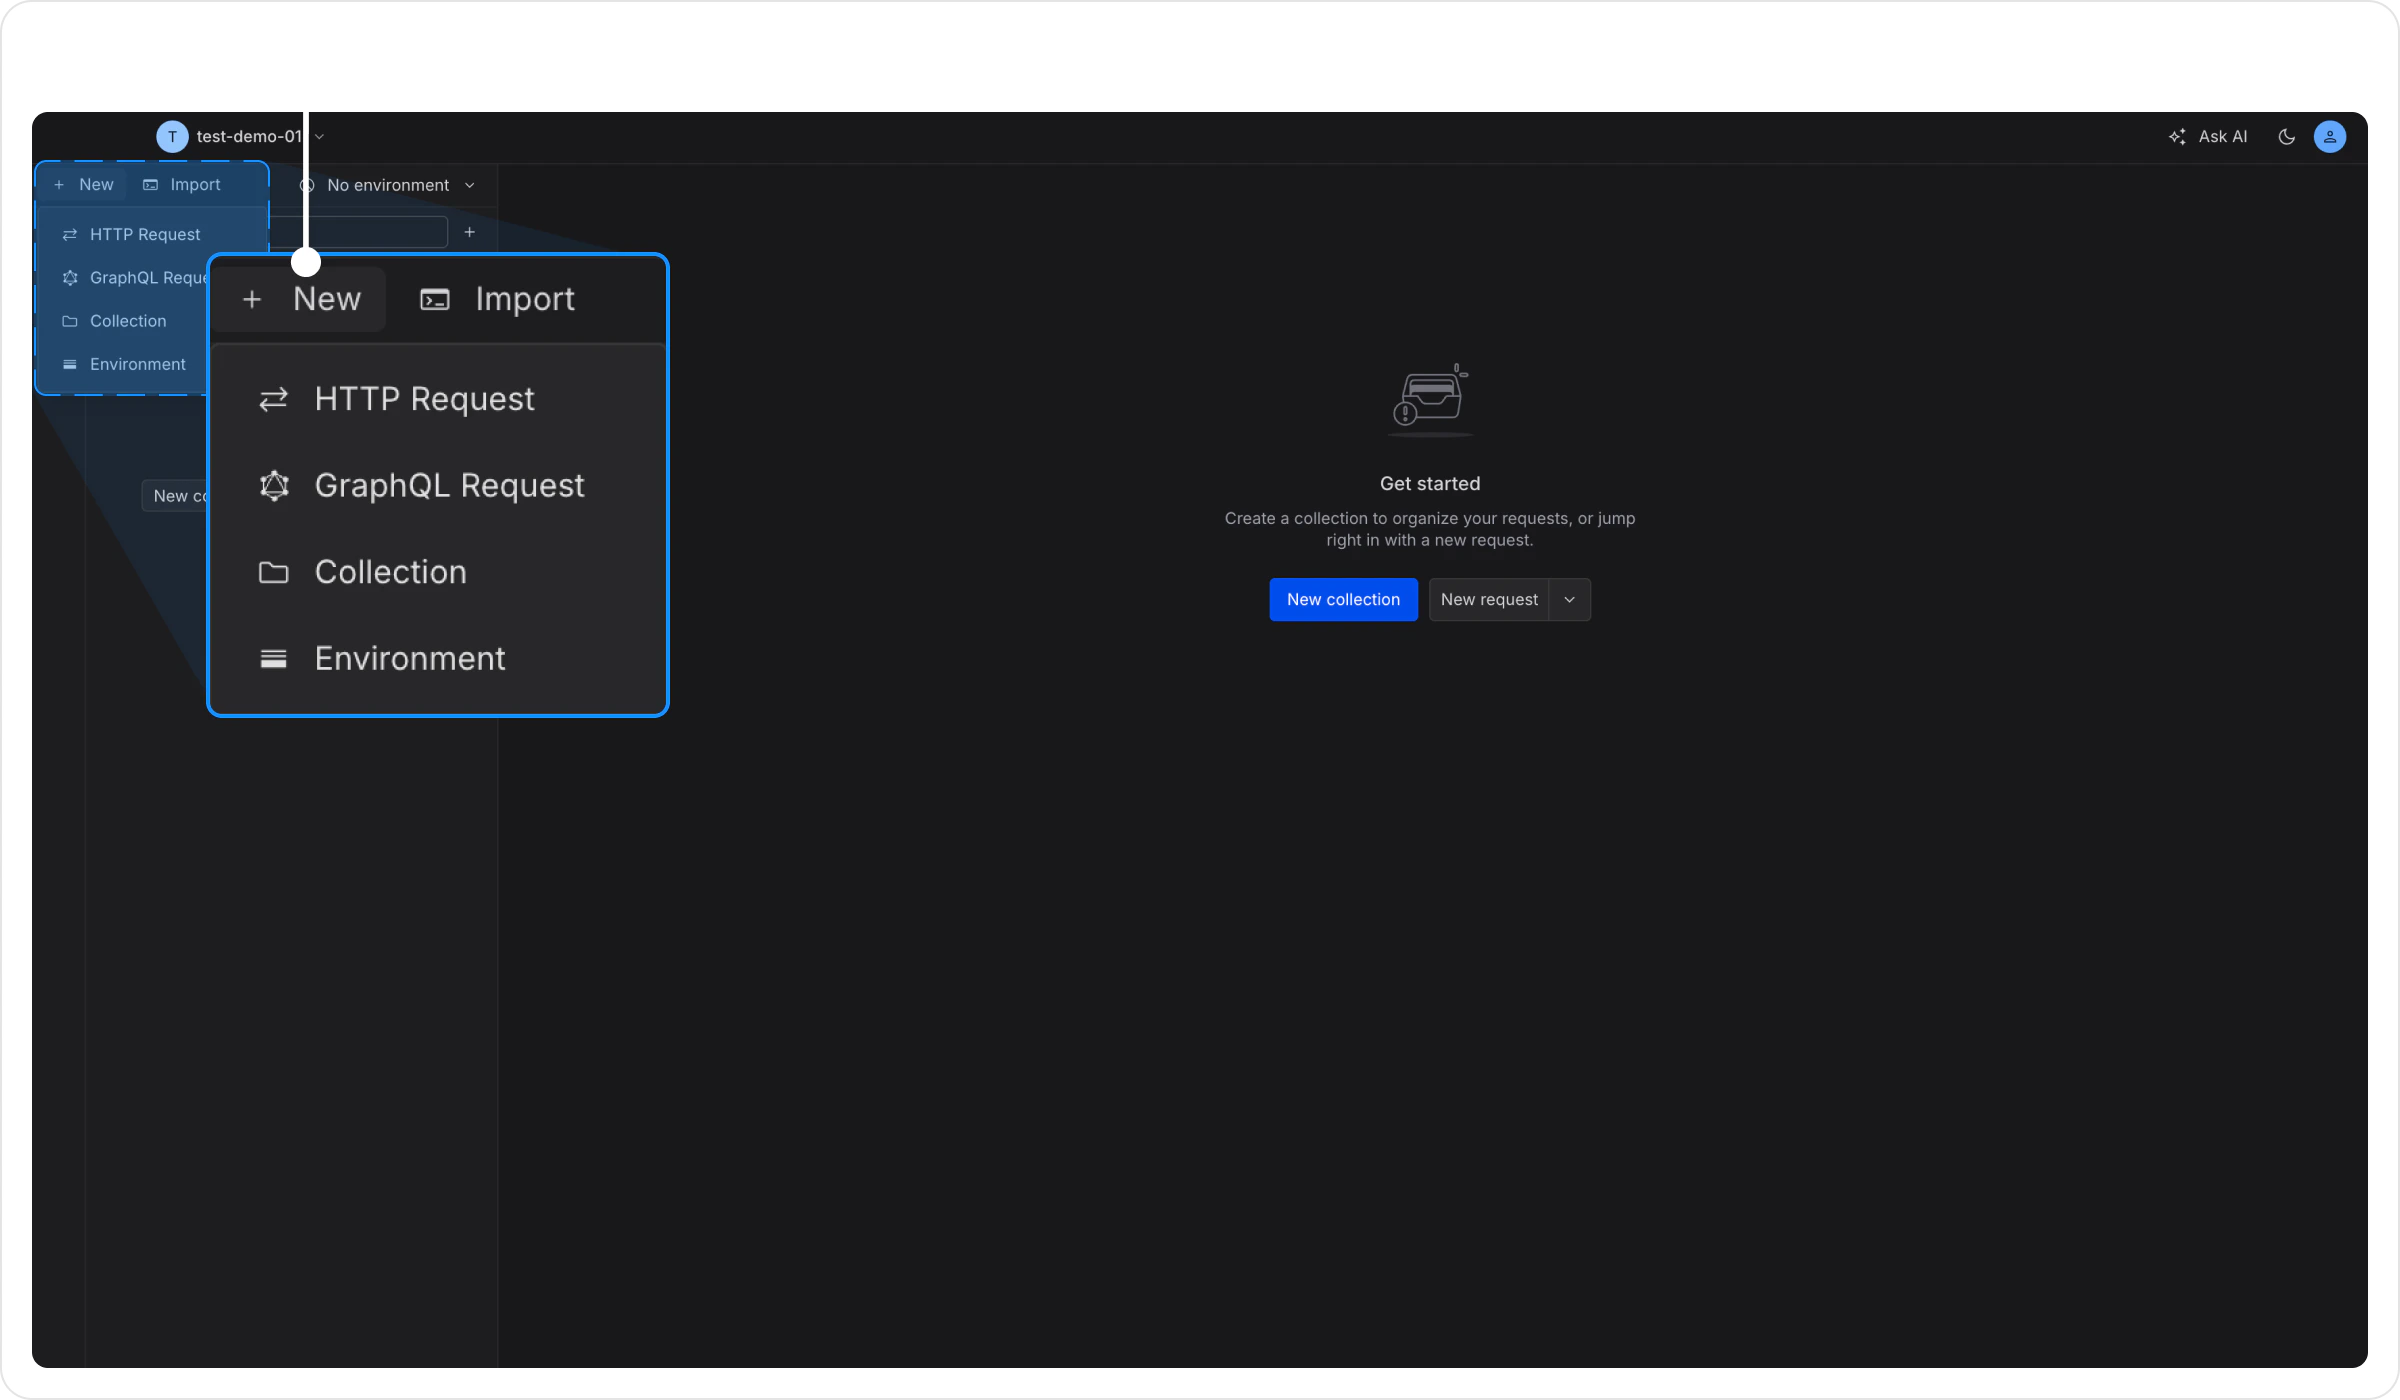
Click **+ New** → **Environment**. Name it `Development`.
Drag the request you just created into the collection, or click the **+** icon next to the collection name to create new requests directly inside it.
You can also create folders inside collections to group requests by feature or endpoint. [Learn more about collections →](/api-client/api-collections)
***
## Step 5: Add an Environment Variable
Environment variables let you switch between dev, staging, and production without editing every request.
Click **+ New** → **Environment**. Name it `Development`.
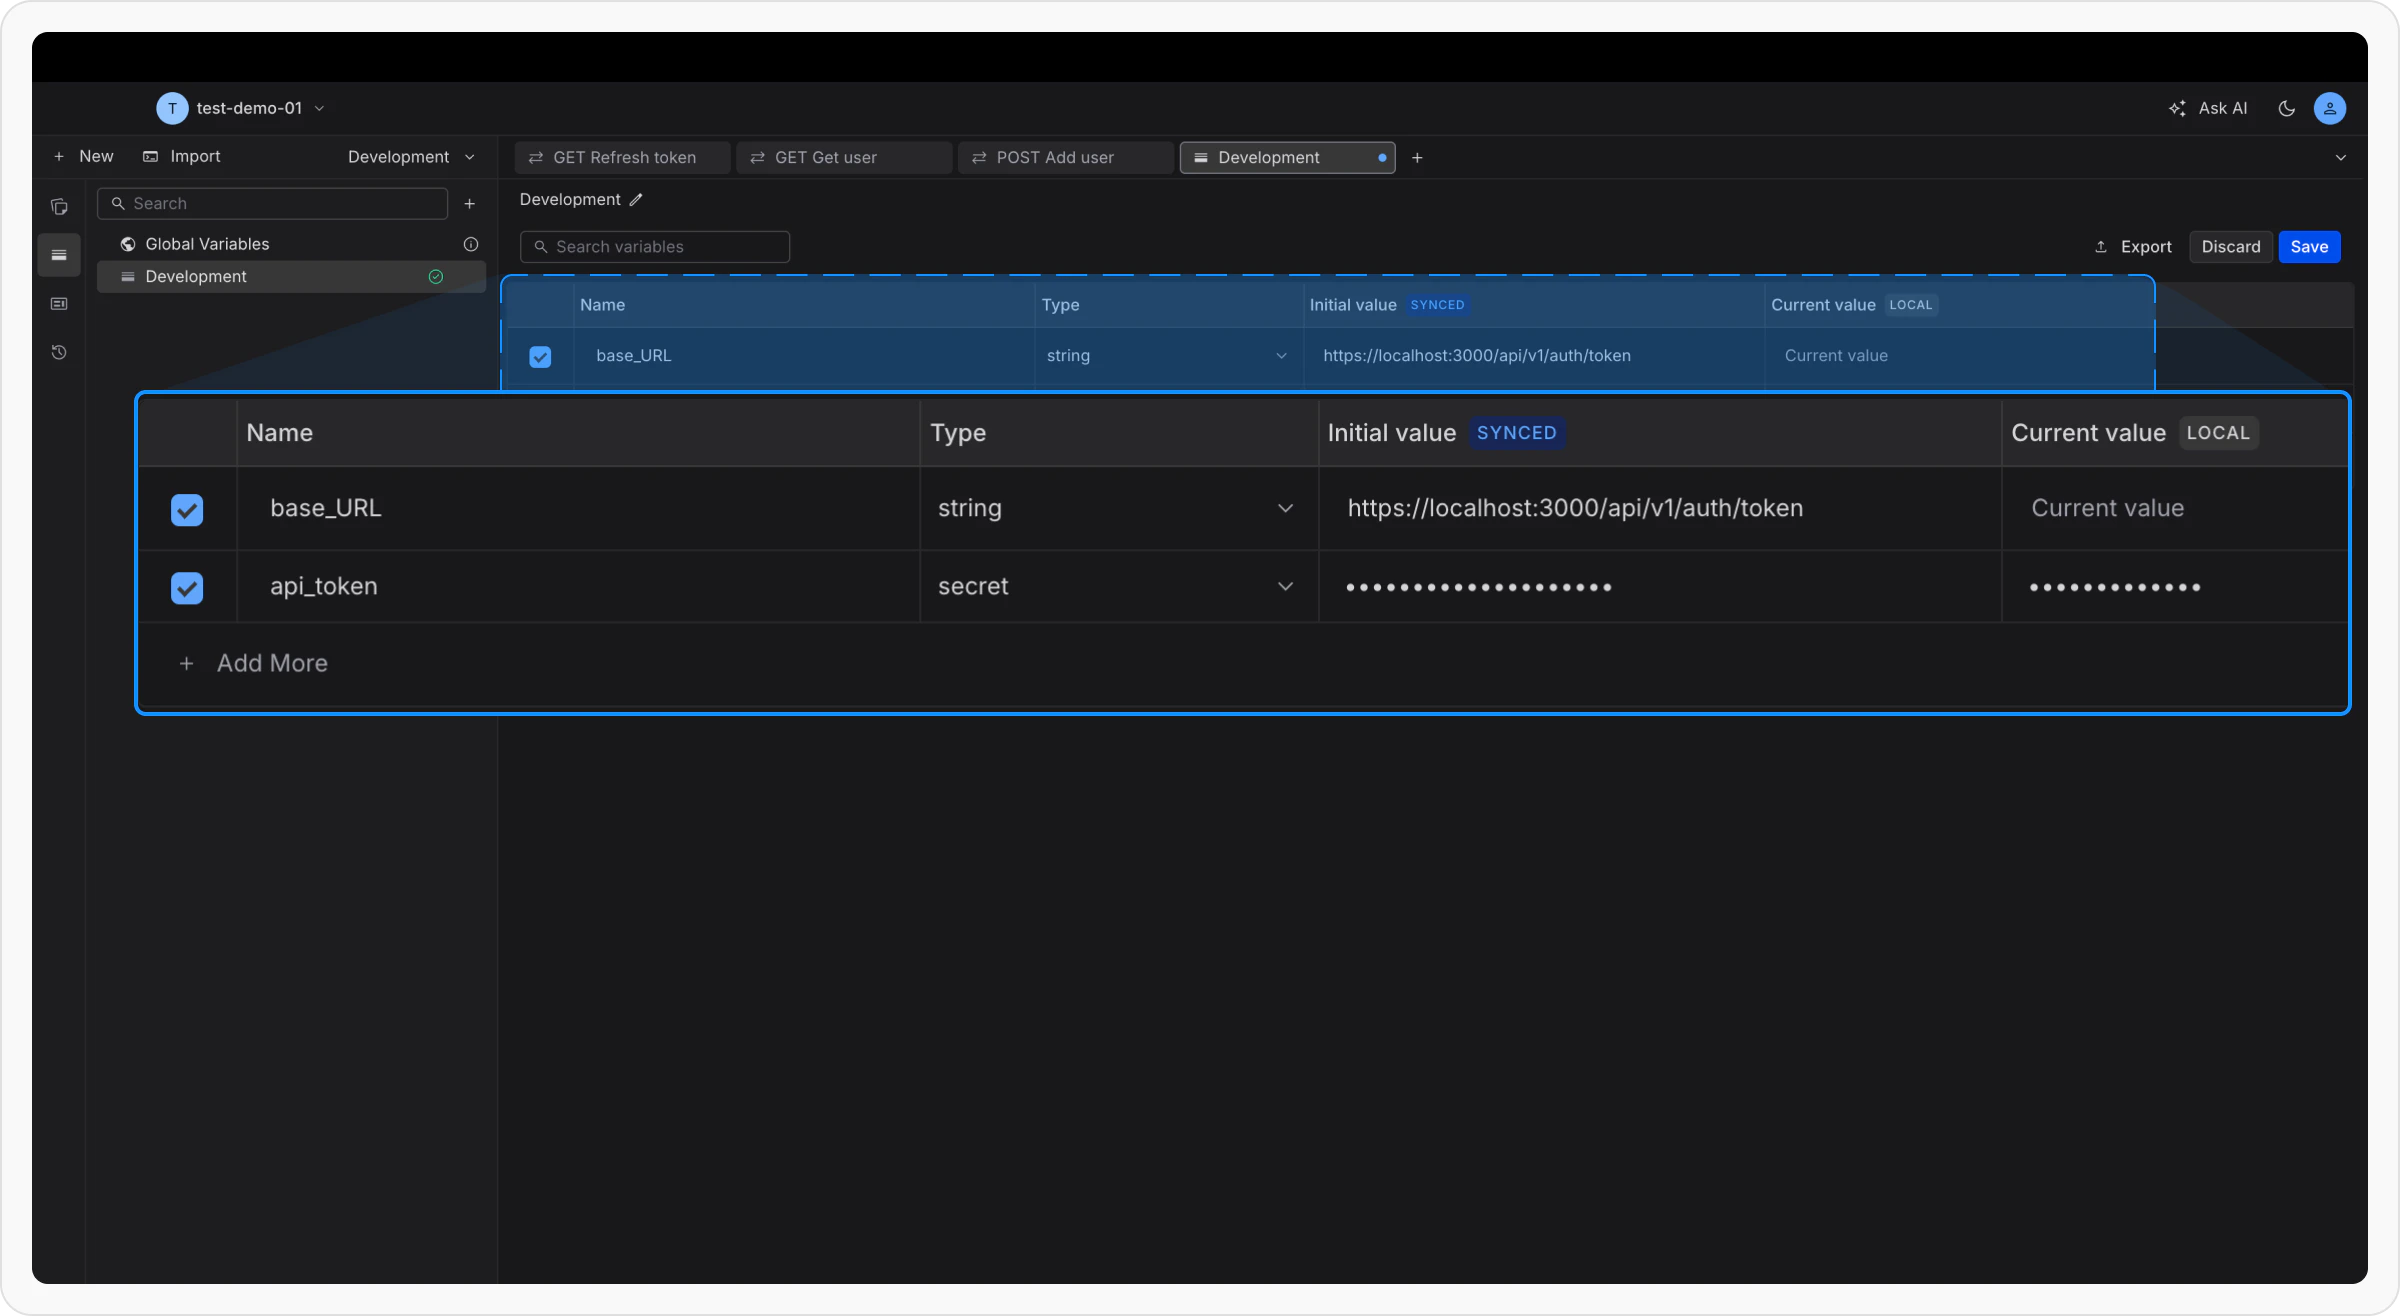
 Add a variable:
* **Key**: `base_url`
* **Value**: `https://app.requestly.io`
Click **Save**.
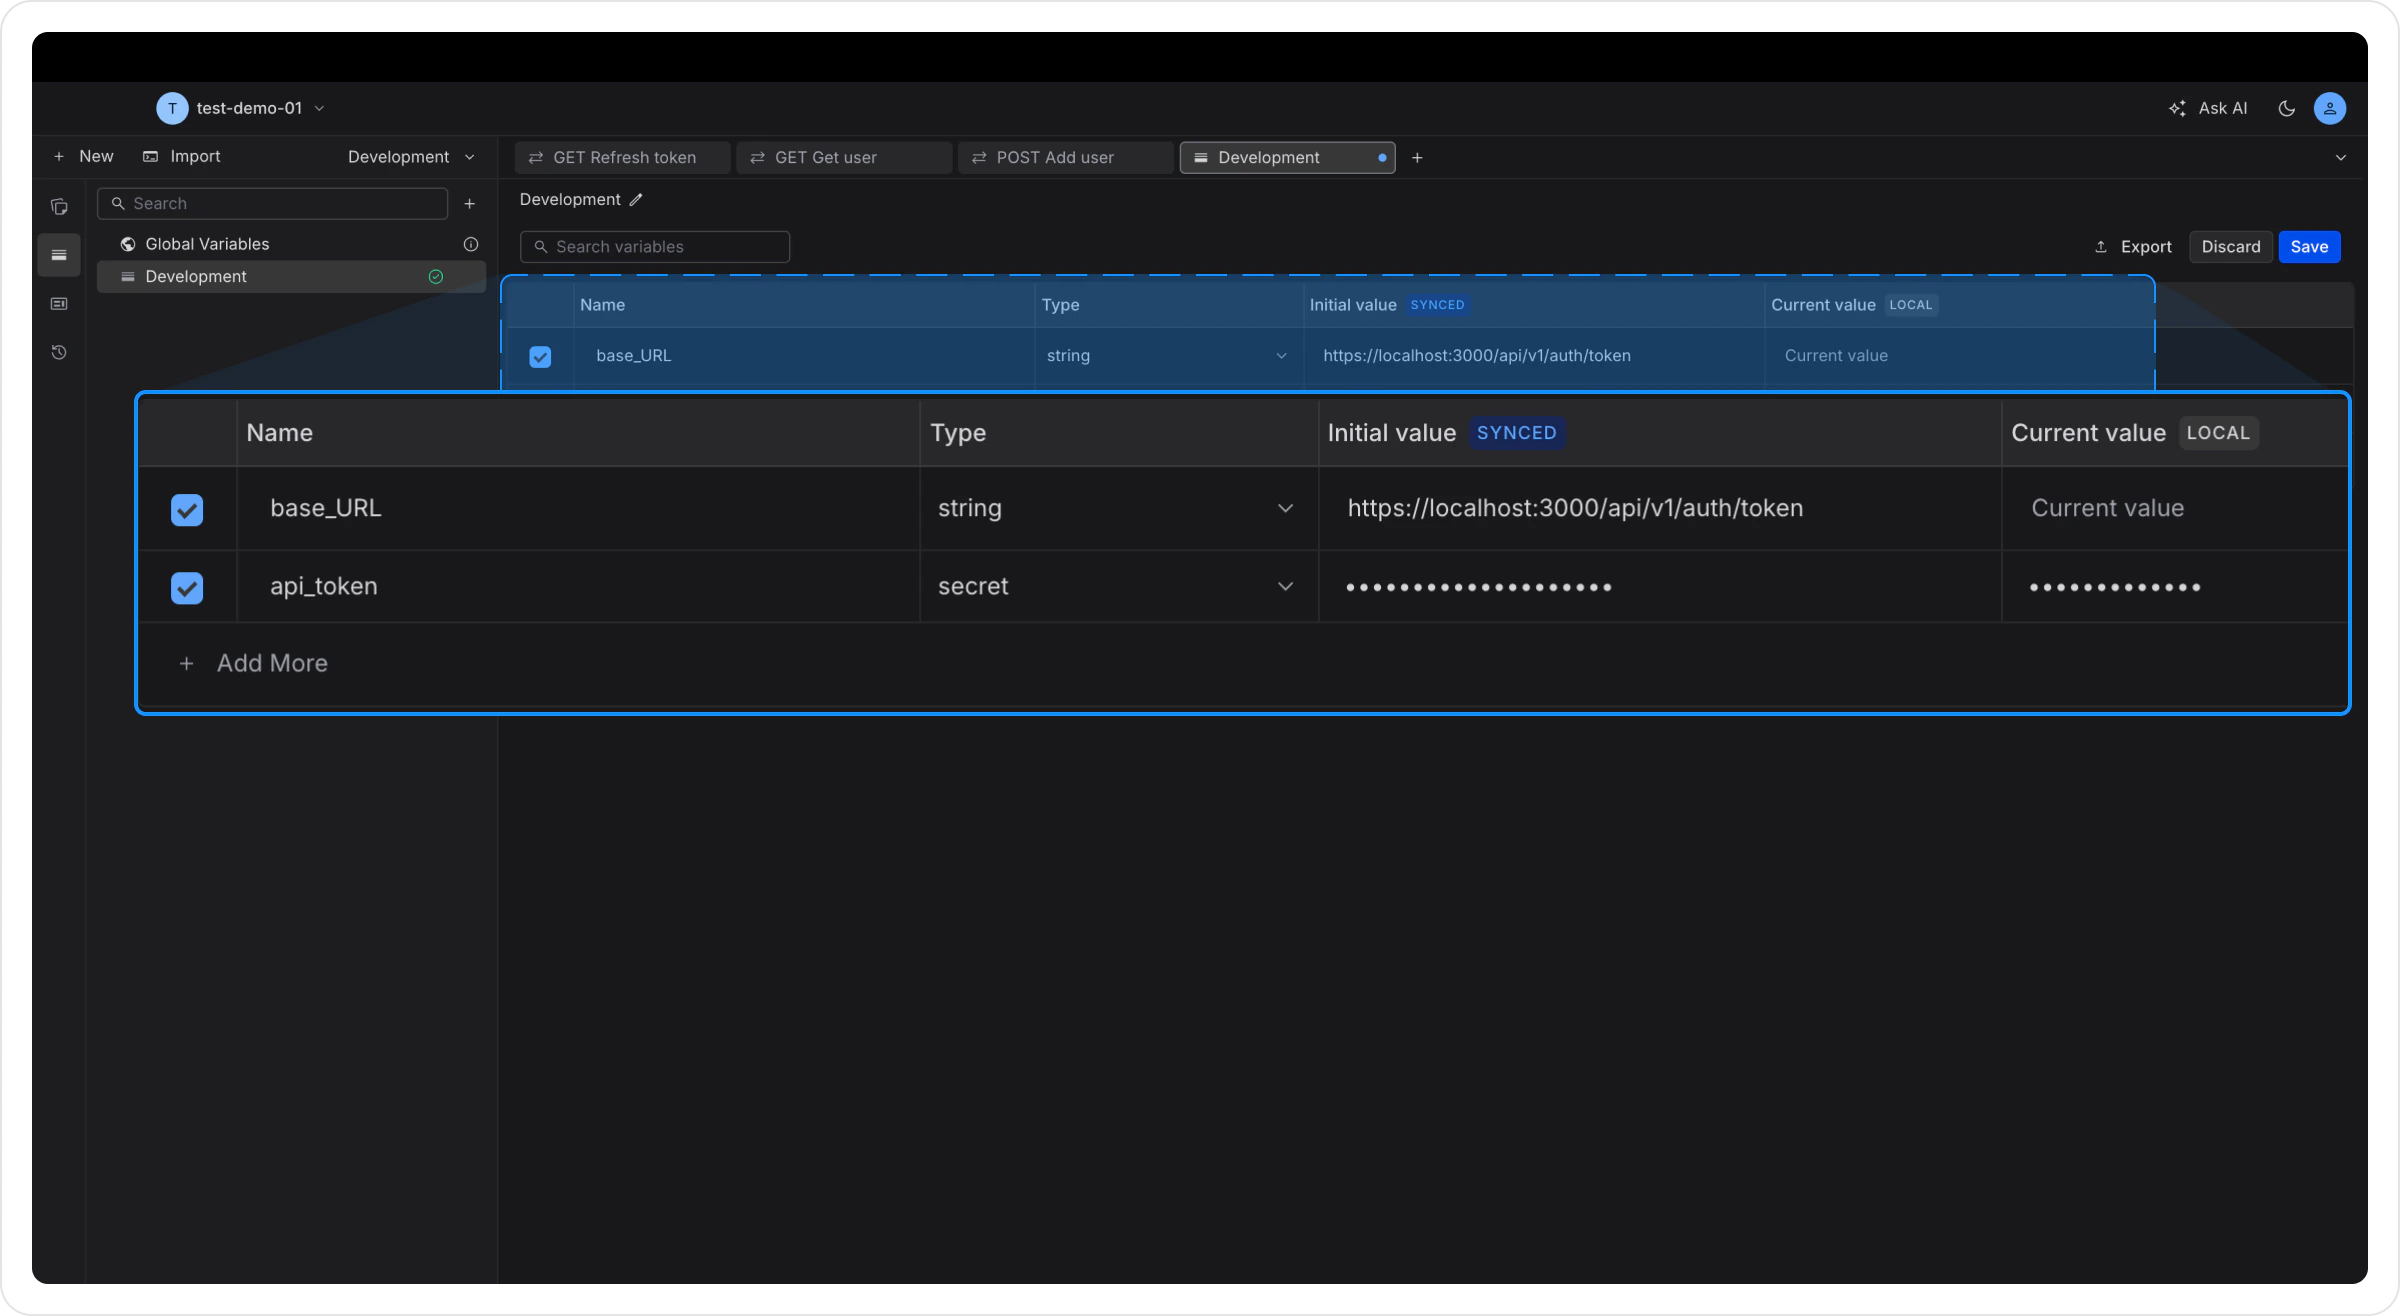
Add a variable:
* **Key**: `base_url`
* **Value**: `https://app.requestly.io`
Click **Save**.
 Replace the URL in your request with:
```text theme={null}
{{base_url}}/echo
```
Variables use double curly braces: `{{variable_name}}`
Replace the URL in your request with:
```text theme={null}
{{base_url}}/echo
```
Variables use double curly braces: `{{variable_name}}`
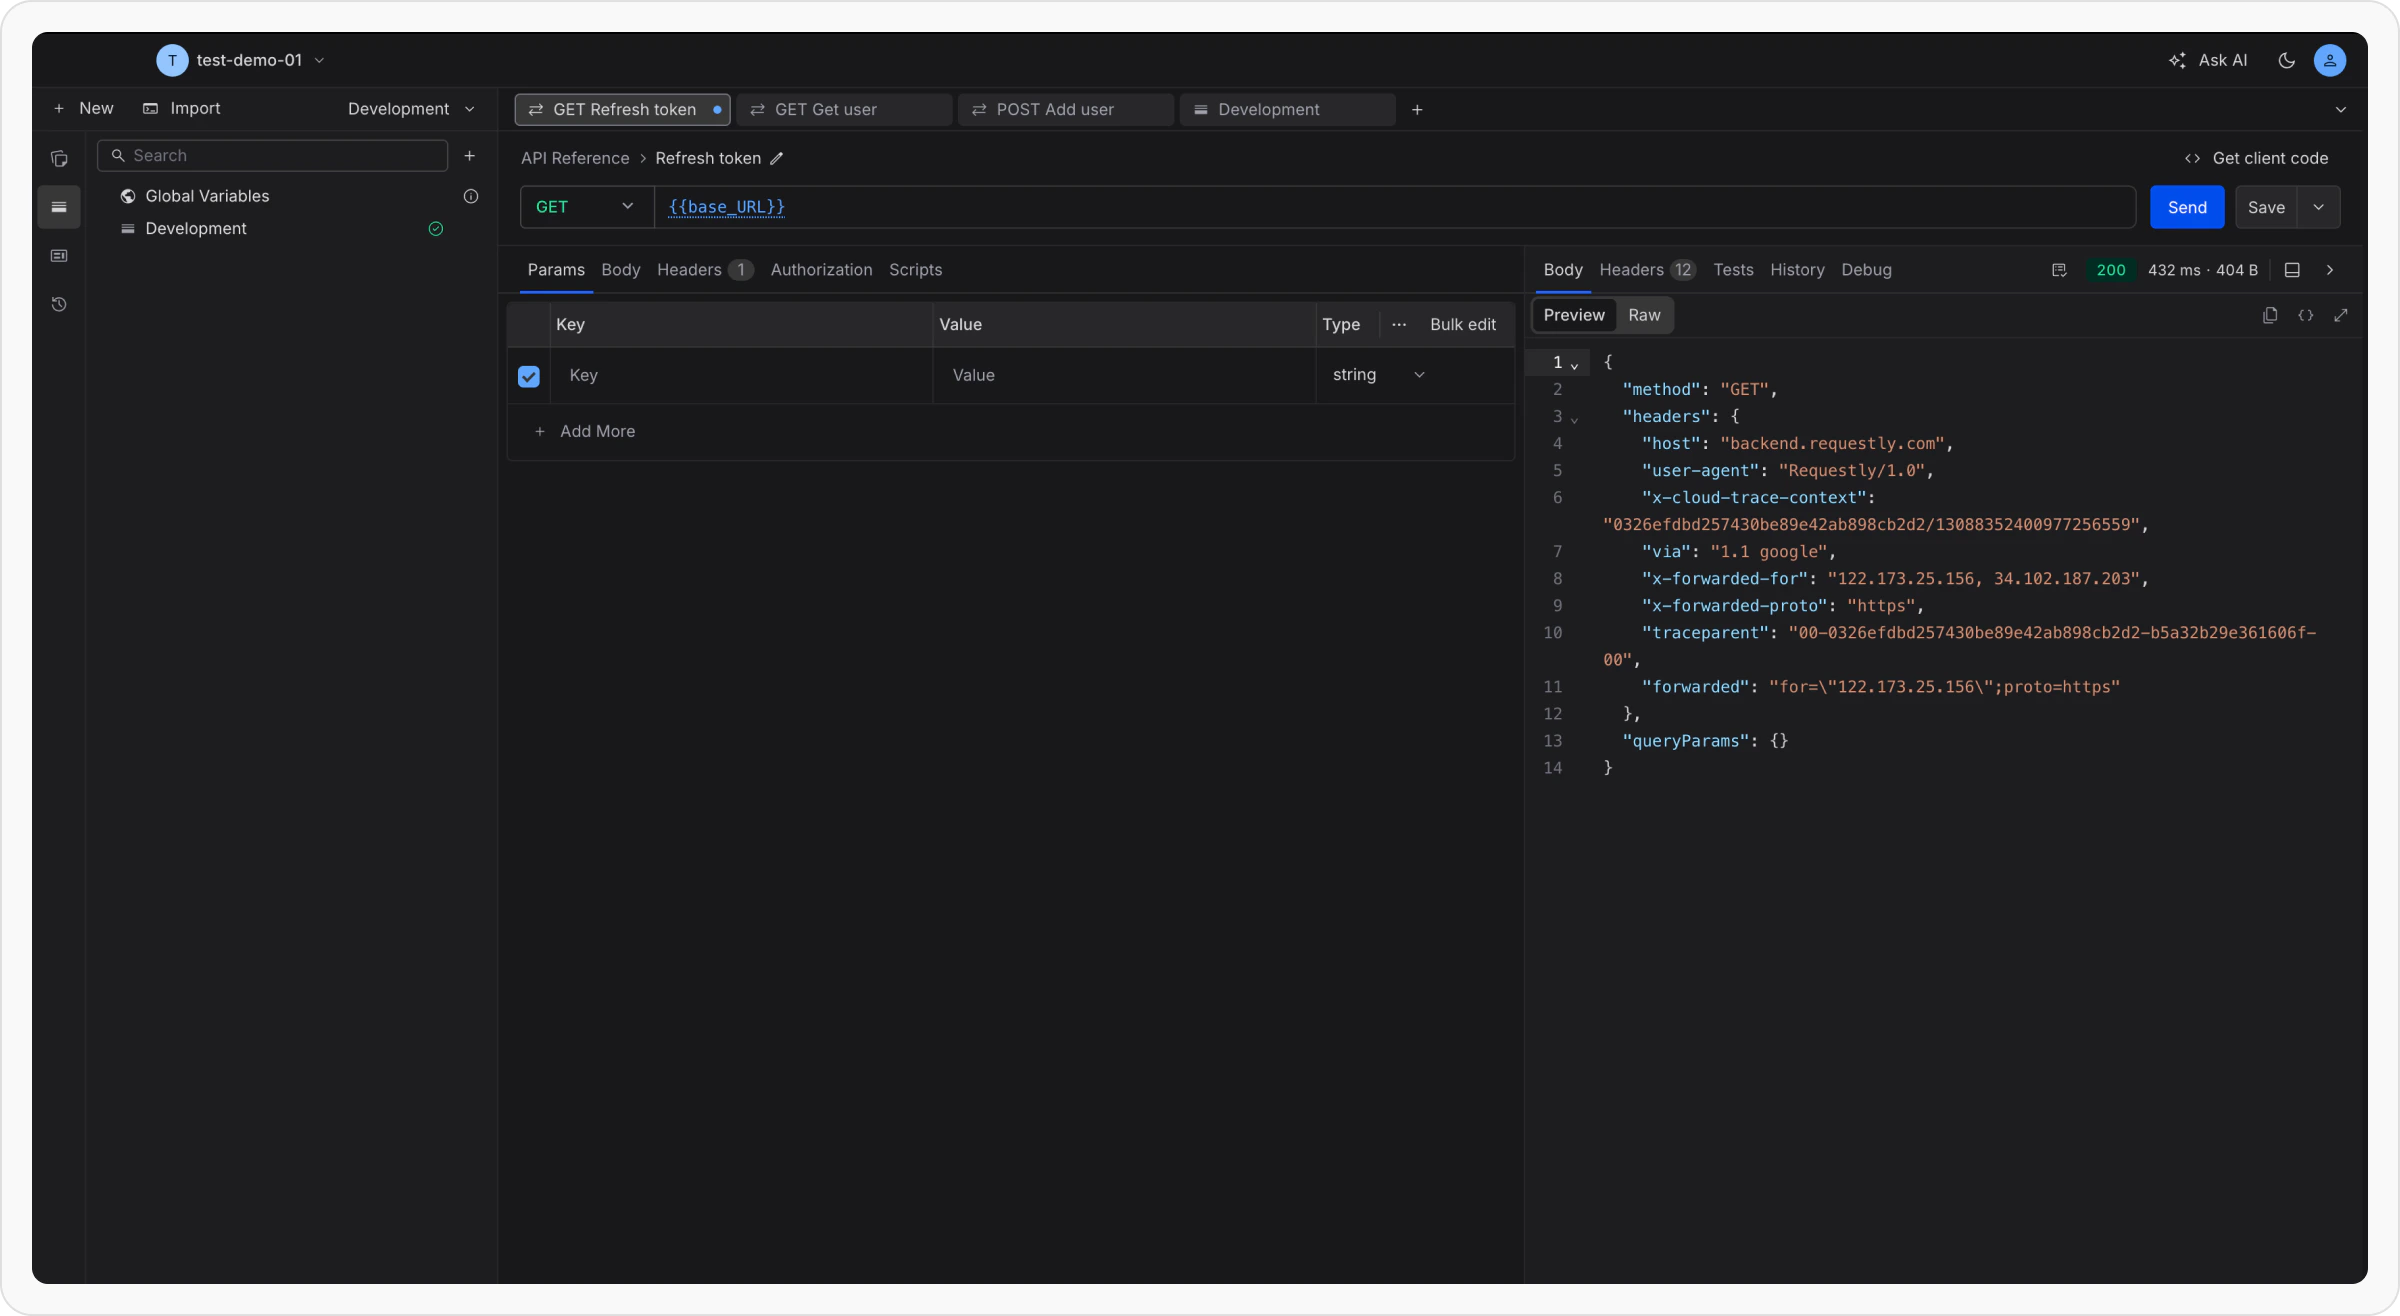
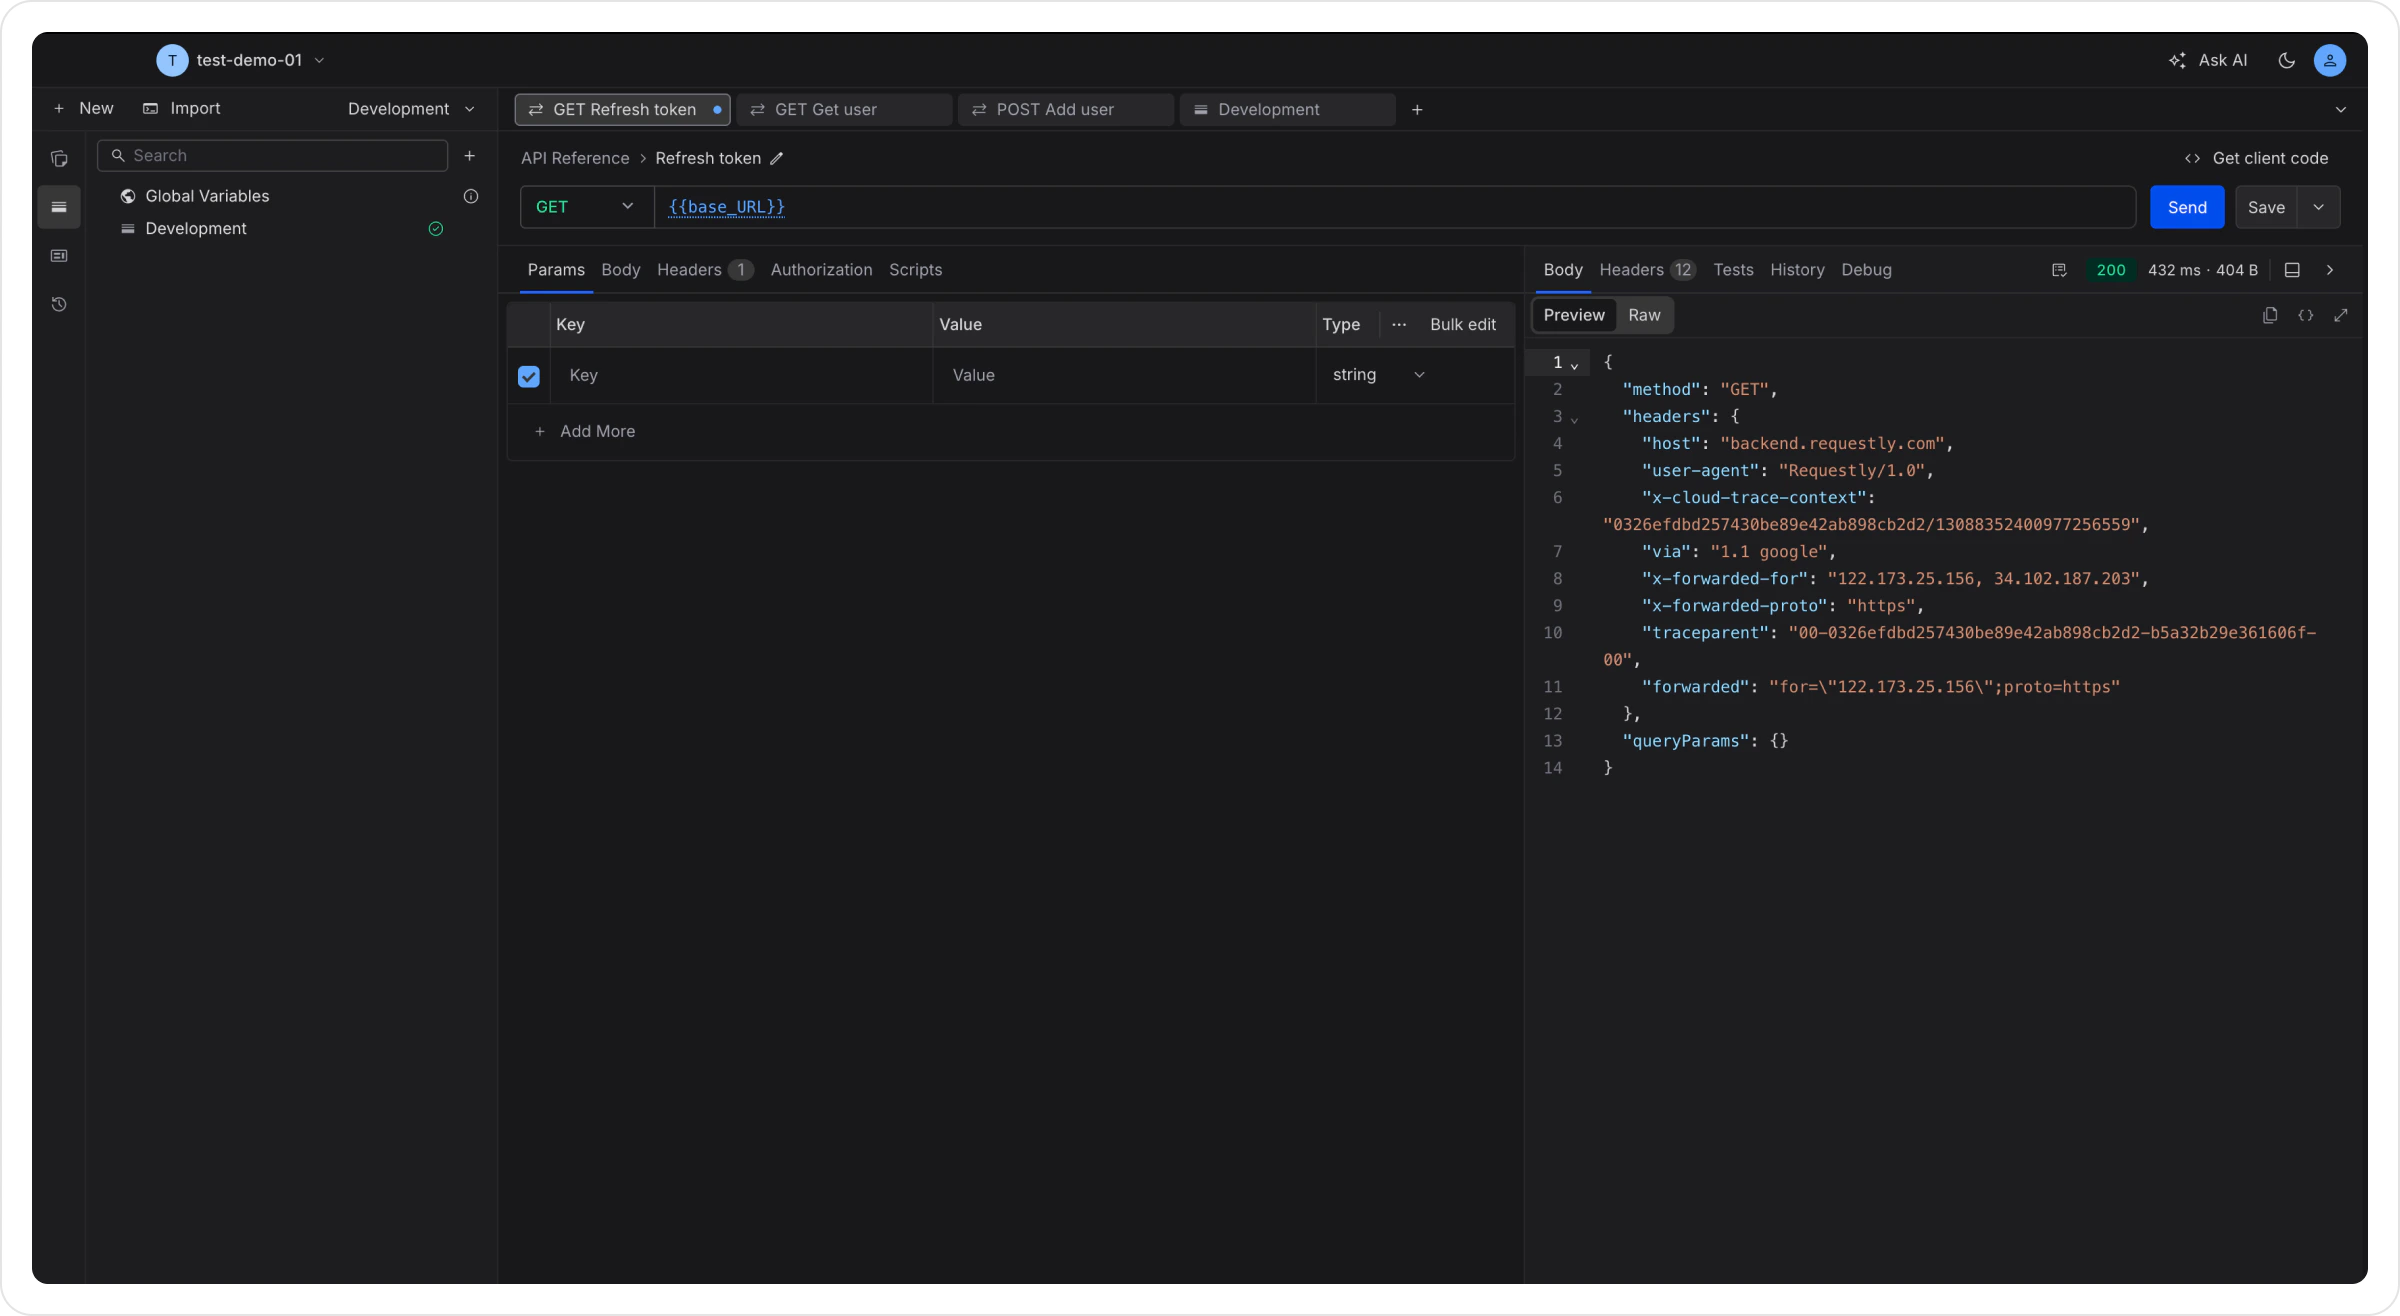 Now you can create a `Production` environment with a different `base_url` and switch between them using the environment dropdown. [Learn more about variables →](/api-client/environments-and-variables)
***
## What’s Next
Add API Key, Bearer Token, Basic Auth, OAuth 1.0, or OAuth 2.0 to your requests.
Run JavaScript before requests or after responses for automation.
Write assertions to validate API responses automatically.
Execute an entire collection of requests in sequence.
Bring your existing Postman collections into Requestly.
Paste a cURL command and convert it to a request instantly.
Now you can create a `Production` environment with a different `base_url` and switch between them using the environment dropdown. [Learn more about variables →](/api-client/environments-and-variables)
***
## What’s Next
Add API Key, Bearer Token, Basic Auth, OAuth 1.0, or OAuth 2.0 to your requests.
Run JavaScript before requests or after responses for automation.
Write assertions to validate API responses automatically.
Execute an entire collection of requests in sequence.
Bring your existing Postman collections into Requestly.
Paste a cURL command and convert it to a request instantly.