Documentation Index
Fetch the complete documentation index at: https://docs.requestly.com/llms.txt
Use this file to discover all available pages before exploring further.
Requestly Interceptor is a powerful browser extension that allows developers and QAs to intercept and modify HTTP requests. It offers features like:
-
HTTP header modifications
-
URL redirects
-
Request and response body overrides
-
Injecting custom CSS and JavaScript
In this guide, we’ll show you how to use Requestly Interceptor in an end-to-end (E2E) web testing framework.
What You Can Do with Requestly Interceptor in Automation For now
There are 2 main ways to use Requestly Interceptor in an automation environment:
We also offer an NPM package, @requestly/rq-automation, to make this easier.
Learn more →
-
Header Modifications, quick, one-off rules (no API key required)
-
Import Rules via API Key, for predefined rules managed from your Requestly Interceptor account
If you only need simple header overrides (without API key), like adding or removing request/response headers, refer to this page:
Modify HTTP Headers →
Import Rules via API Key
Configure Rules in a Team Workspace and Get API Key
Start by creating the rules you want to use in a new team workspace. Once the rules are set up, request an API key for the workspace by filling out this form. The rules in this workspace will be automatically fetched and applied during the end-to-end (E2E) testing in the browser instance. Install Chrome for Testing
Download Chrome for Testing, the automation-friendly version of Chrome.Why Chrome for Testing?Starting with Chrome 137, official Chrome builds no longer support the --load-extension flag due to security concerns. There commit →To load extensions in automation tools (Selenium, Playwright, Puppeteer, etc.), you must use Chrome for Testing or Chromium.Regular Chrome will block extension loading via automation. Use Chrome for Testing to avoid breakages and ensure compatibility. Install the Automation Tool of Your Choice
Selenium
Playwright
Puppeteer
npm install selenium-webdriver
Download the Requestly Interceptor CRX Extension
If you’re using our NPM package, you don’t need to download it. Simply call the function getExtension().
Configure the Browser with the Extension
Use your automation tool’s configuration options to:
-
Set the path to Chrome for Testing binary
-
Add the Requestly Interceptor CRX extension
For JavaScript, use our NPM package @requestly/rq-automation.
Learn more → Selenium
Playwright
Puppeteer
For Javascript ( Node.js )const { Builder } = require("selenium-webdriver");
const chrome = require("selenium-webdriver/chrome");
const path = require("path");
const extensionPath = path.resolve(__dirname, 'requestly.crx'); // unpacked CRX folder
// IF Using Our NPM Package @requestly/rq-automation
const { getExtension } = require("@requestly/rq-automation");
const extensionPath = getExtension("crx");
// -----
const options = new chrome.Options();
options.setChromeBinaryPath("/Path/to/chrome-for-testing");
options.addExtensions(extensionPath);
const driver = await new Builder()
.forBrowser("chrome")
.setChromeOptions(options)
.build();
// Now use driver.get() to navigate as needed...
from selenium import webdriver
from selenium.webdriver.chrome.options import Options

chrome_options = Options()
chrome_options.binary_location = "/Path/to/chrome-for-testing"
chrome_options.add_extension("/path/to/requestly.crx")

driver = webdriver.Chrome(options=chrome_options)
# driver.get(...) to open pages
ChromeOptions options = new ChromeOptions();
options.setBinary("/Path/to/chrome-for-testing");
options.addExtensions(new File("/path/to/requestly.crx"));
WebDriver driver = new ChromeDriver(options);
// driver.get(...) to open pages
For Javascript ( Node.js )const { chromium } = require('playwright');
const extensionPath = require('path').resolve(__dirname, 'requestly'); // unpacked CRX folder
// IF Using Our NPM Package @requestly/rq-automation
const { getExtension } = require("@requestly/rq-automation");
const extensionPath = getExtension("unpacked");
// -----
const userDataDir = './user-data';
const context = await chromium.launchPersistentContext(userDataDir, {
channel: "chromium", // Enable extensions
headless: false, // Set to true only if you handle '--headless=new'
args: [
`--disable-extensions-except=${extensionPath}`,
`--load-extension=${extensionPath}`,
],
});
const page = await context.newPage();
// Use page.goto(...) next
from playwright.sync_api import sync_playwright

path_to_ext = "./requestly"   # path to unpacked CRX folder
user_data_dir = "/tmp/user-data-dir"

with sync_playwright() as pw:
    context = pw.chromium.launch_persistent_context(
        user_data_dir,
        channel="chromium",
        headless=False,
        args=[
            f"--disable-extensions-except={path_to_ext}",
            f"--load-extension={path_to_ext}"
        ]
    )
    page = context.new_page()
    # use page.goto(...)
    context.close()
For Javascript ( Node.js )const puppeteer = require('puppeteer');
const path = require('path');
const extensionPath = path.resolve(__dirname, 'requestly');
// IF Using Our NPM Package @requestly/rq-automation
const { getExtension } = require("@requestly/rq-automation");
const extensionPath = getExtension("unpacked");
// -----
const browser = await puppeteer.launch({
executablePath: "/Path/to/chrome-for-testing",
headless: false,
args: [
`--disable-extensions-except=${extensionPath}`,
`--load-extension=${extensionPath}`
]
});
const page = await browser.newPage();
// page.goto(...) next
(Optional) Close Extension Welcome Page
When Chrome installs the Requestly Interceptor extension, it may open a “welcome” (post-install) tab that interrupts automation. You can close this tab programmatically: Selenium
Playwright
Puppeteer
With NPM Package
  // give Chrome a moment for any stray tabs
  await driver.sleep(500);

  // close any “welcome” tab if still present
  const handles = await driver.getAllWindowHandles();
  const mainHandle = handles[0];
  for (const handle of handles.slice(1)) {
    await driver.switchTo().window(handle);
    await driver.close();
  }
  await driver.switchTo().window(mainHandle);
  const page = await context.newPage(); // Assume the first one is your primary page
  await page.waitForTimeout(2000);
  // Get all open pages in the current context
  const pages = context.pages();
  // Iterate through the pages and close any that are not the primary 'page' object
  for (const openedPage of pages) {
    if (openedPage !== page) {
      console.log(`Closing extraneous page: ${openedPage.url()}`);
      await openedPage.close();
    }
   }
  // page.goto(...) next
  const pages = await browser.pages();
  const page = pages[0]; // Assume the first one is your primary page

  await page.waitForTimeout(2000);

  // Close all other pages except the primary one
  for (const openedPage of pages) {
    if (openedPage !== page) {
      console.log(`Closing extraneous page: ${openedPage.url()}`);
      await openedPage.close();
    }
  }
import { closeWelcomePage } = require("@requestly/rq-automation");
await closeWelcomePage(driver);
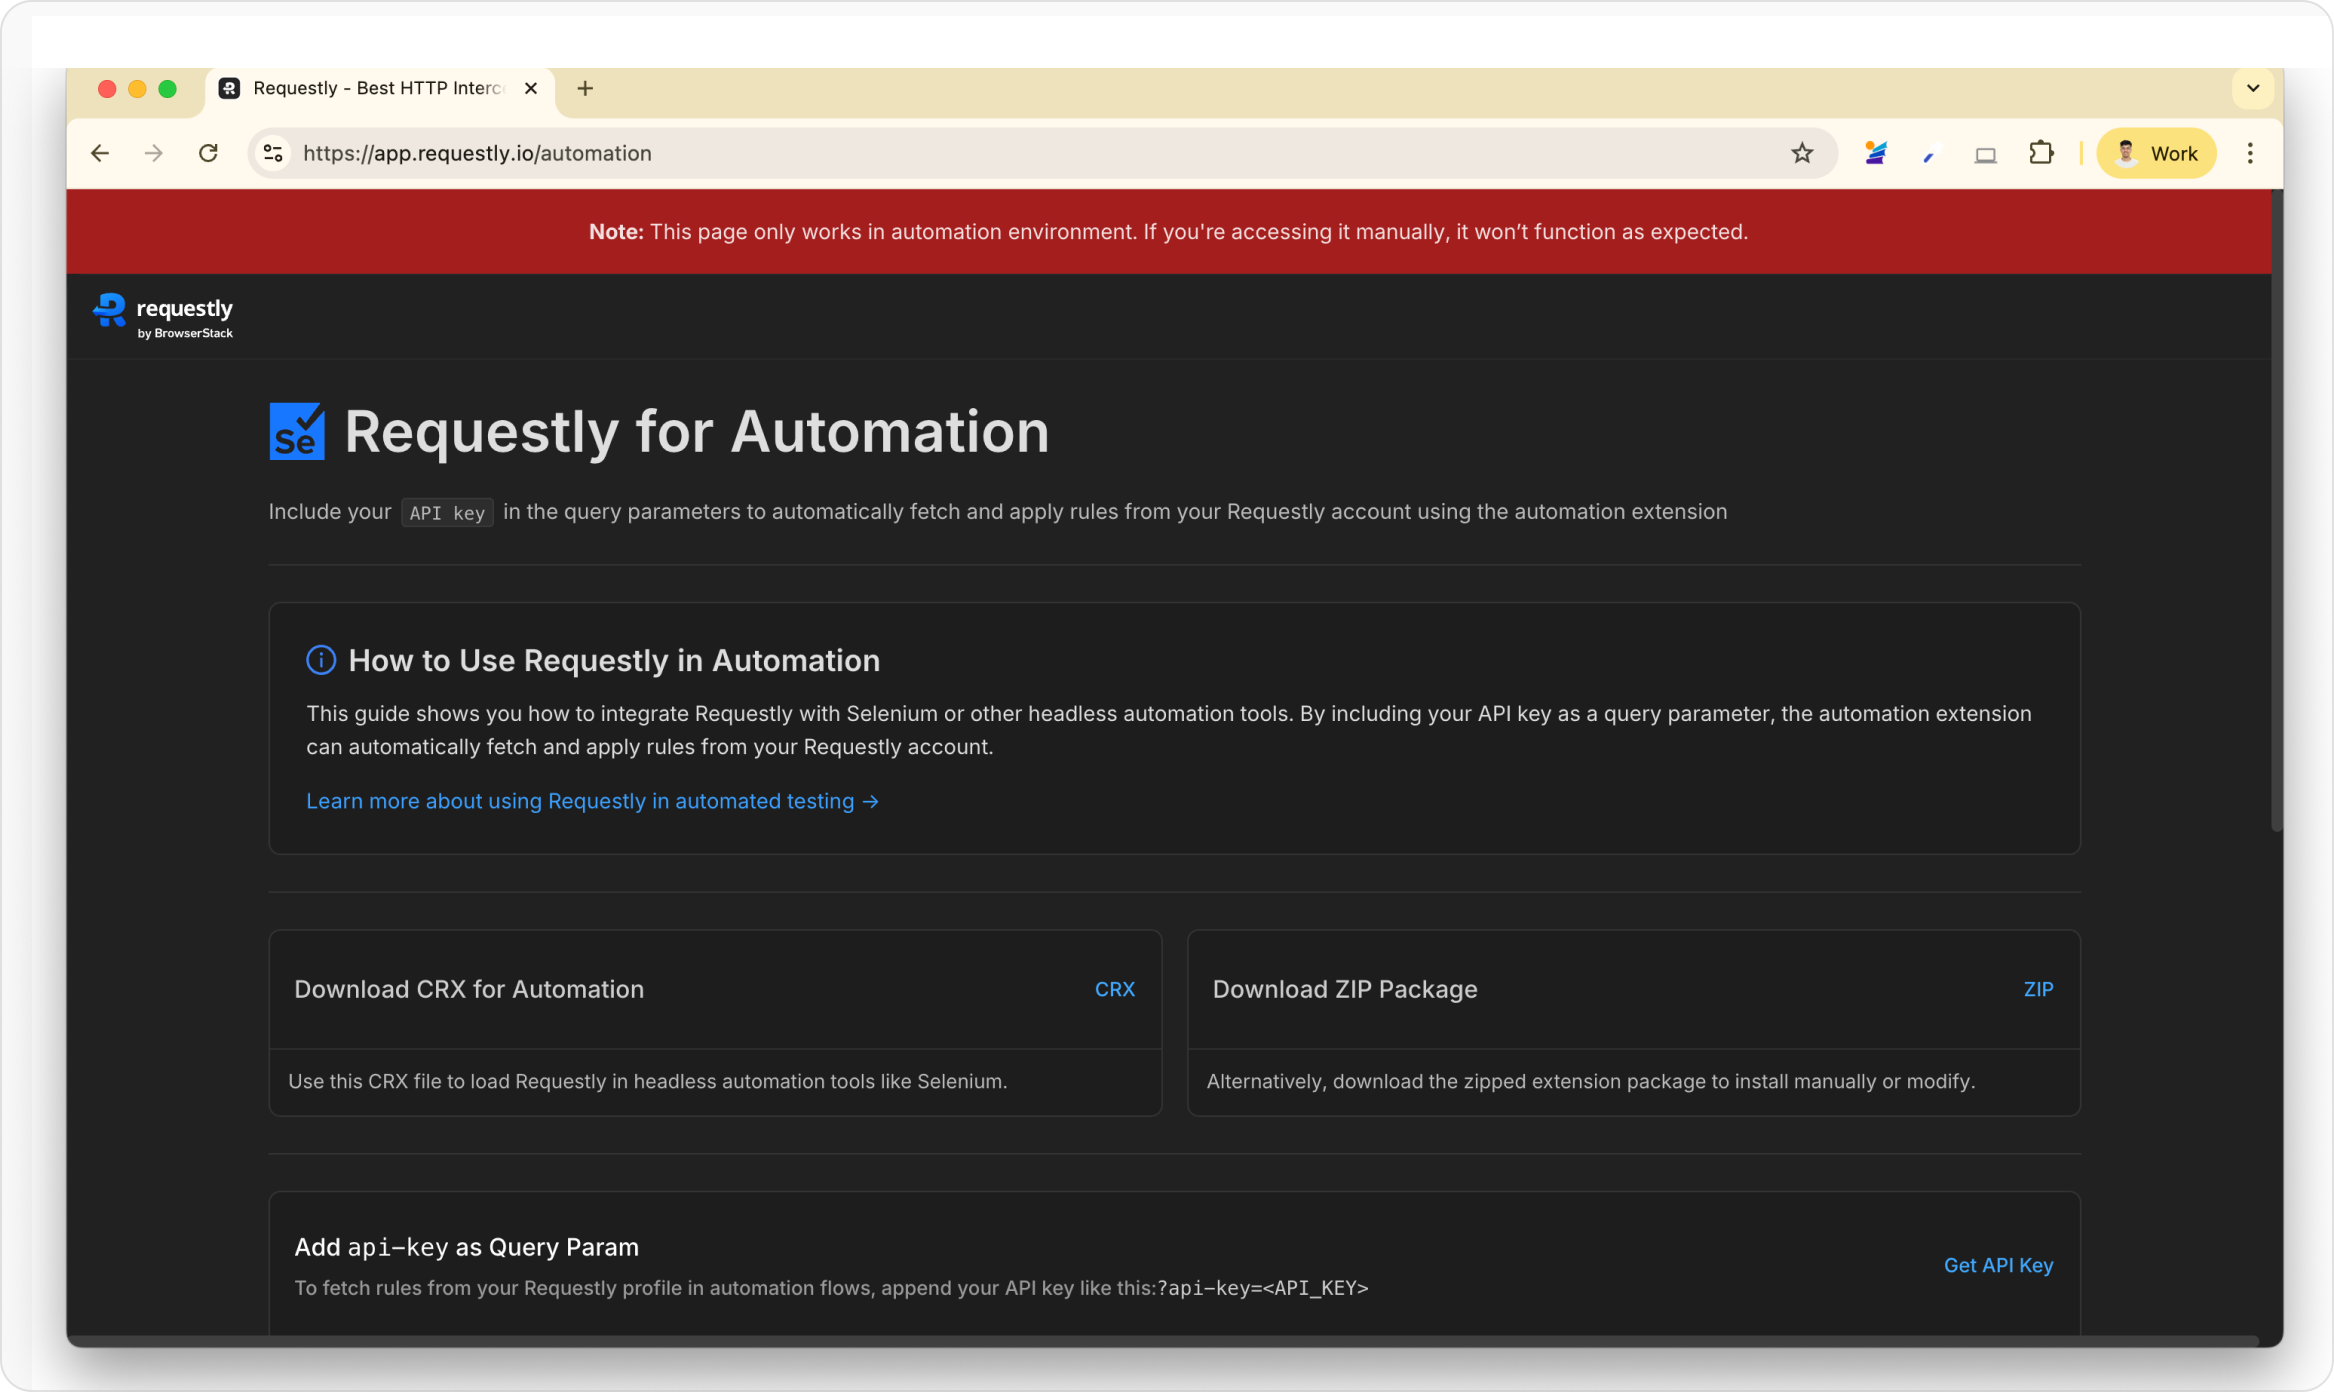
Import Rules from Requestly Interceptor
Visit the following URL in your automated browser to import all active rules from your account:https://app.requestly.io/automation?apiKey=<YOUR_API_KEY>
const { importRules } = require("@requestly/rq-automation");

// this will return an URL to import rules
importRules("YOUR_API_KEY")
// https://app.requestly.io/automation?apiKey=<YOUR_API_KEY>