Certificates stay on this device. They are not synced to the Requestly cloud, so each device must add its own copy.
wss://). The same CA trust set and client-certificate matching rules apply uniformly.
Prerequisites
- Requestly desktop app version 2605.12.2 or later.
- For CA certificates: a PEM-encoded CA certificate file (
.pemor.crt). - For client certificates: either a PEM pair (certificate file
.crt/.pem+ private key file.key) or a PFX bundle (.pfx/.p12). Optional passphrase if the key or bundle is encrypted.
Open the Certificates settings
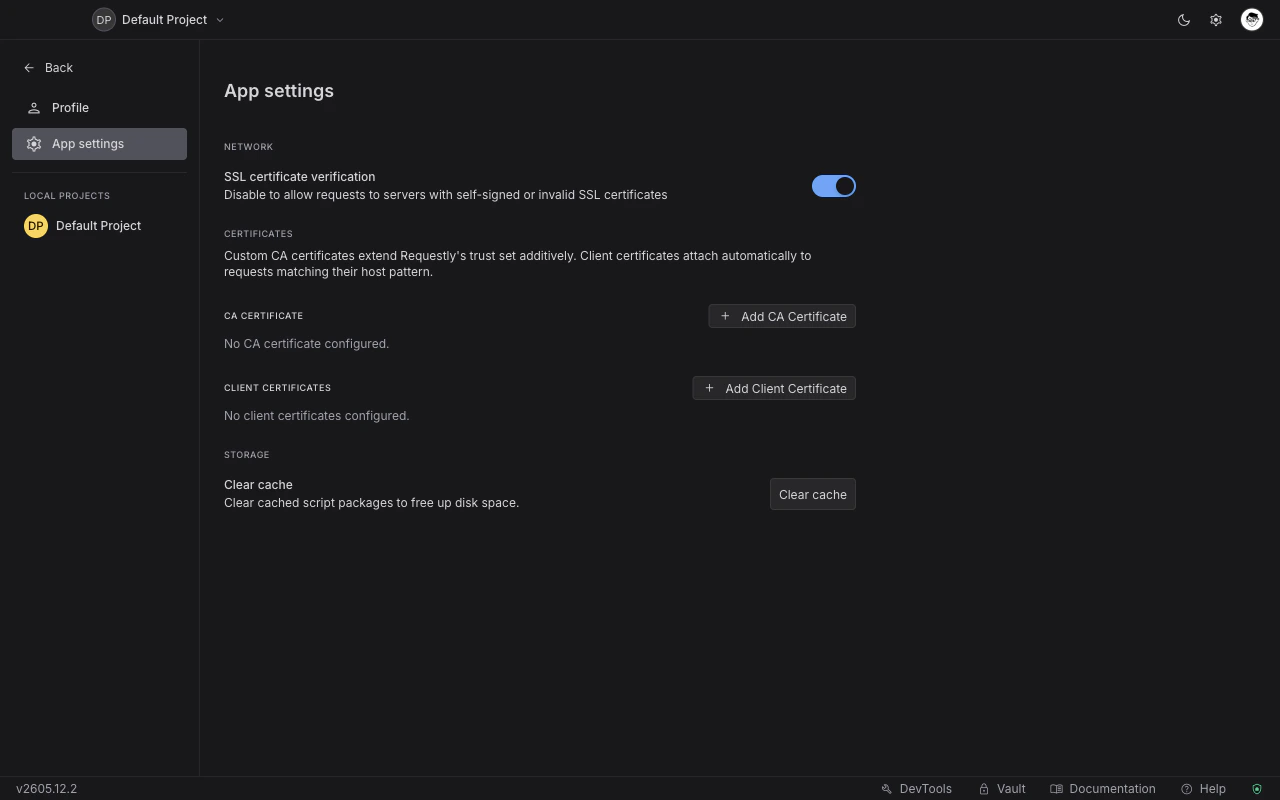
Open App Settings
Click the Settings icon in the application footer, or navigate to App Settings from the menu.
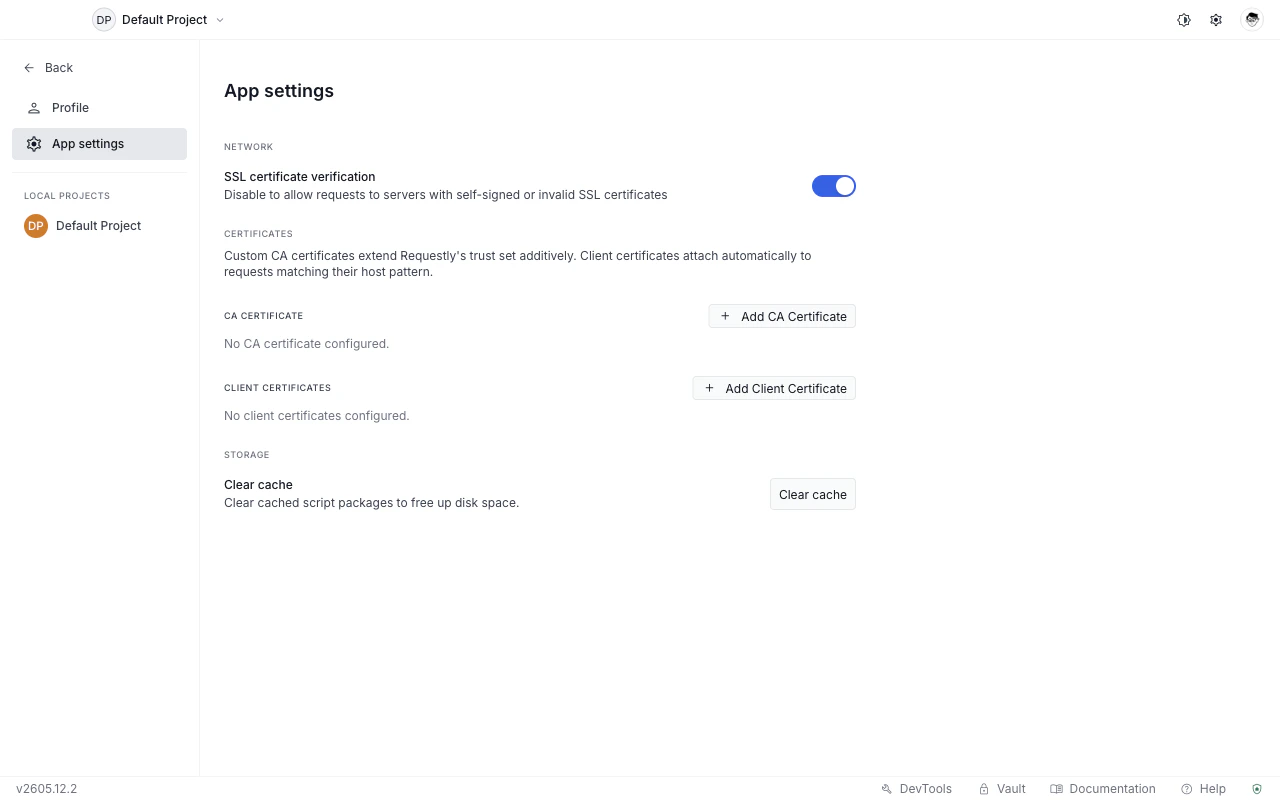
CA certificates
A CA certificate tells Requestly to trust servers whose certificate chain is signed by that CA. Use it when your internal API returns a certificate signed by your company’s own CA and requests fail with an SSL error.Requestly merges your uploaded CA with the system and Node built-in trust roots, so public HTTPS sites continue to work normally. You do not need to replace the default trust set.
Add a CA certificate
Open the file picker
In the CA Certificate section, click Add CA Certificate. An OS file picker opens.
Enable or disable a CA certificate
Each CA certificate row has an Enabled toggle. Turn it off to stop trusting that CA without deleting the certificate.Delete a CA certificate
Click the delete icon on the row. A confirmation dialog explains that the cert file on disk is not deleted, only the reference inside Requestly is removed.Client certificates
A client certificate lets Requestly prove the caller’s identity during a TLS handshake. The certificate is attached only to requests whose host and port match the rule you configure.Add a client certificate
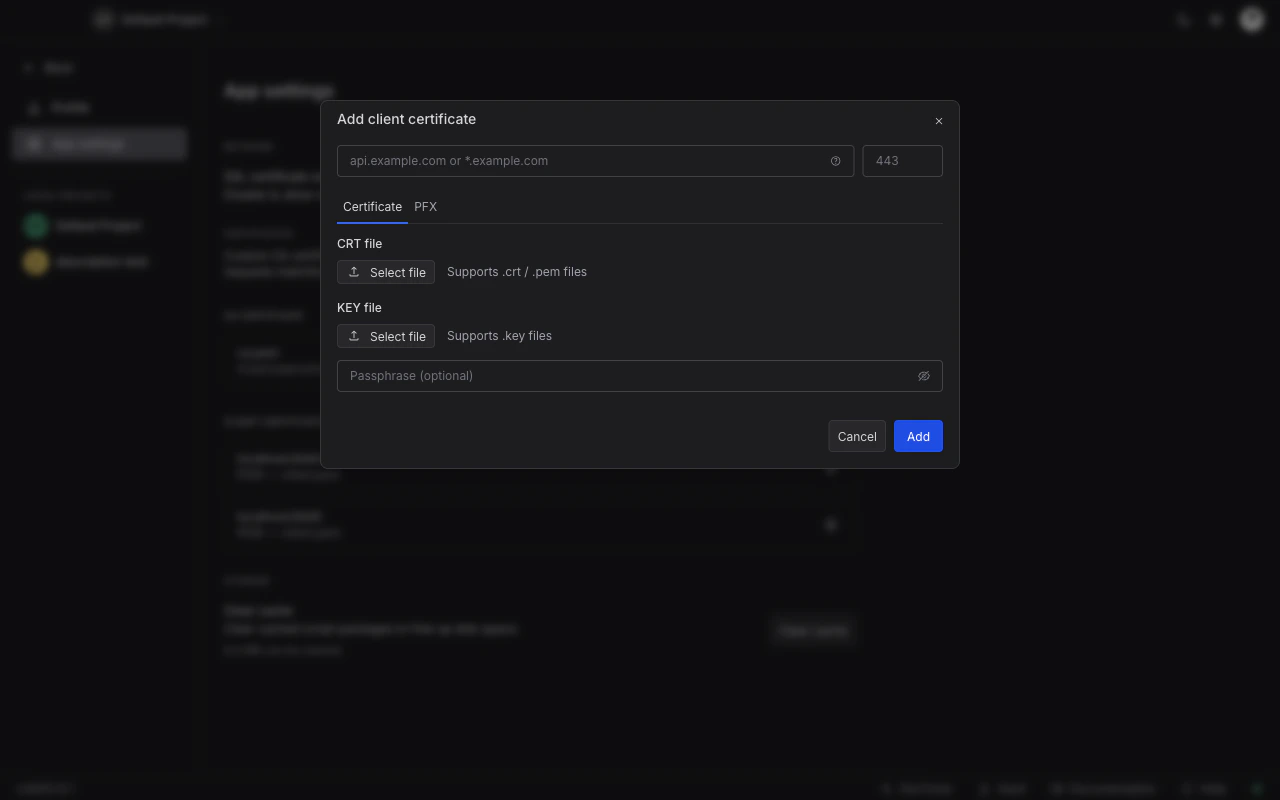
Open the Add Client Certificate dialog
In the Client Certificates section, click Add Client Certificate.
Set the host
Enter a specific hostname (
api.internal.example.com) or a single-label wildcard (*.example.com) in the Host field.The wildcard matches one subdomain level only:
*.example.com matches api.example.com but not a.api.example.com and not example.com itself.Choose a format and select files
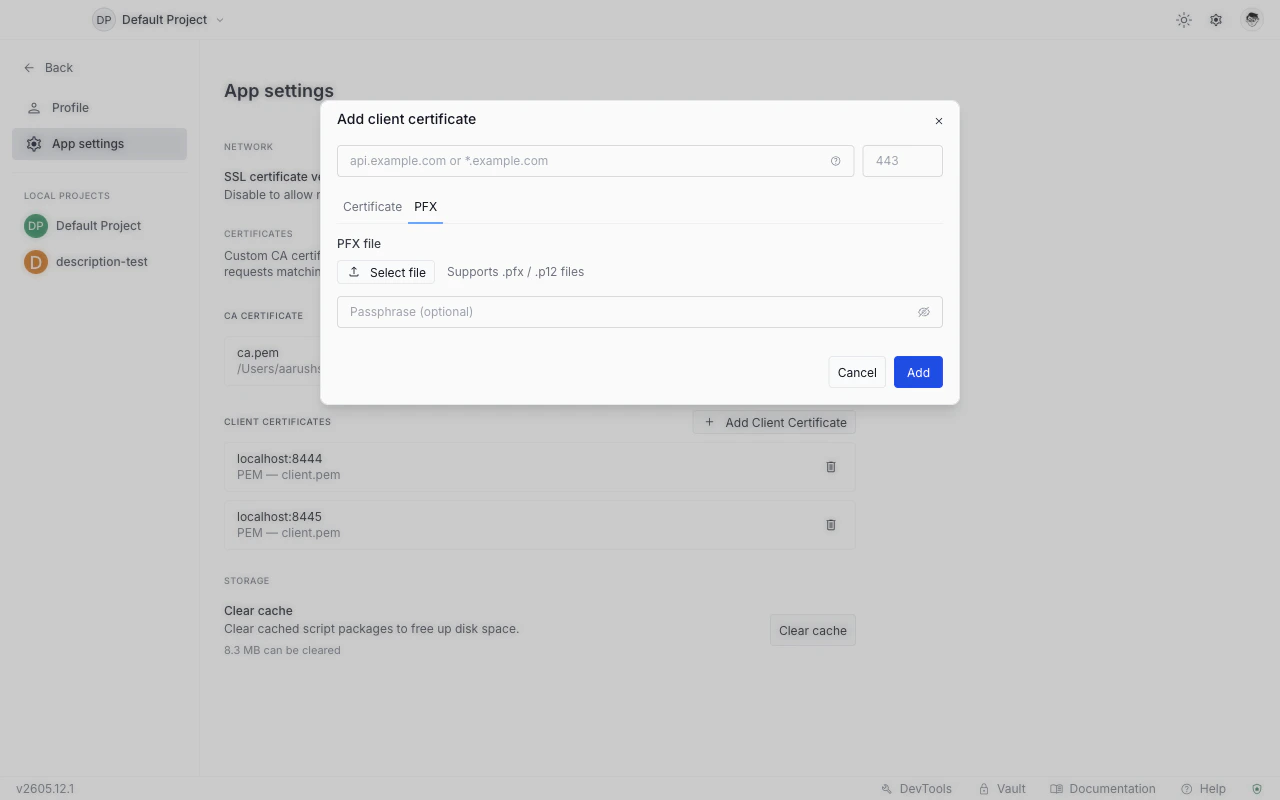
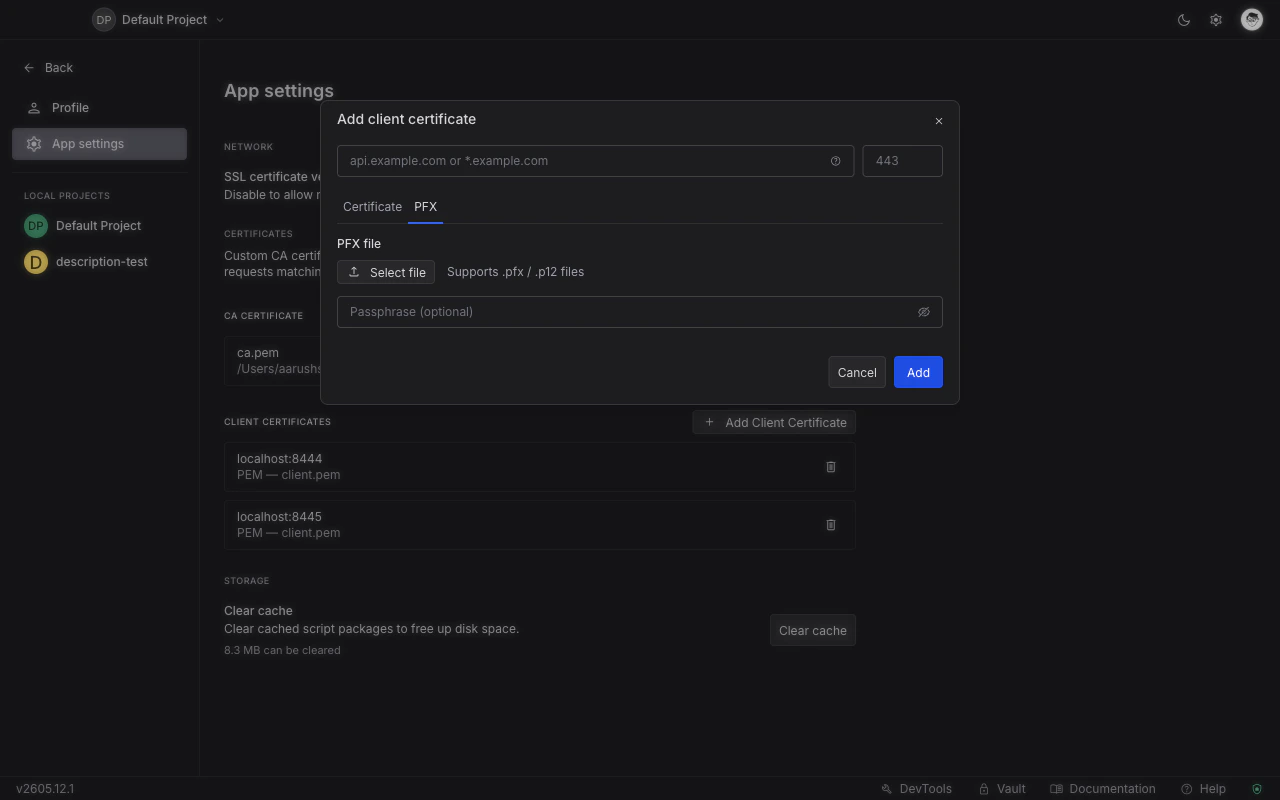
Pick the format that matches your certificate bundle: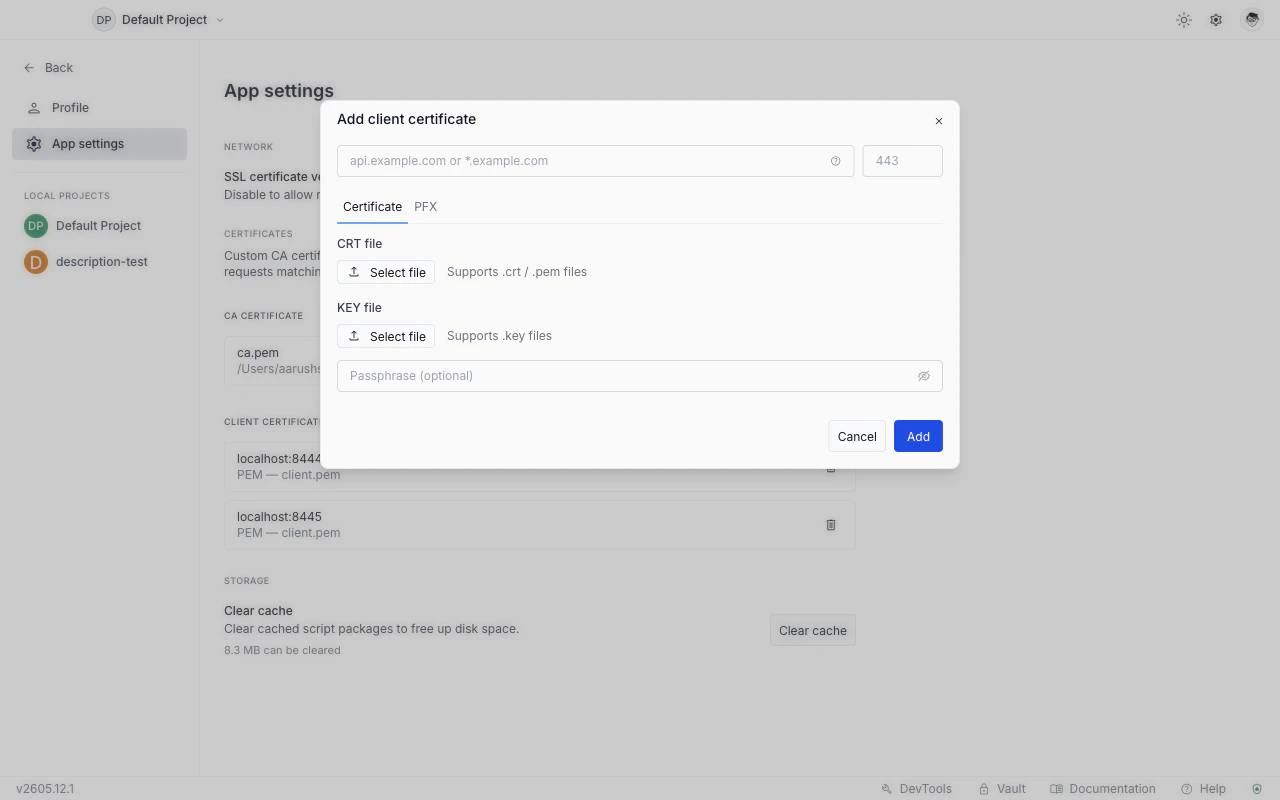
- Certificate (PEM): select your certificate file and your private key file separately.
- PFX: select a single
.pfxor.p12bundle that contains both.
Delete a client certificate
Click the delete icon on the row. The confirmation dialog shows the host and port the rule covered. As with CA certificates, the cert files on disk are not deleted.Client certificate rows do not have an individual enable toggle. To stop attaching a certificate to a host, delete the row.
How certificate matching works
When you send a request, Requestly checks the request URL against your client certificate rules in this order:- Exact host match (case-insensitive) takes priority over wildcard matches.
- Ports must match exactly. If the URL has no explicit port and uses
https, port 443 is assumed. - The first matching rule is used. At most one client certificate is attached per request.
CA certificates that are enabled are always merged in for every HTTPS request. Disabled CA certificates are ignored.
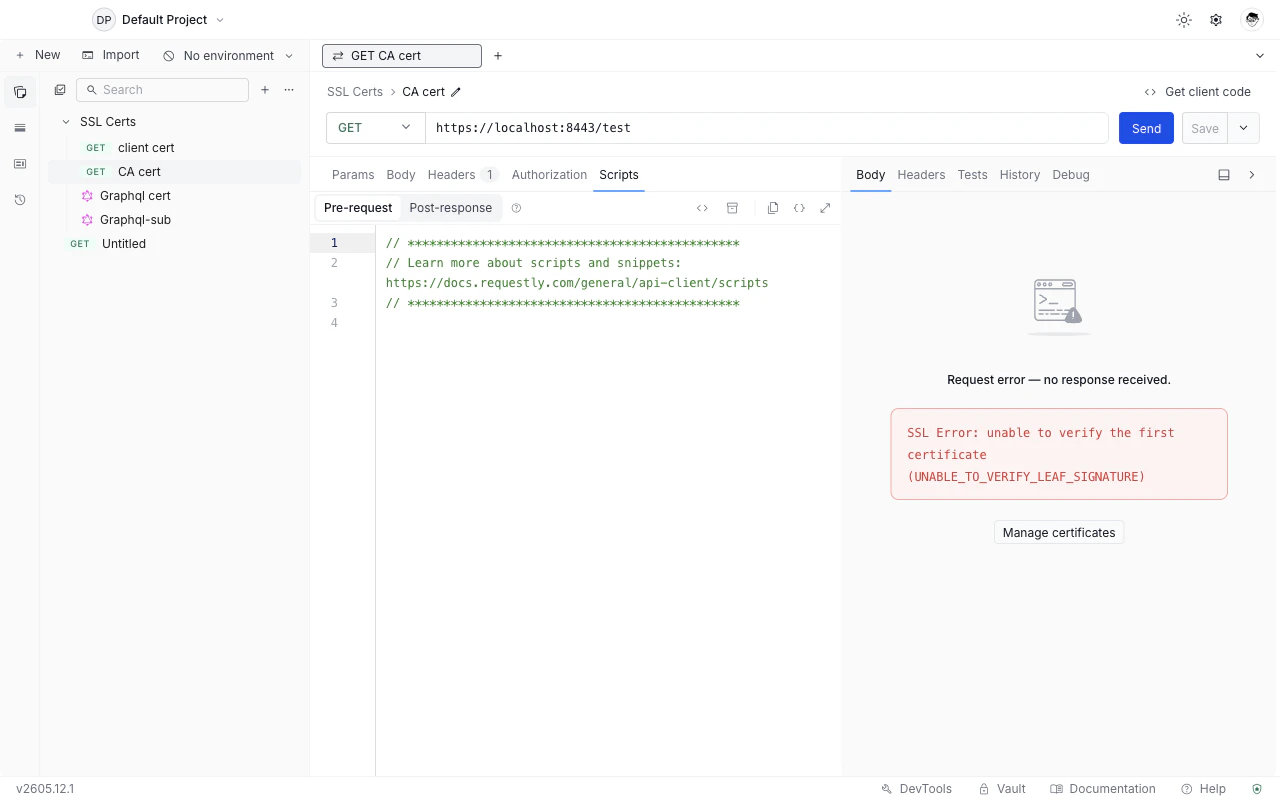
TLS errors in the response panel
When a request fails because of a TLS or certificate problem, the response panel shows an SSL Error message describing what went wrong (for example,SSL Error: UNABLE_TO_VERIFY_LEAF_SIGNATURE). A Manage certificates button appears next to the error to jump directly to the Certificates settings.

| Error code | Likely cause |
|---|---|
UNABLE_TO_VERIFY_LEAF_SIGNATURE | The server’s certificate chain is incomplete or signed by a CA Requestly does not trust. Add the CA certificate. |
ERR_TLS_CERT_ALTNAME_INVALID | The hostname in the request does not match any name on the server’s certificate. Check that the URL is correct. |
CERT_HAS_EXPIRED | The server’s certificate has passed its expiry date. This is a server-side issue. |
ERR_SSL_WRONG_VERSION_NUMBER | TLS version mismatch between Requestly and the server. |
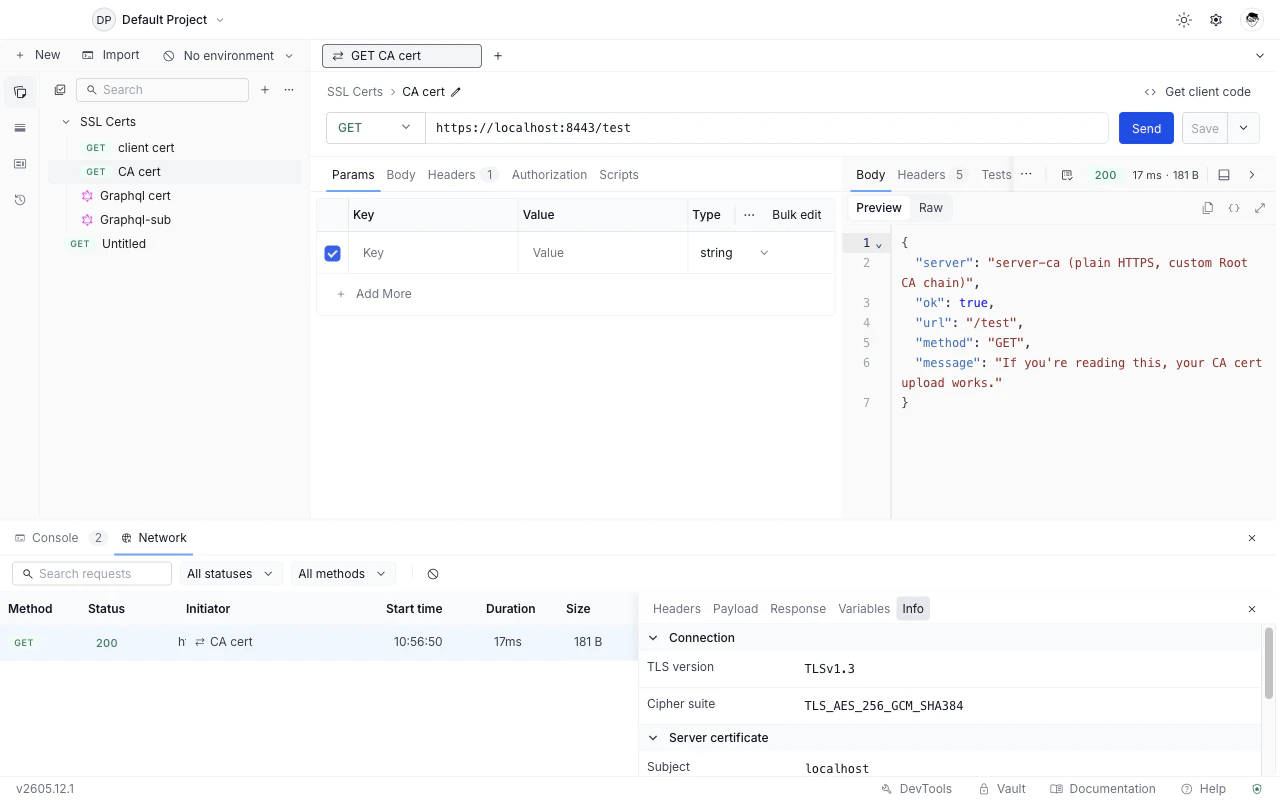
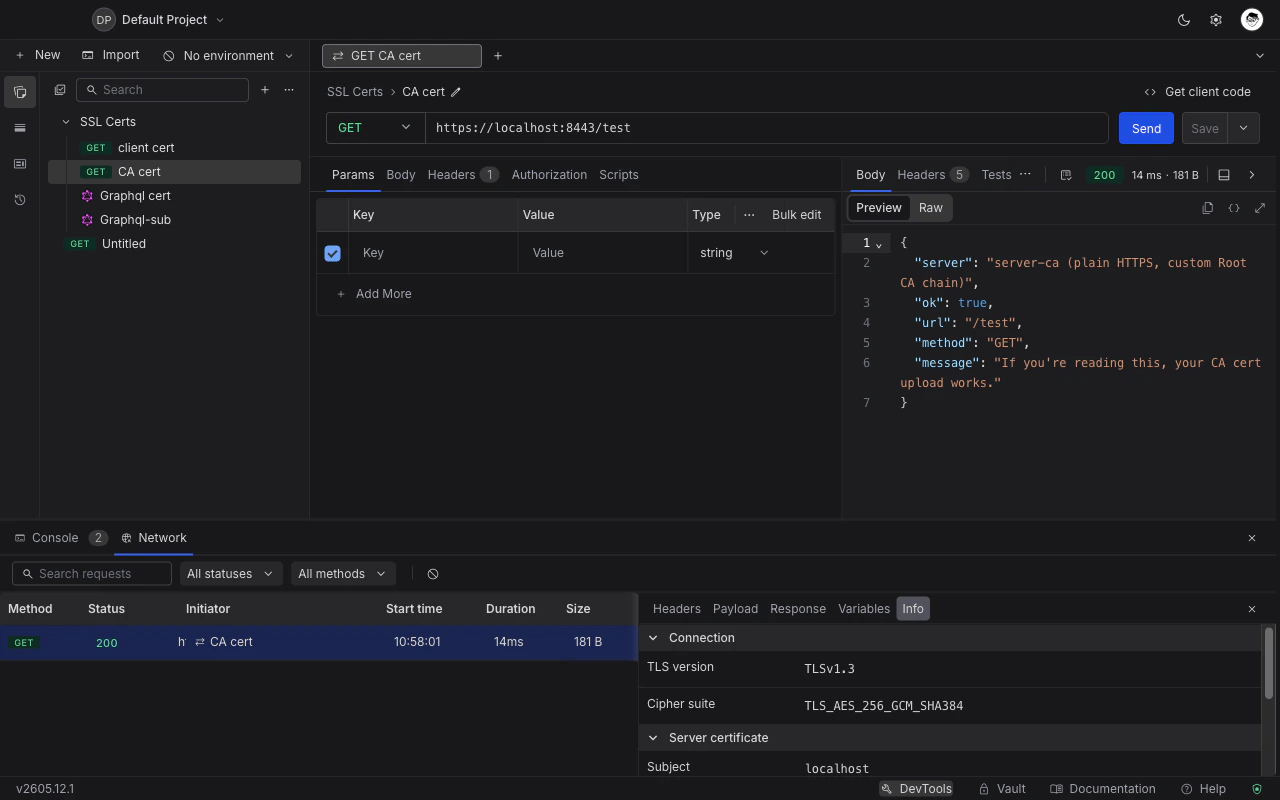
Inspect TLS details after a successful request
For HTTPS requests that succeed, you can see the full handshake details in DevTools.Select the request
Go to the Network tab and click the request whose TLS details you want to inspect.
What’s Next
Authorization
Set API keys, Bearer tokens, and other auth schemes on requests or collections
DevTools
Inspect TLS handshake details, headers, and script logs in one panel