

/graphql) and specify the exact data you want. This gives you flexibility, reduces over-fetching, and makes debugging APIs much simpler.
Create your first GraphQL request
1
Open API Client and Create a New Request
Open Requestly Desktop App, then click the 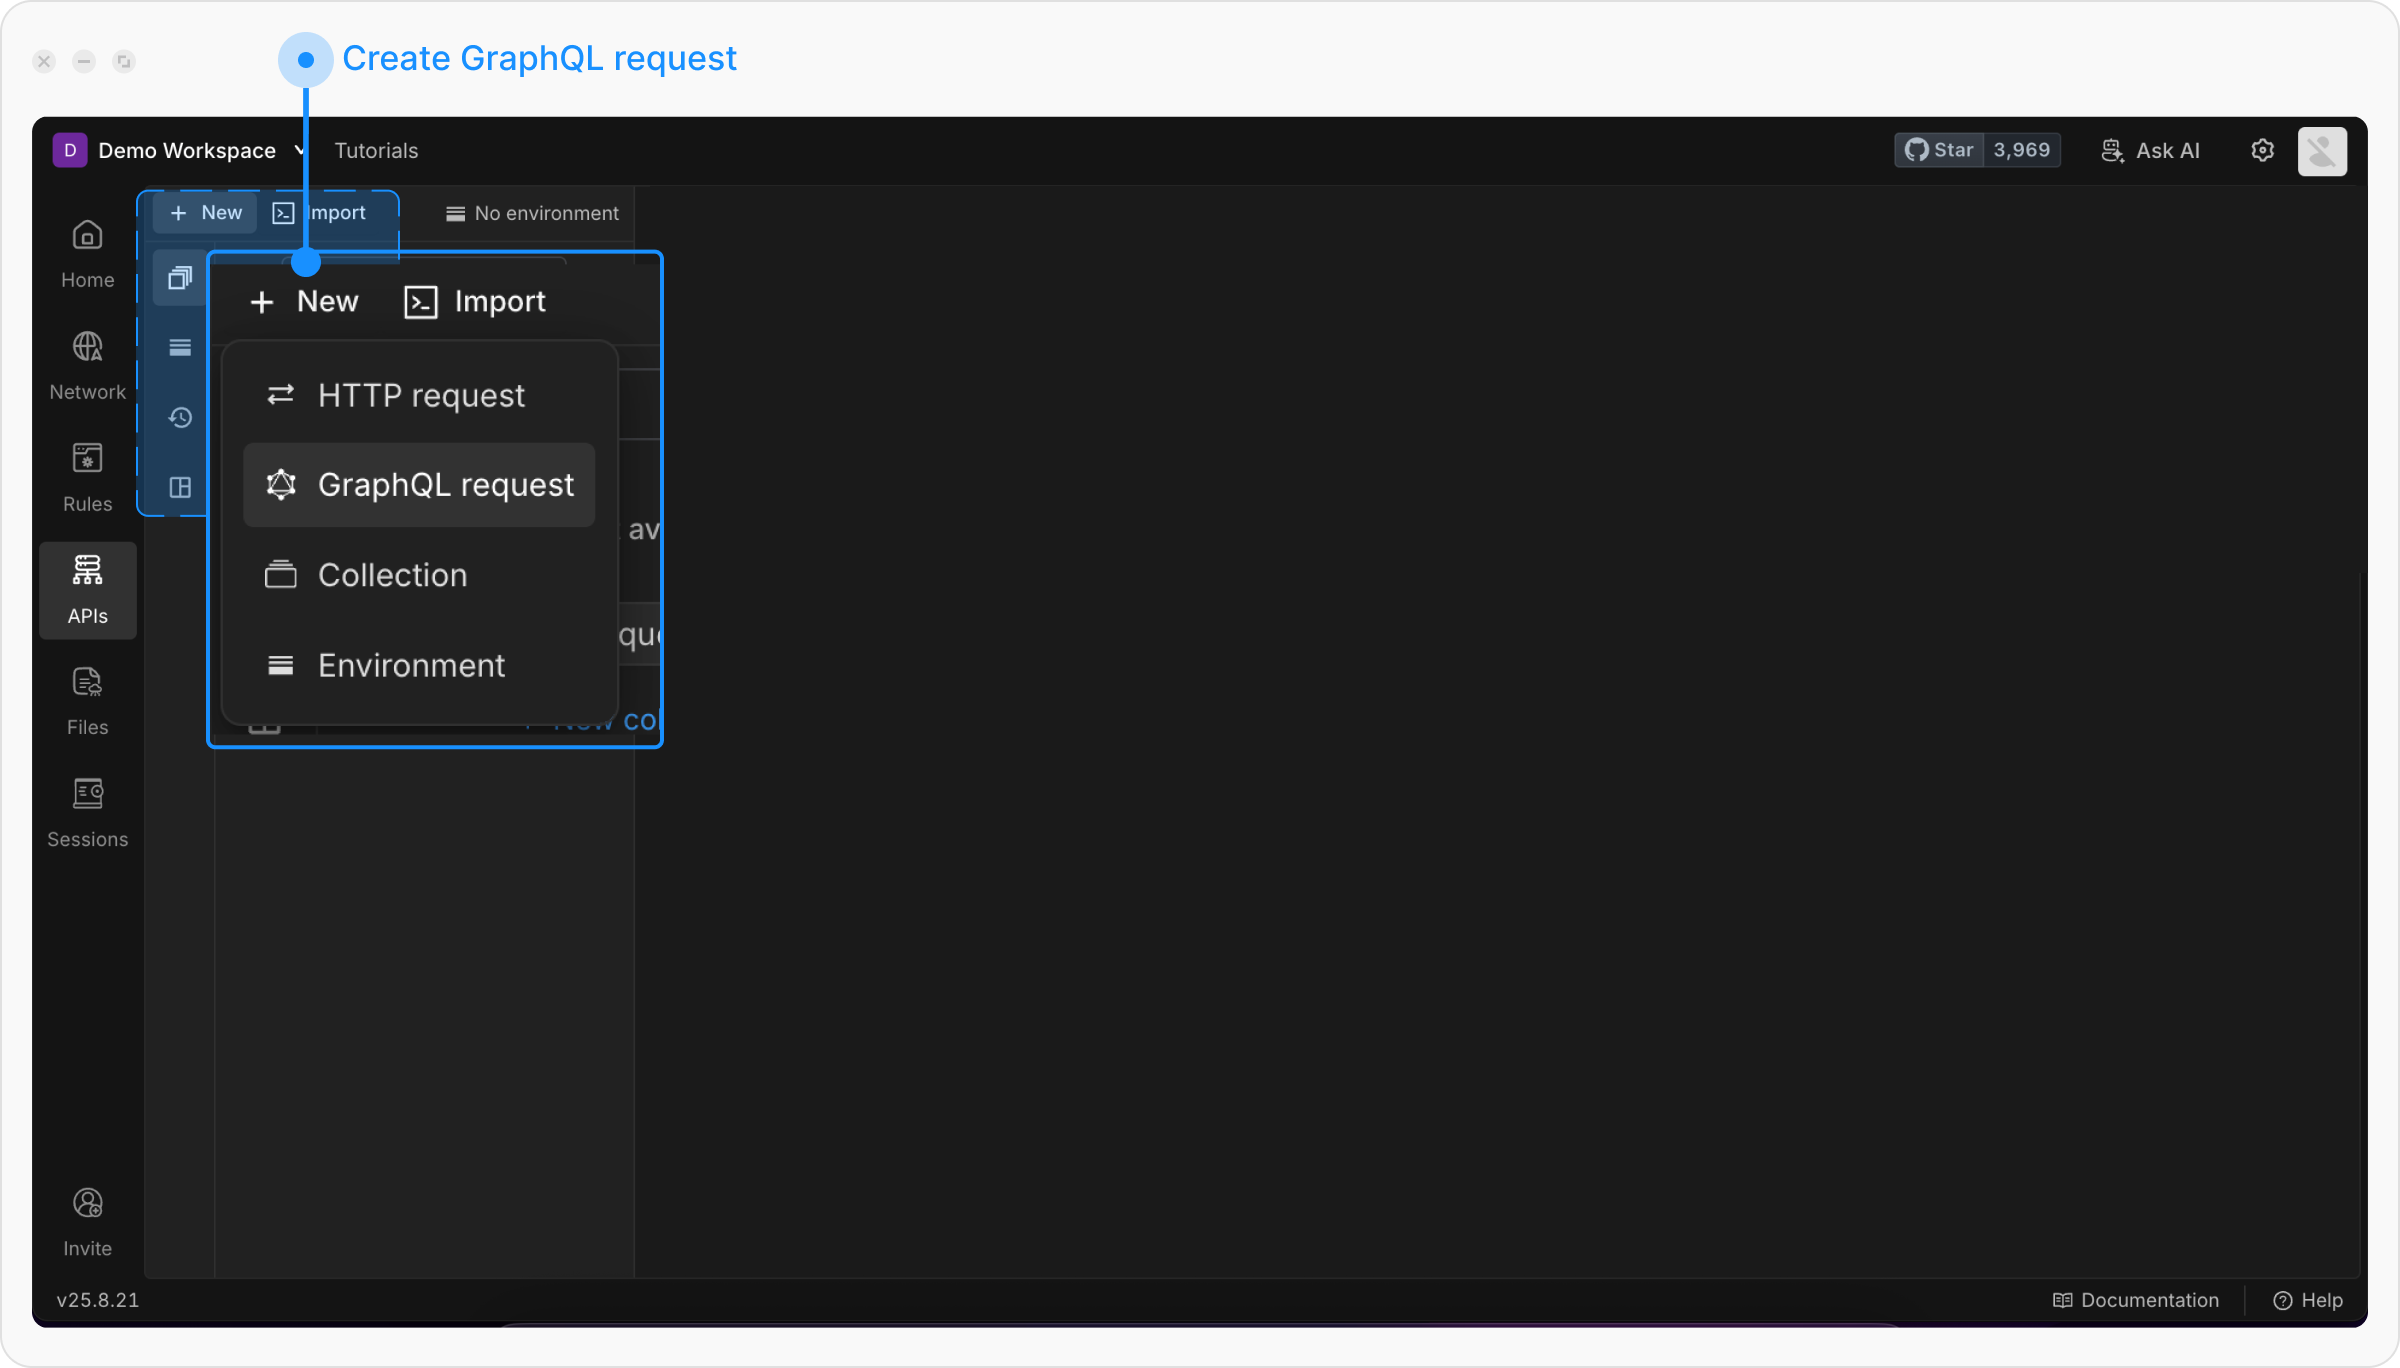
+ New button to create a new request and select GraphQL request from the menu.2
Name Your API Request
Give a descriptive title for your request to make it easy to identify later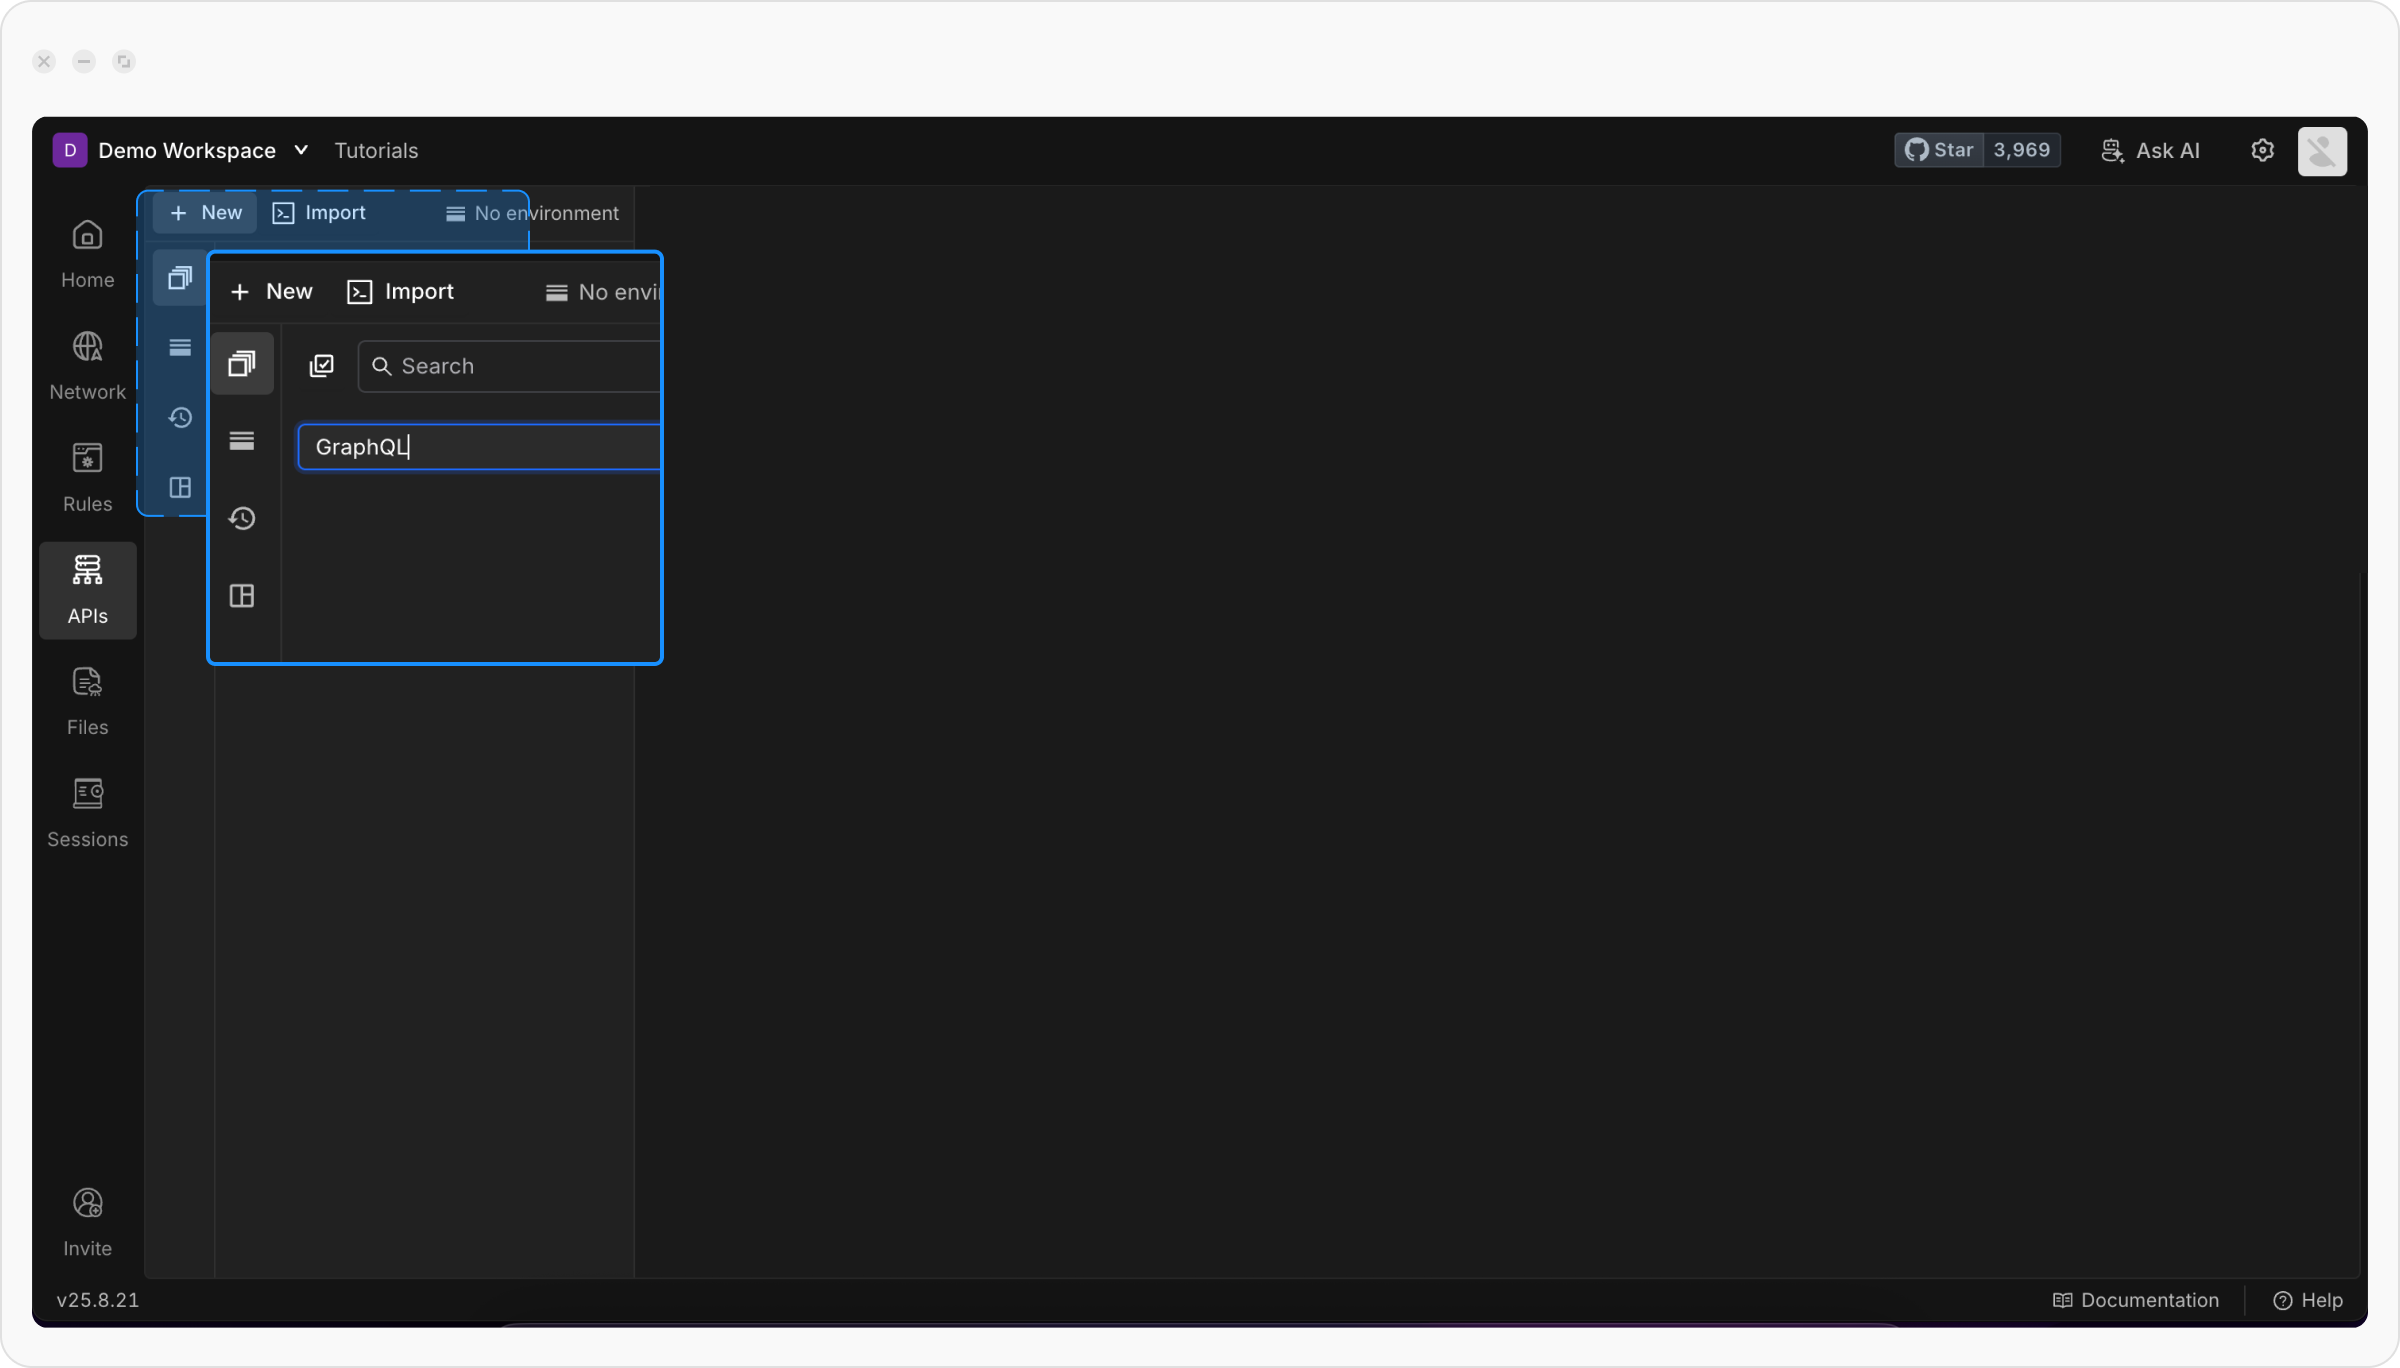
3
Enter the GraphQL server URL
Add your GraphQL endpoint.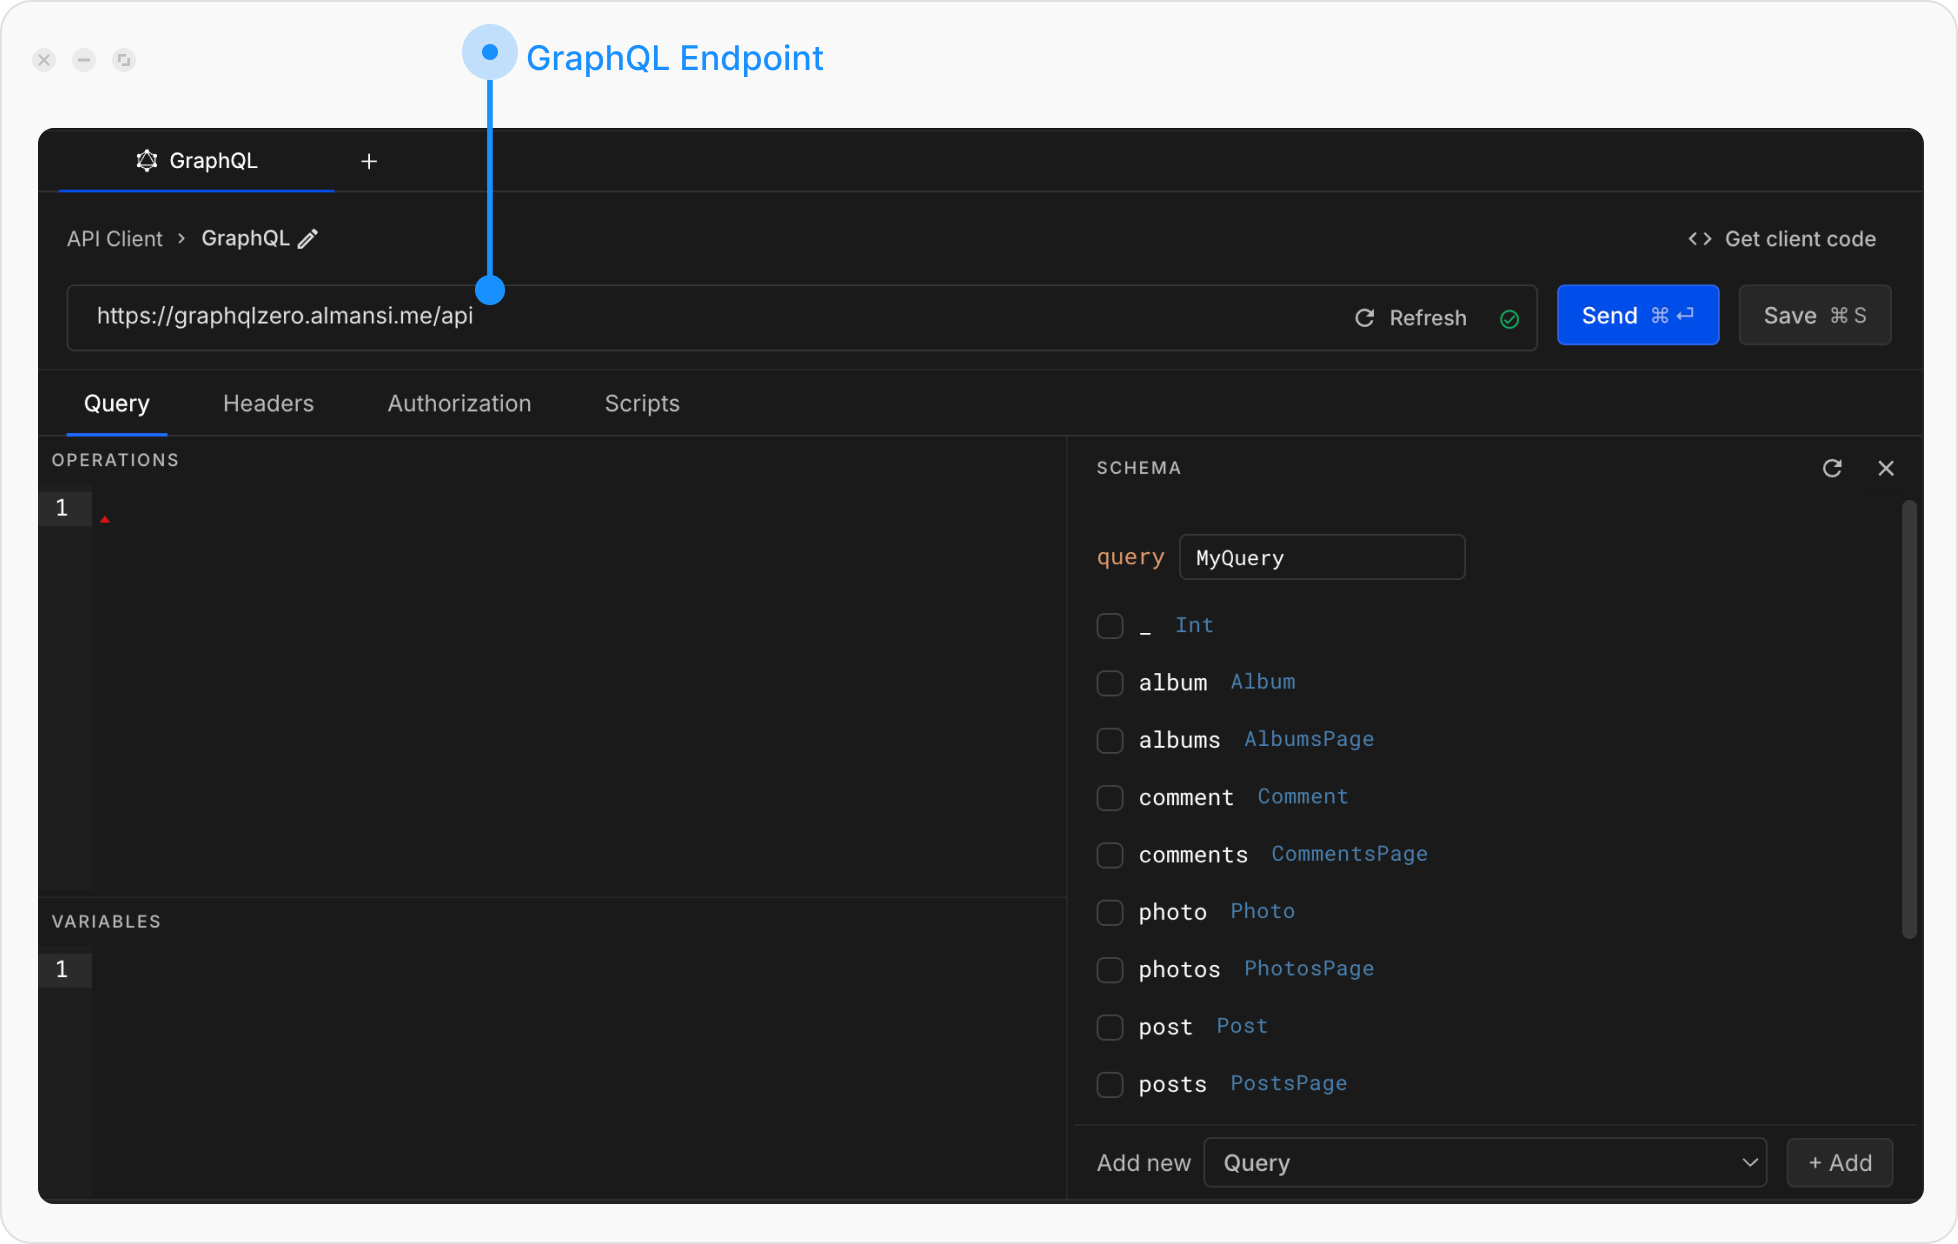
It will automatically perform schema introspection so you can explore available queries, mutations, and types.
4
Explore the schema
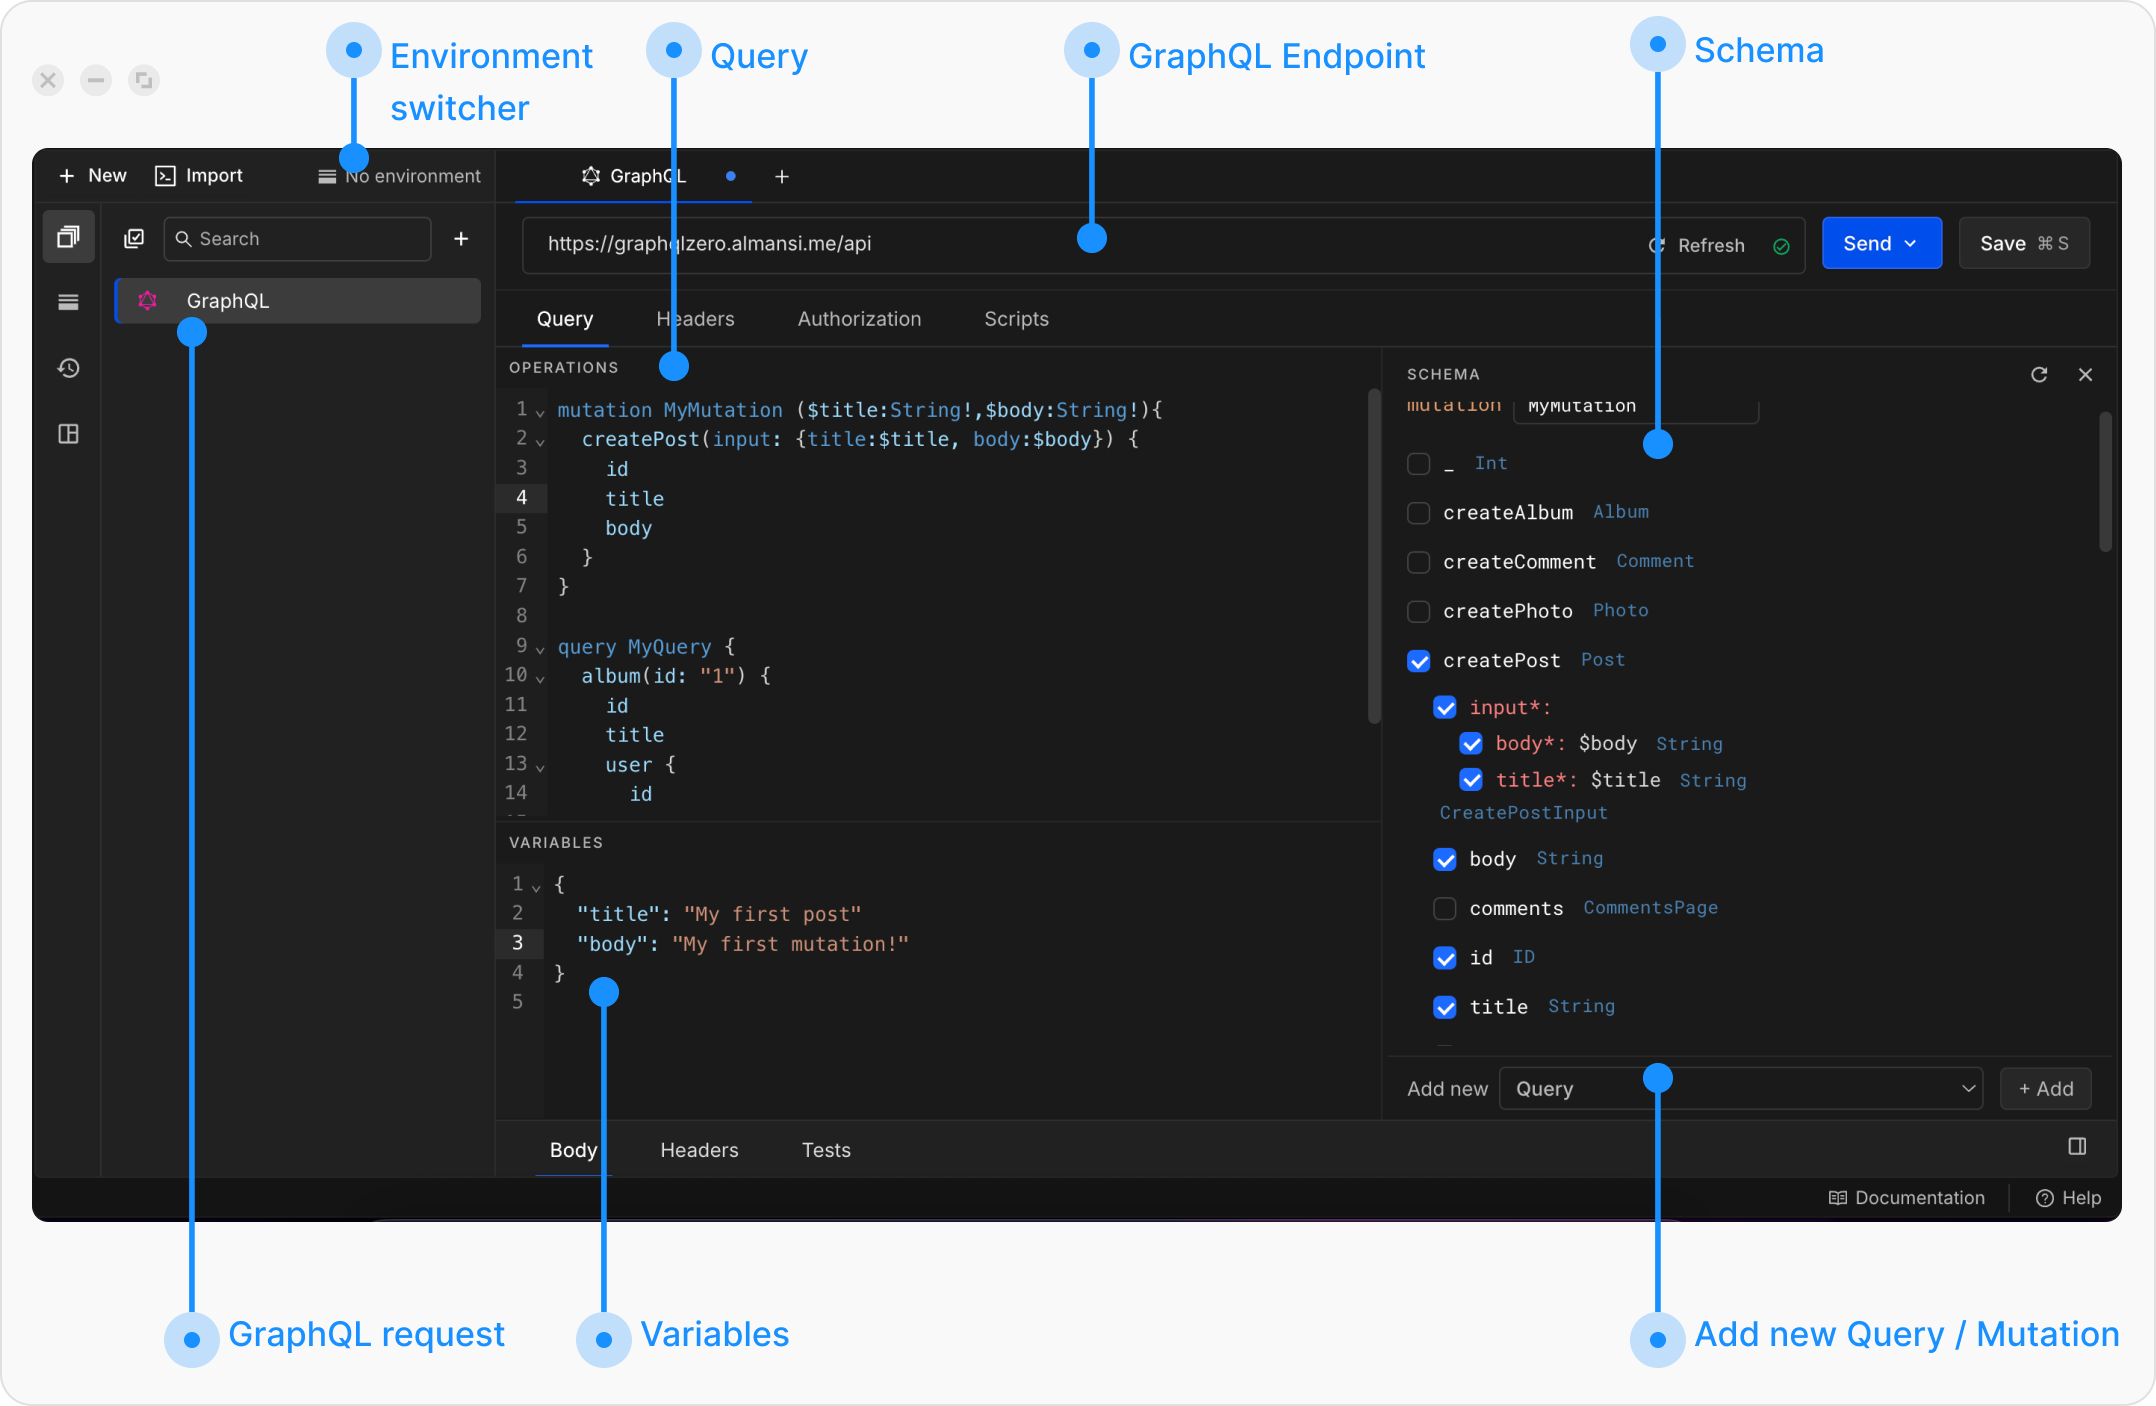
Under the Query tab, you’ll see three panels: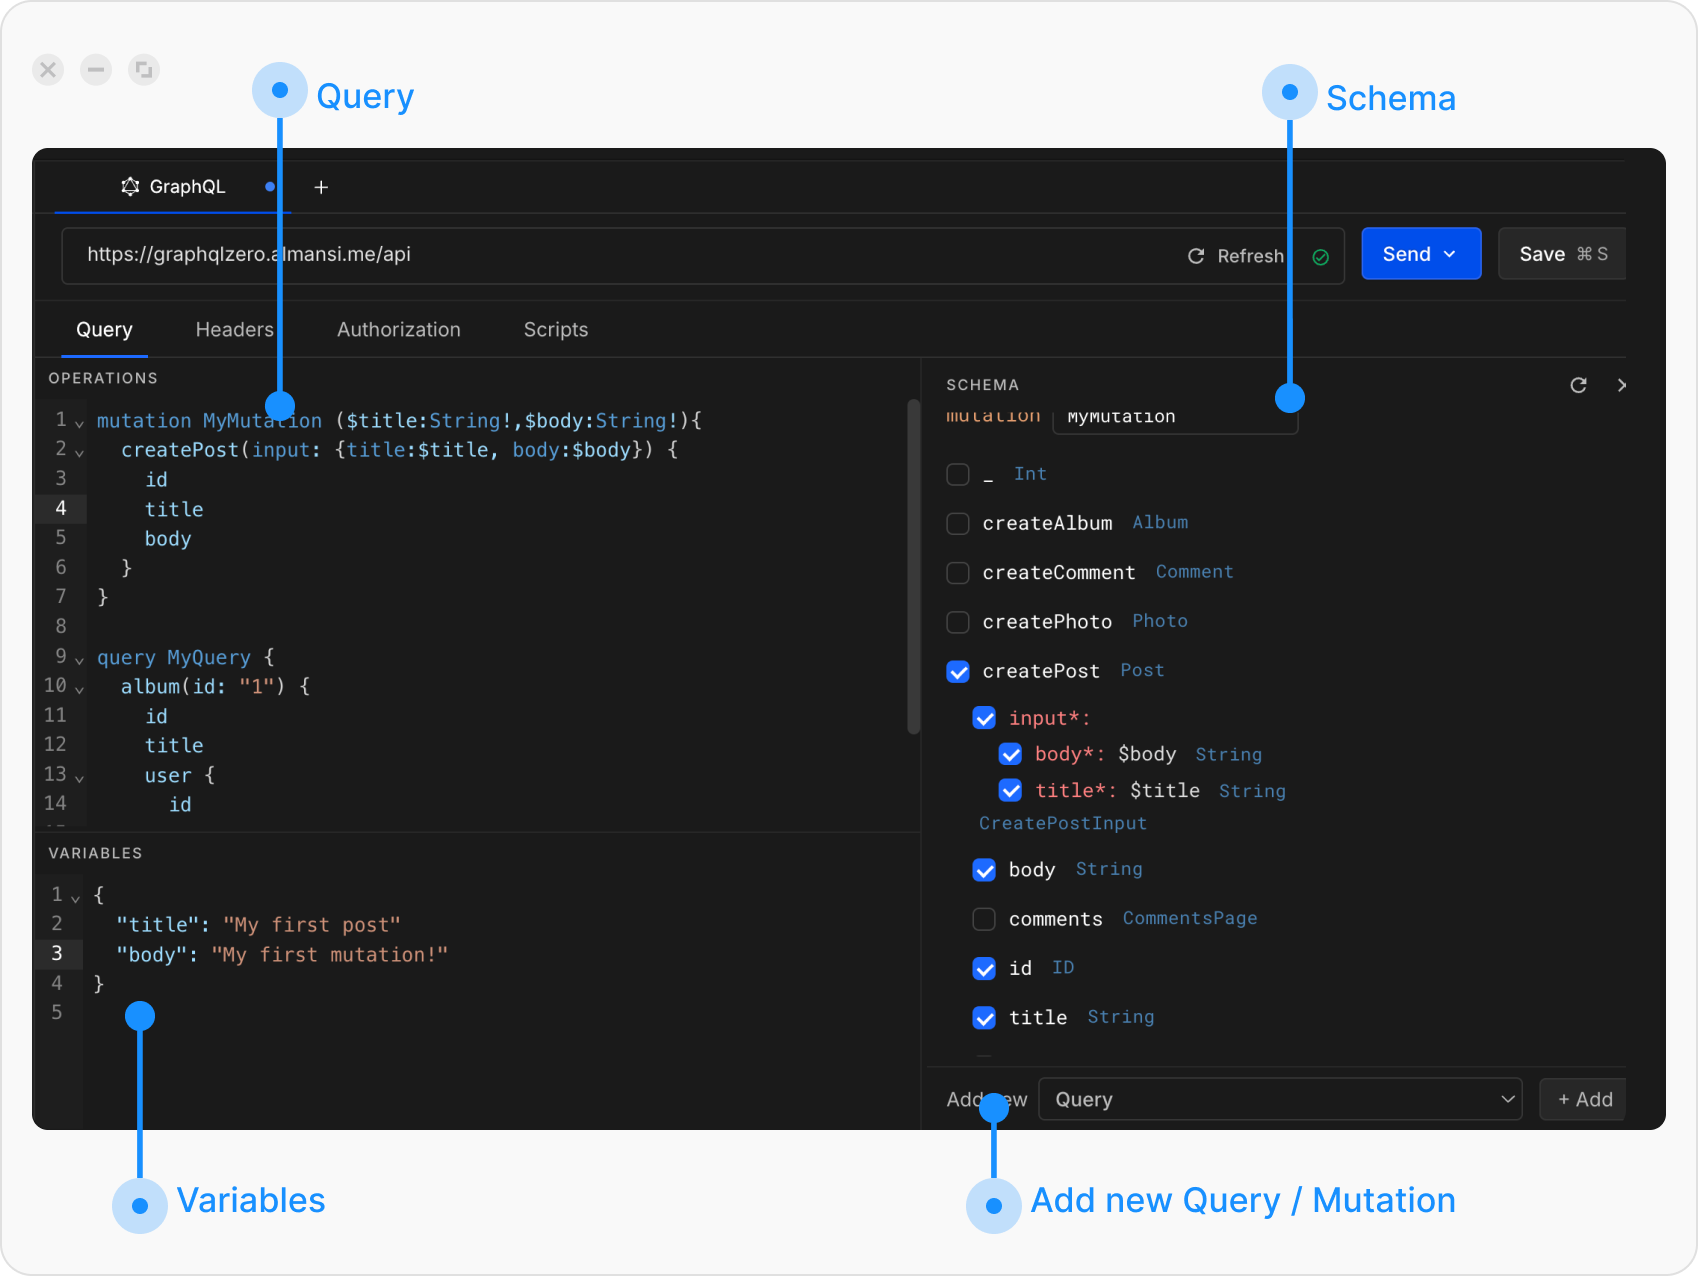
- Query/Mutation editor: where you write or generate queries.
- Variables editor: where you define variables in JSON format.
- Schema explorer: where you browse your API’s schema (Queries, Mutations, Subscriptions). If the panel is closed, the Schema button at the right-hand end of the tab strip reopens it, and that button disappears while the panel is open.
The Schema button described here only opens this explorer panel. The separate Schema tab in the same tab strip is where you attach a schema document, covered in Attach a schema from a file or URL.
5
Build your query
In the schema explorer, select a field and expand its arguments. A query will automatically appear in the Query editor.
Alternatively, you can write your query manually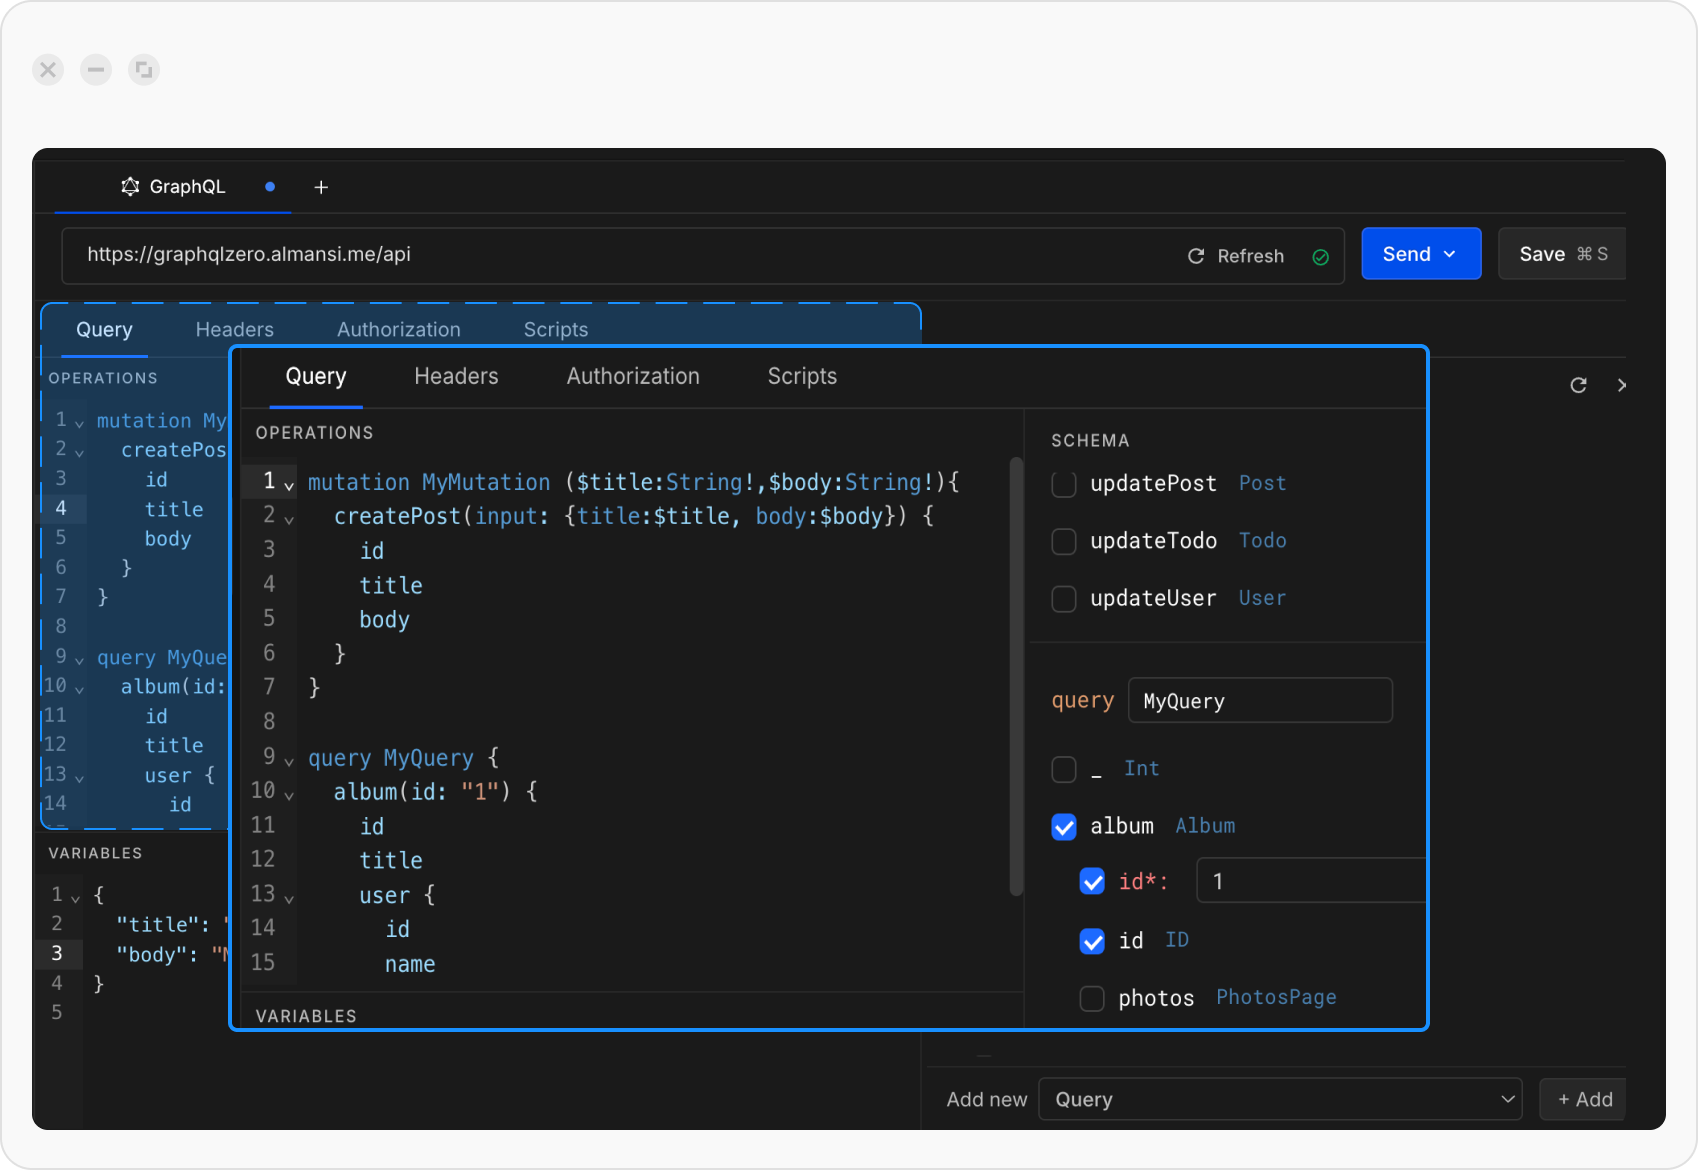
Alternatively, you can write your query manually
6
Add variables (optional)
In the Variables editor, provide values in JSON format.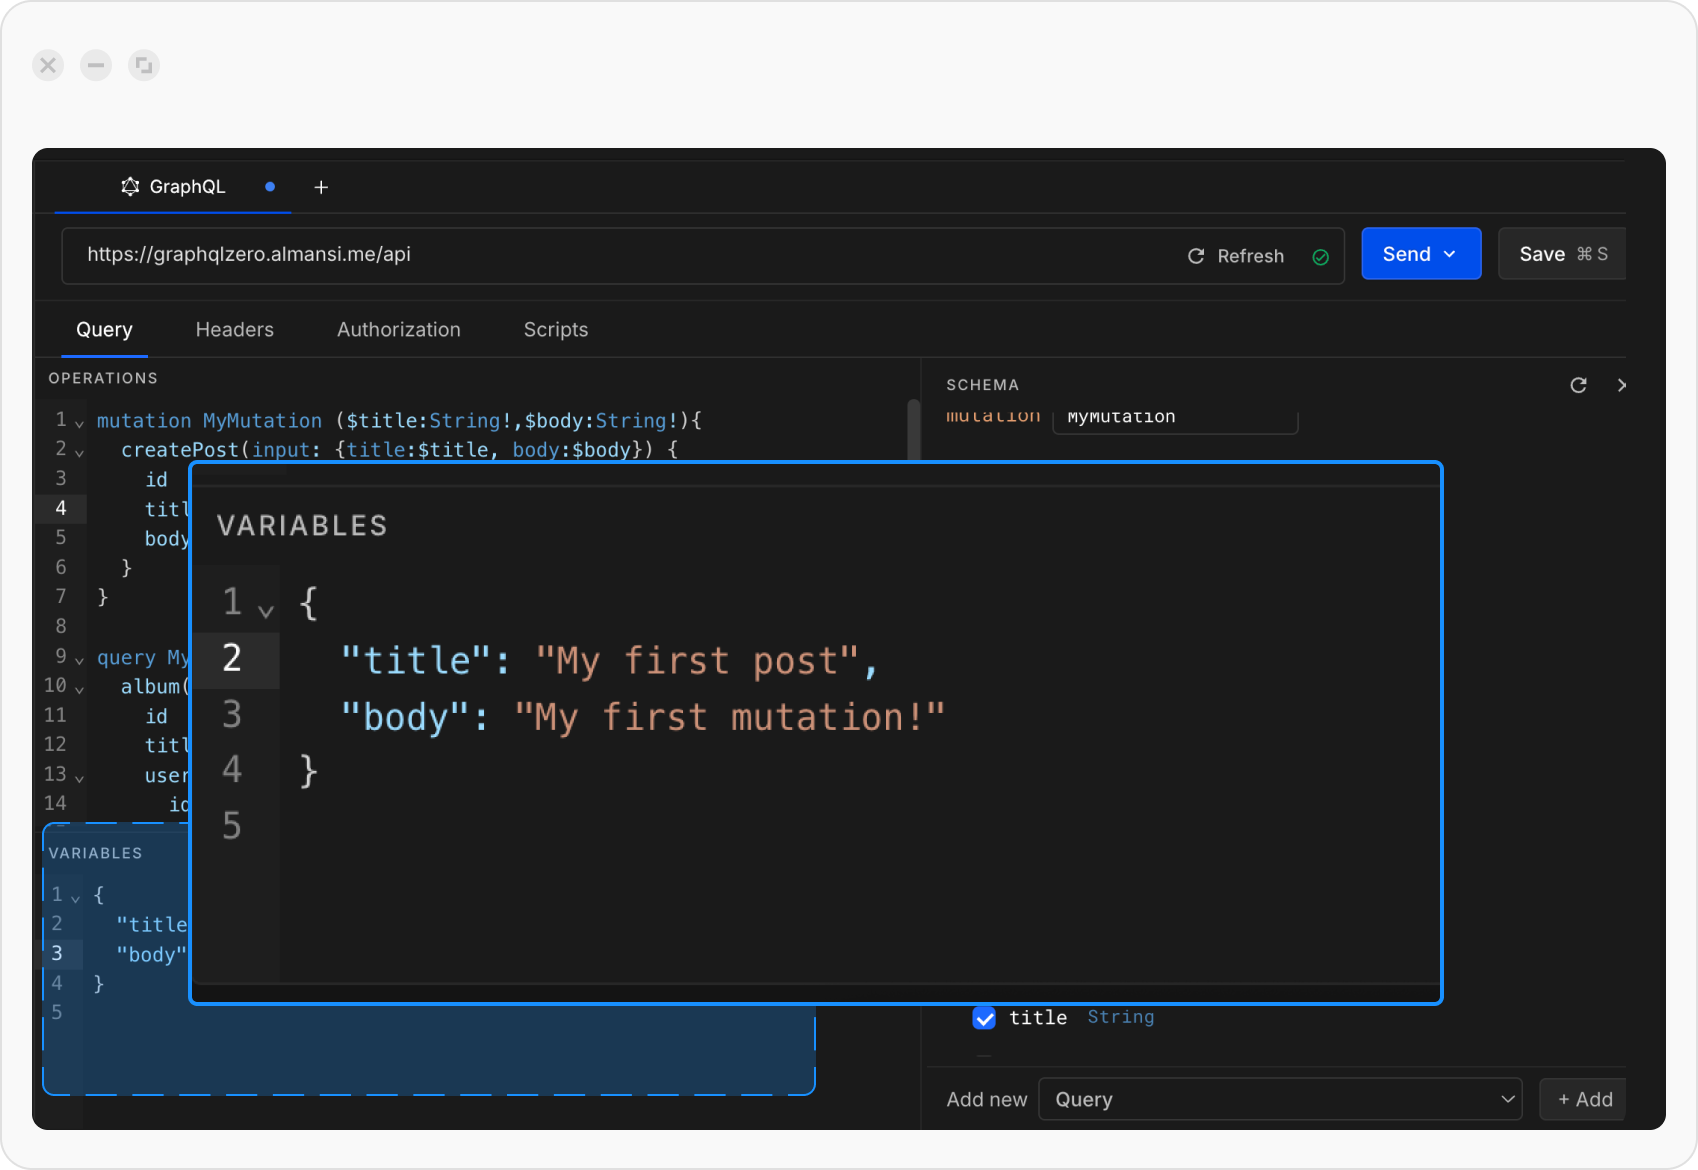
7
Send the request
Click Send to execute your query and view the response.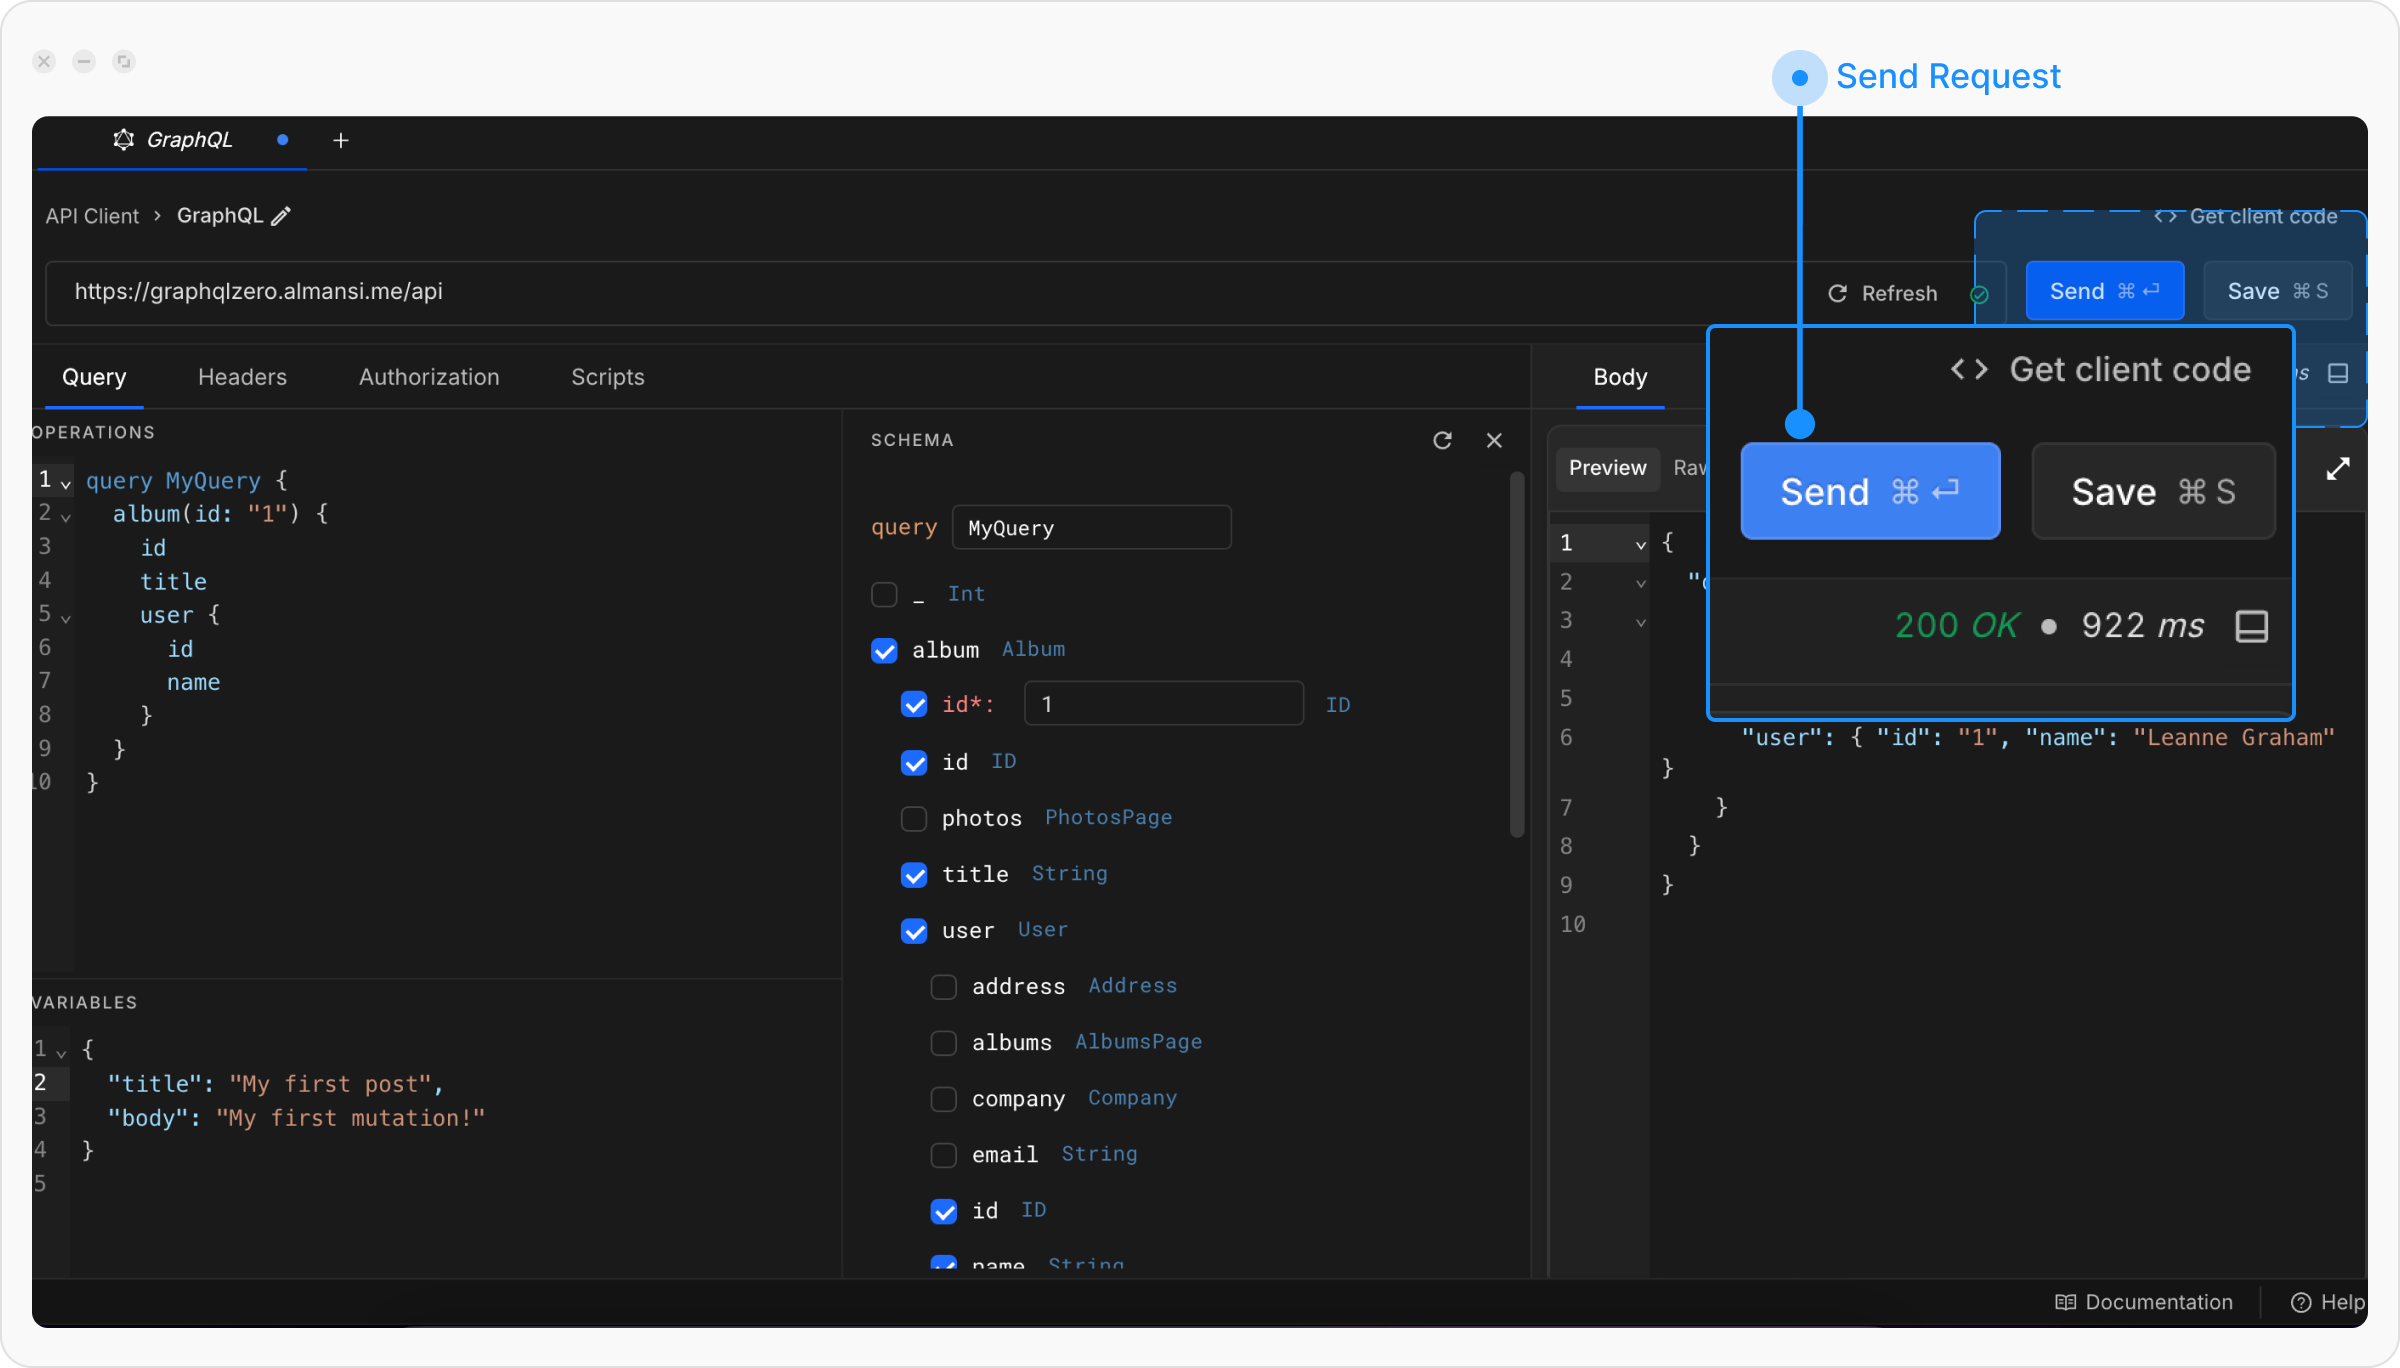
Create a GraphQL request with multiple queries
1
Create a new request
Open Requestly Desktop App, then click the
+ New button to create a new request and select GraphQL request from the menu.2
Select multiple fields
From the schema explorer, select more than one field. Both queries will appear in the Query editor. Alternatively, you can manually add a new query / mutation.
3
Choose a query to run
Only one query runs at a time. First, click the Send button, then select the query you want to run from the dropdown.To execute another query, click the Send button again and select the other query from the dropdown.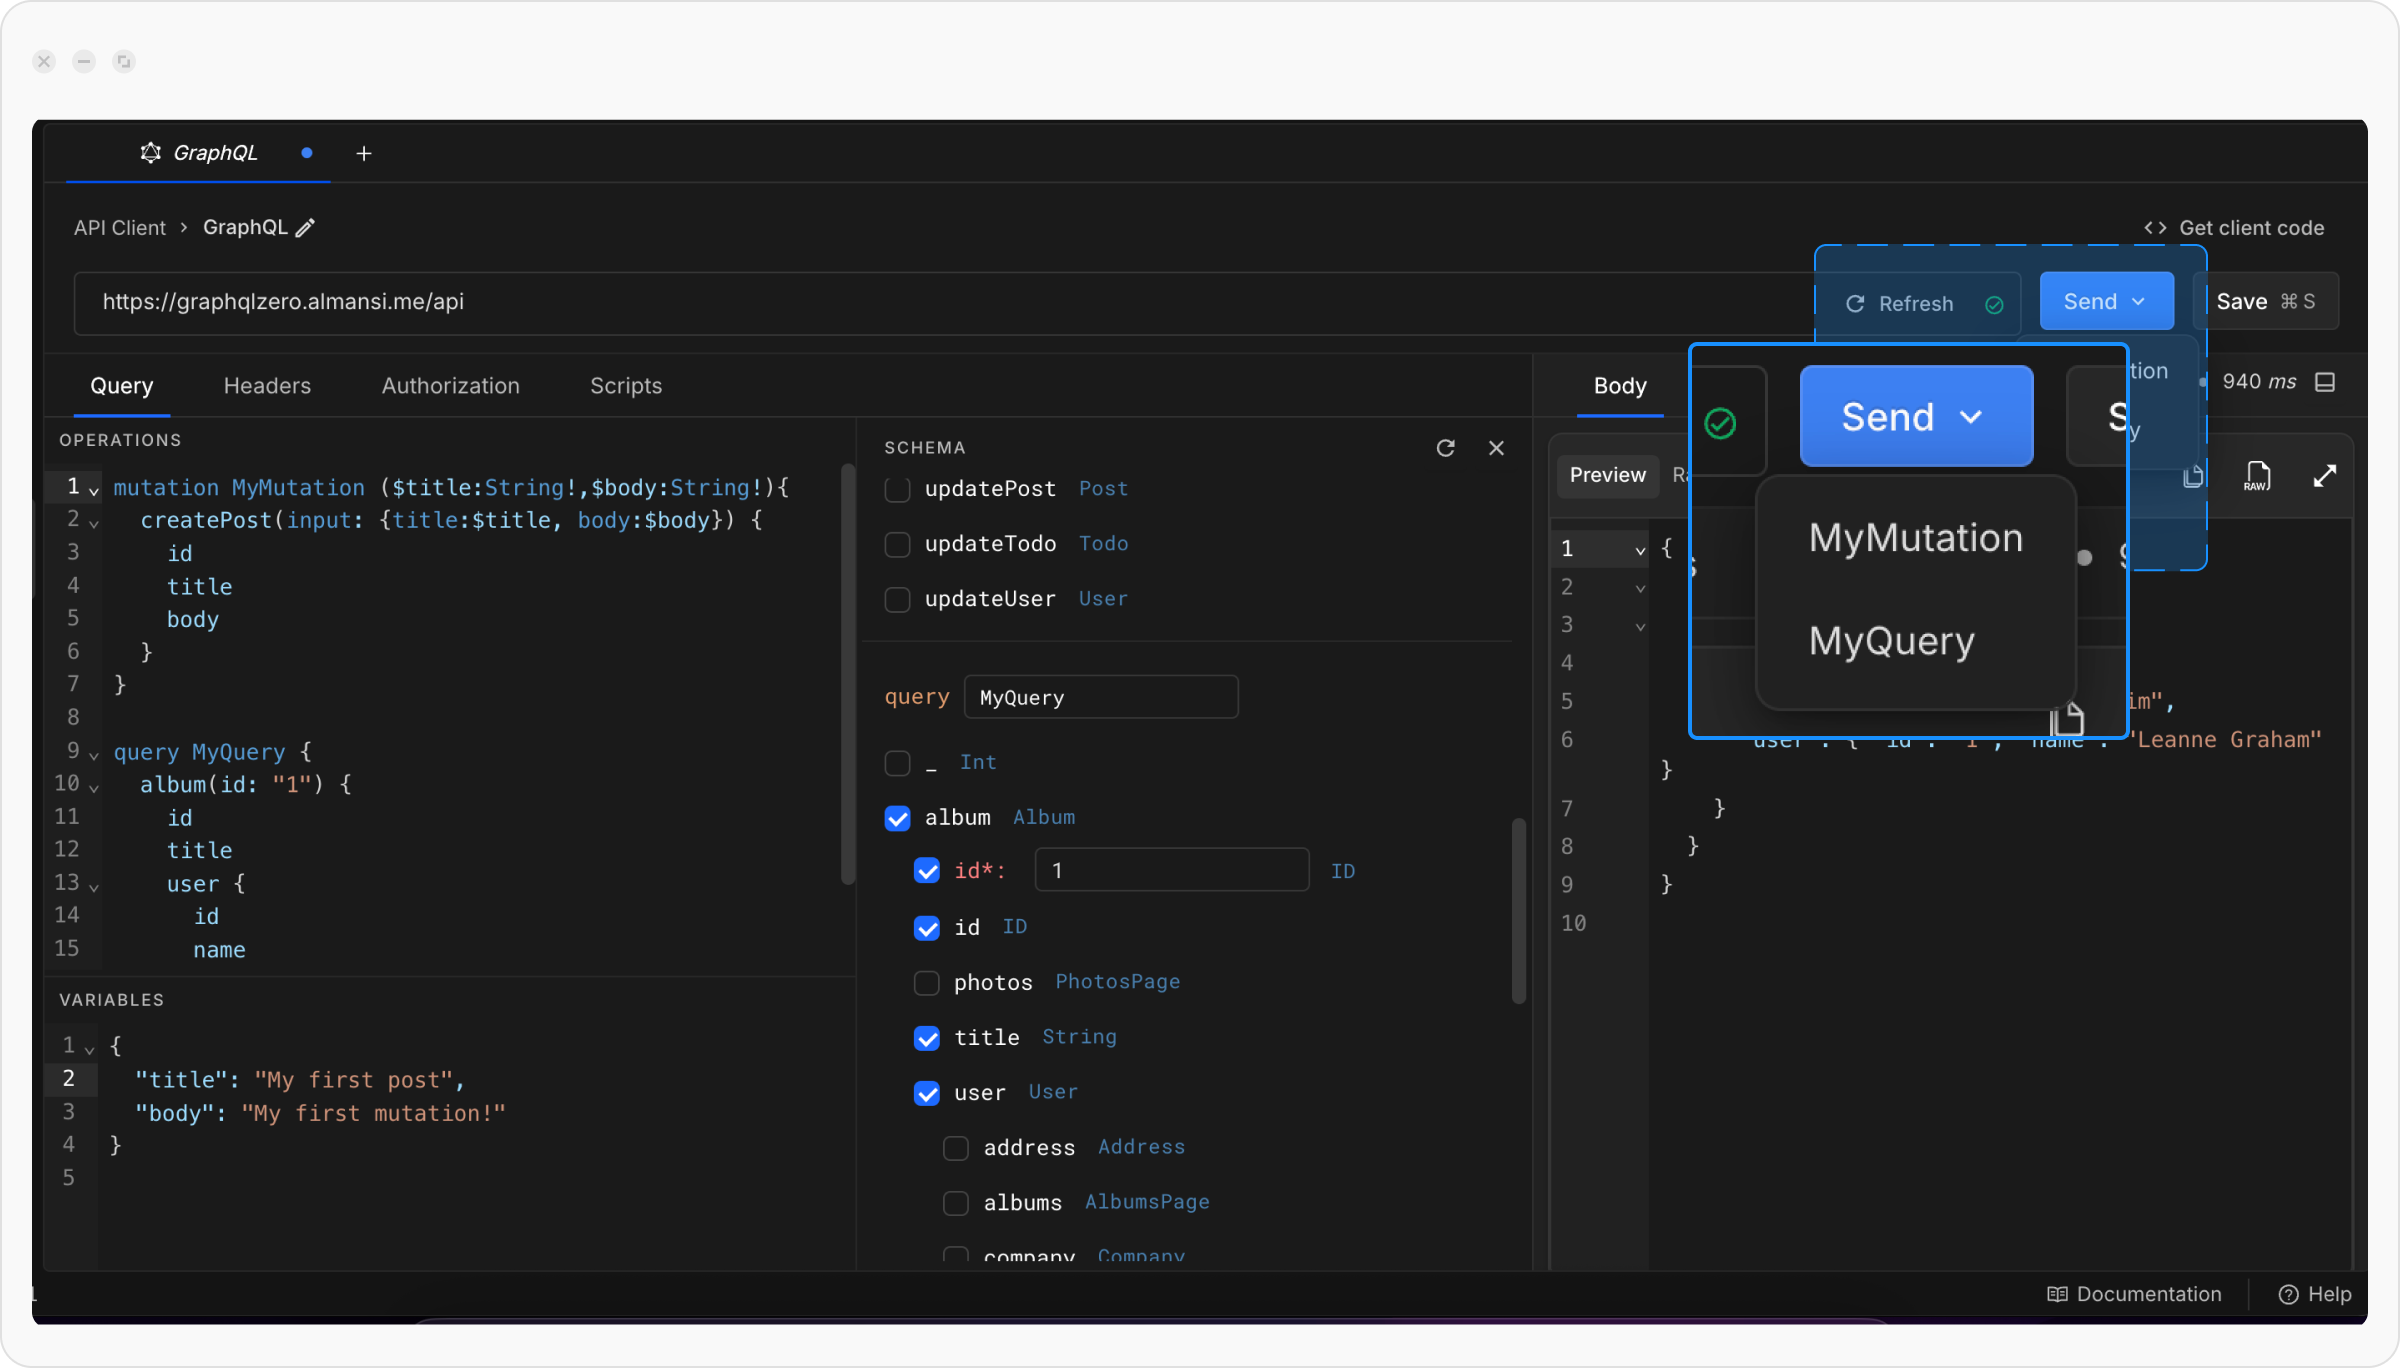
Attach a schema from a file or URL
By default a GraphQL request builds its schema by introspecting whatever endpoint is in the URL bar, and that keeps working exactly as before. Attach a schema document yourself when introspection is turned off on the server, when the schema you develop against is not the one that endpoint serves yet, or when you keep the schema in your repository.Attaching a schema is rolling out gradually. If your GraphQL requests show no Schema tab, it is not enabled for your account yet.
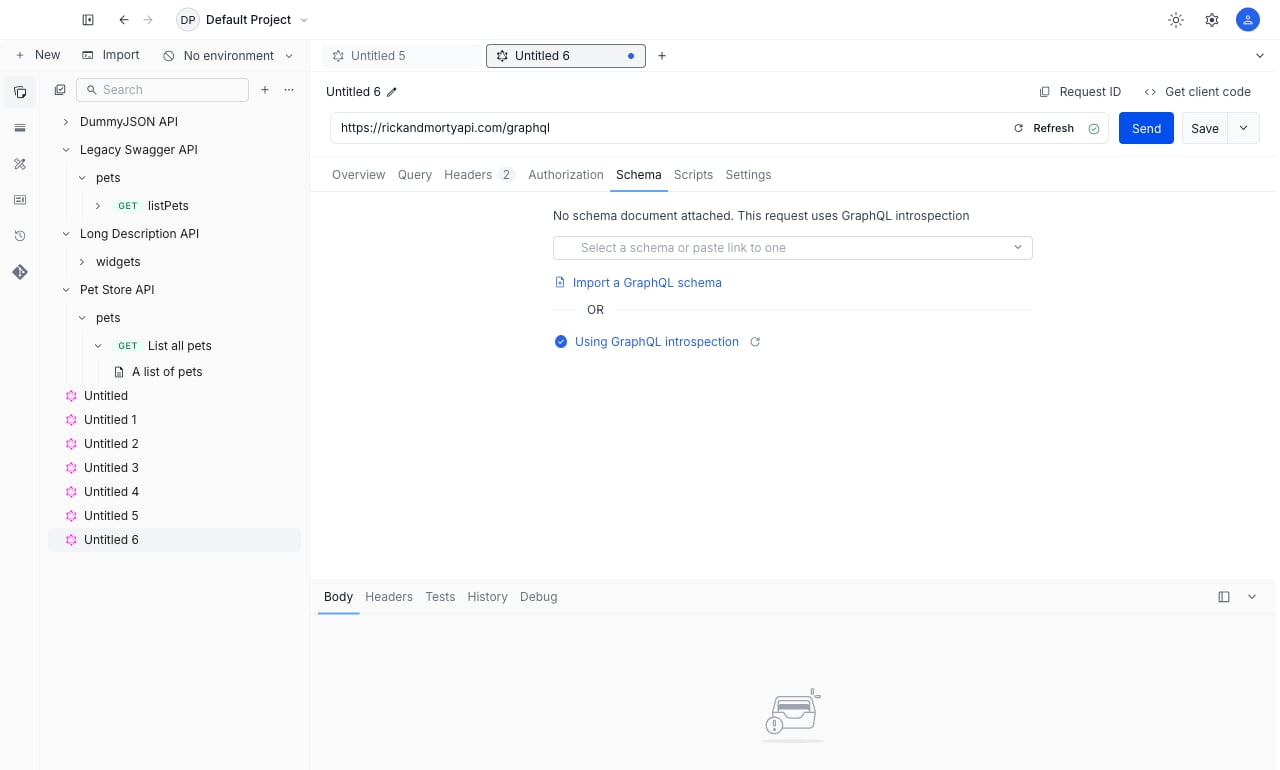
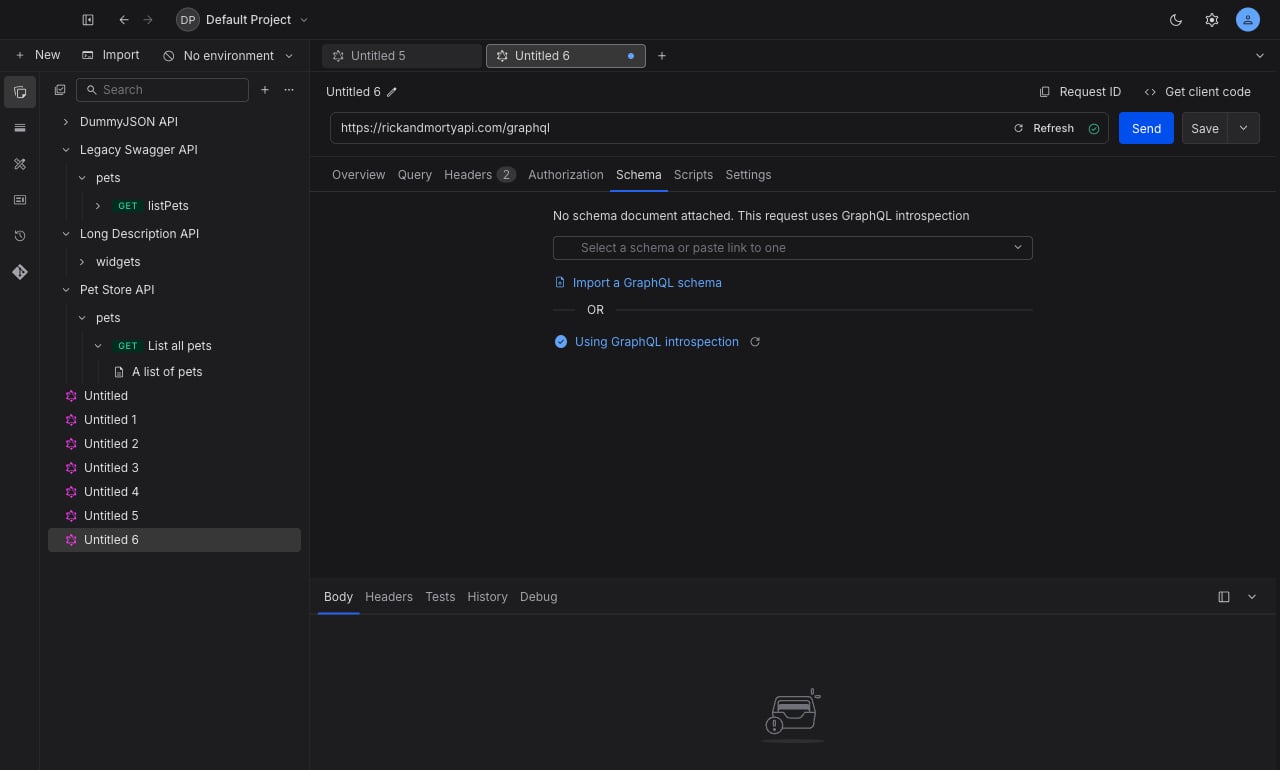
Attach a file from your machine
1
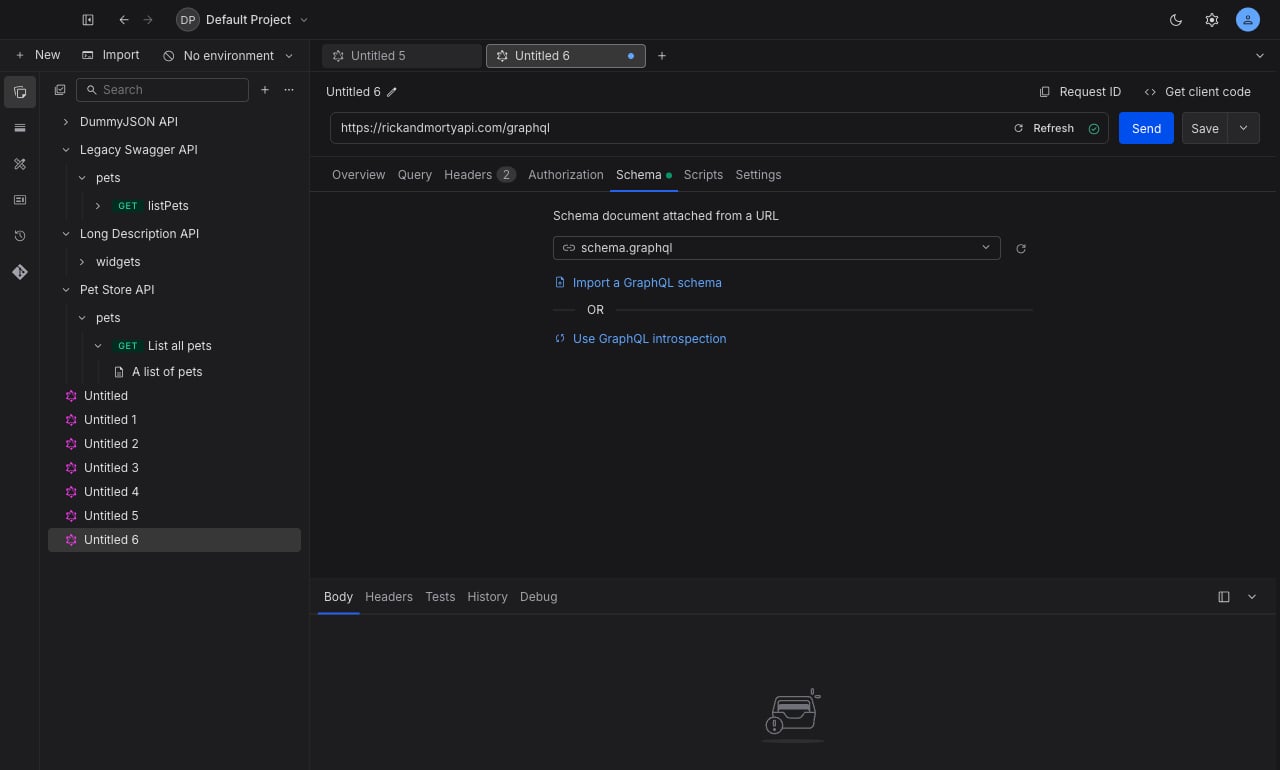
Open the Schema tab
Open the GraphQL request, then select the Schema tab.
2
Choose the file
Click Import a GraphQL schema, then click Choose a file and pick your schema document.
.graphql, .gql, .graphqls, .sdl, and .json files are all accepted.3
Check that it loaded
The picker now names the file and the tab reads “Schema document attached from a local file”. Switch back to the Query tab: autocomplete and the schema explorer behave exactly as they do on an introspected schema.
On the web app, keeping an attached file in sync needs a Chromium-based browser (Chrome, Edge, Brave, Arc) or the desktop app. On other browsers the file still attaches, but it is read once: edit it and attach it again to pick up the change.
Attach a schema by URL
1
Open the Schema tab
Open the GraphQL request, then select the Schema tab.
2
Enter the URL
Paste the URL straight into the picker and select the Attach row that appears, or click Import a GraphQL schema and press Enter in the Enter a URL field.
3
Check that it loaded
The picker now shows a short name taken from the URL, which is its last path segment rather than the whole link. If the URL served a schema document, the tab reads “Schema document attached from a URL”. Switch back to the Query tab: autocomplete and the schema explorer behave exactly as they do on an introspected schema.
On the web app, fetching a schema URL runs through Cloud Agent, which cannot reach
localhost or private network addresses. Attach those from the desktop app.Reuse a location you have attached before
Once a file or URL has loaded successfully, it is remembered on that device and offered in the picker on every other GraphQL request, with no network call. A document that failed to load is not remembered, so a broken location never comes back to haunt you. Each remembered row is labelled with a short name derived from its location, so the list stays one line per entry. Hover a row to see the full location. Hover any remembered row except the one this request is using and click the cross to forget it. Forgetting a location removes it from the list and nothing else: every request already attached to it stays attached and keeps working.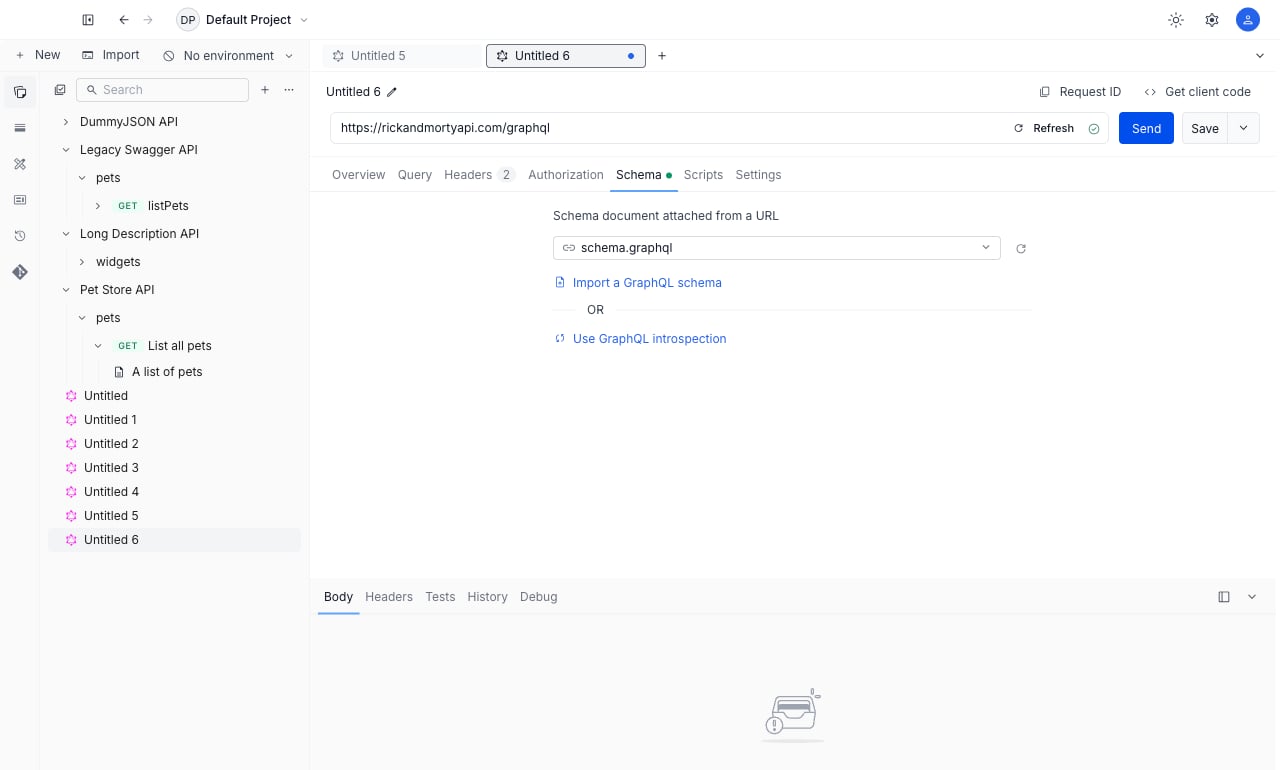
Go back to introspection
While a document is attached, the tab offers Use GraphQL introspection. Choosing it detaches the document and the request goes back to introspecting the URL in the URL bar. The control needs a request URL to work against, and says so when the URL bar is empty. While introspection is already the live source there is nothing to switch to, so the tab shows “Using GraphQL introspection” with its own re-run control instead.What a teammate on another machine sees
What travels with a shared request depends on the kind of attachment, and not on whether you work in a team project or a local project. The behaviour is the same in both.
If you want a schema to be shared, attach it by URL.
On a GraphQL example
A GraphQL example has a Schema tab too, and it shows where its parent request’s schema comes from rather than the schema itself: the source (Introspection, Schema document, or Local file), the location when that source is a URL, and that it was resolved from the parent request. Everything there is read-only, with no attach, reuse or refresh controls, because an example never carries a schema of its own. A Local file source shows no location at all, so an example never displays a path from another machine.Why there is no “Import as specification”
Postman lets you import a GraphQL schema as an API specification. Requestly has no equivalent, and that is deliberate rather than an oversight: Requestly specifications are OpenAPI documents, and there is no GraphQL format for a schema to become. To share a schema with your team, host it where your teammates can reach it and attach it by URL. A URL attachment travels with the request. A file you attach stays on your own machine by design, and there is no way to promote it into something shared.What survives when you attach SDL
An attached SDL document is used as SDL. Requestly never converts it to introspection JSON on the way in, so things introspection cannot express survive attaching: custom directive applications, and type extensions that add nothing but a directive.When something goes wrong
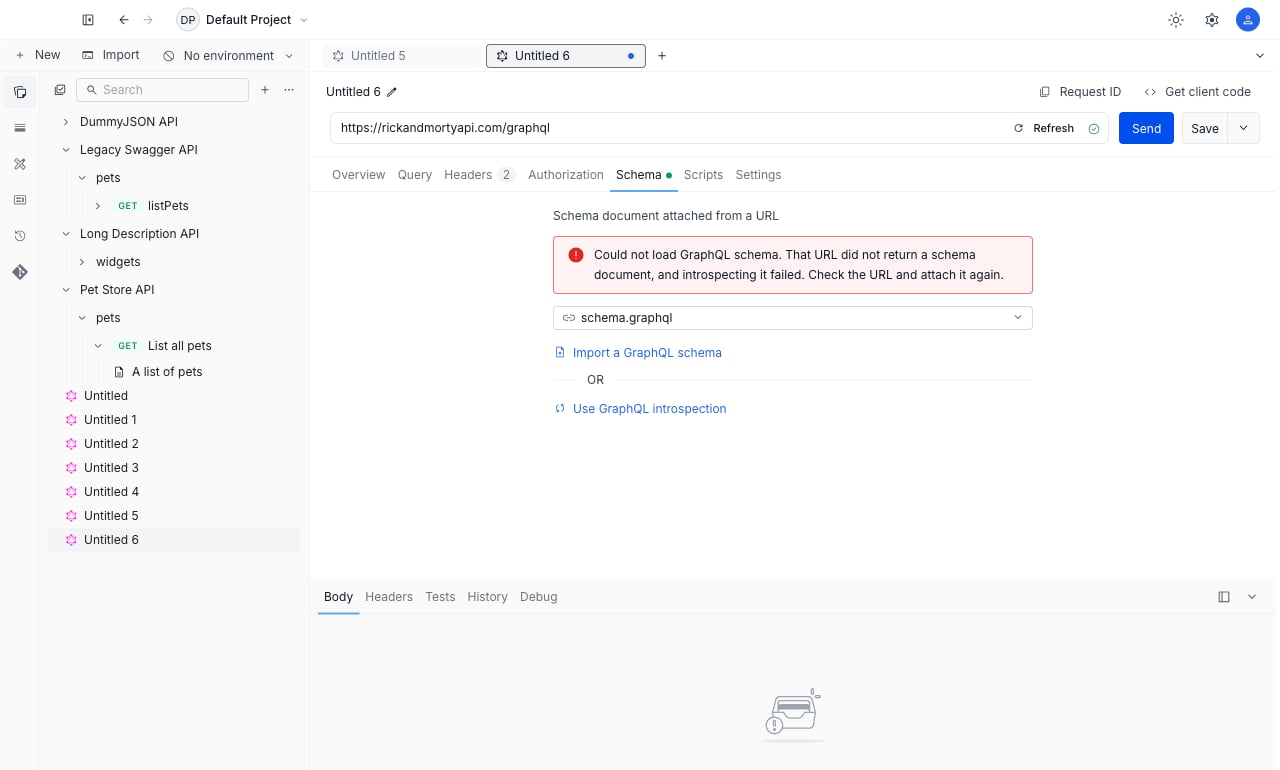
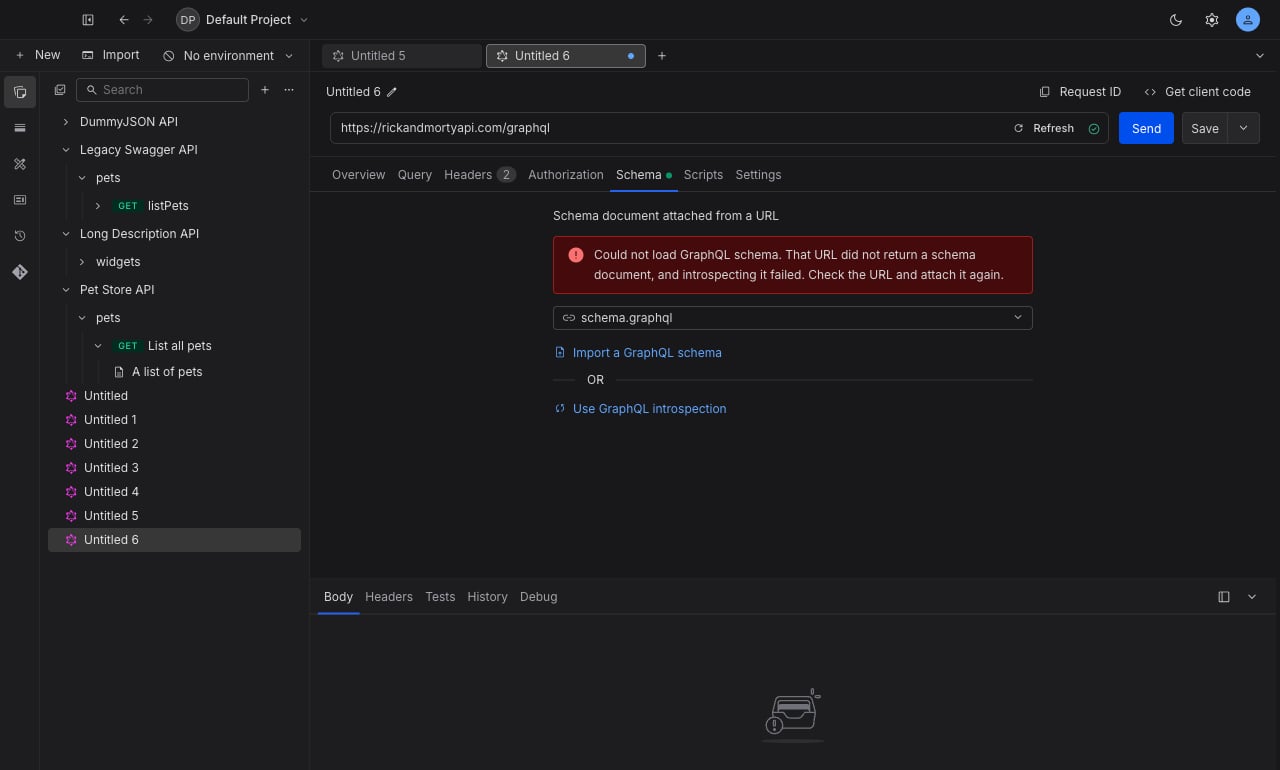
Errors on this tab are short and always name what to do next. The common ones:
If an attached file has moved, been deleted, or the browser has dropped its permission, the tab says so and offers Re-attach so you can point at it again in one click.
What’s Next?
Add Authorization
Secure your GraphQL requests with API keys, tokens, or OAuth flows
Use Variables
Make your GraphQL queries dynamic with environment variables
Organize in Collections
Group related GraphQL requests together