
How to create a local project
1
Open the project menu
Click on the current project name at the top-left corner of the app to open the project dropdown.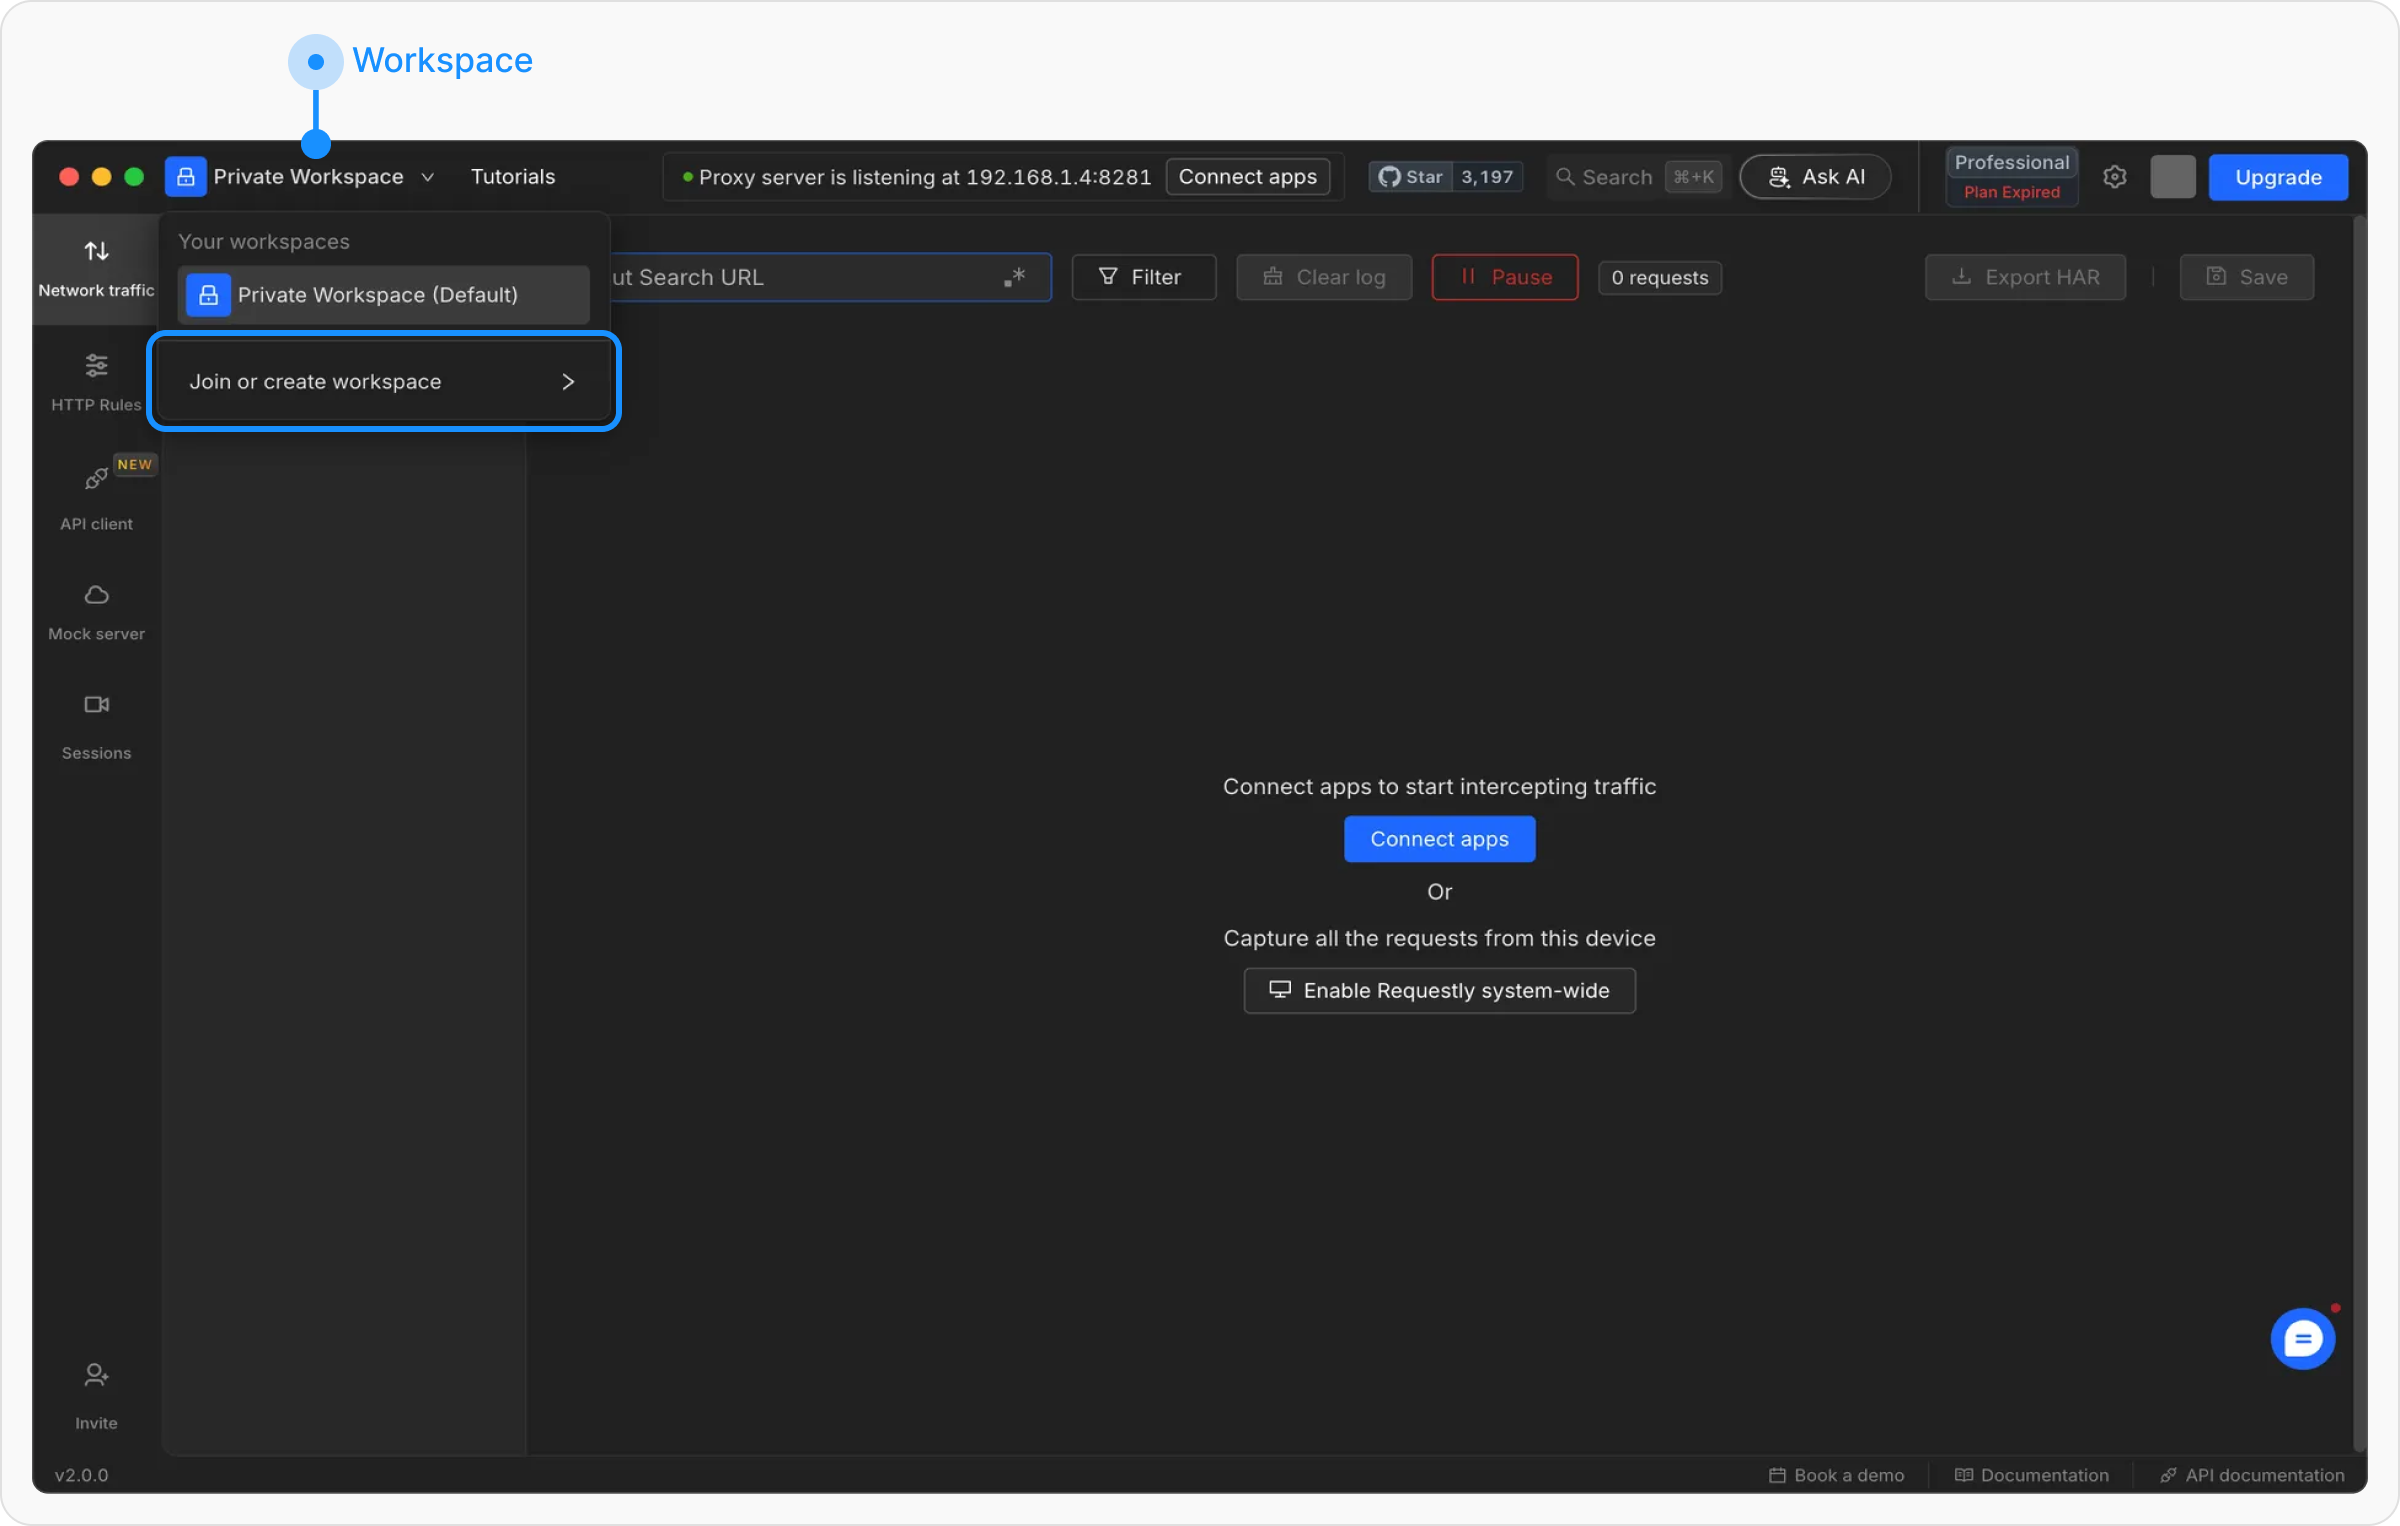
2
Create a local project
In the project switcher, click Create a local project to start the setup.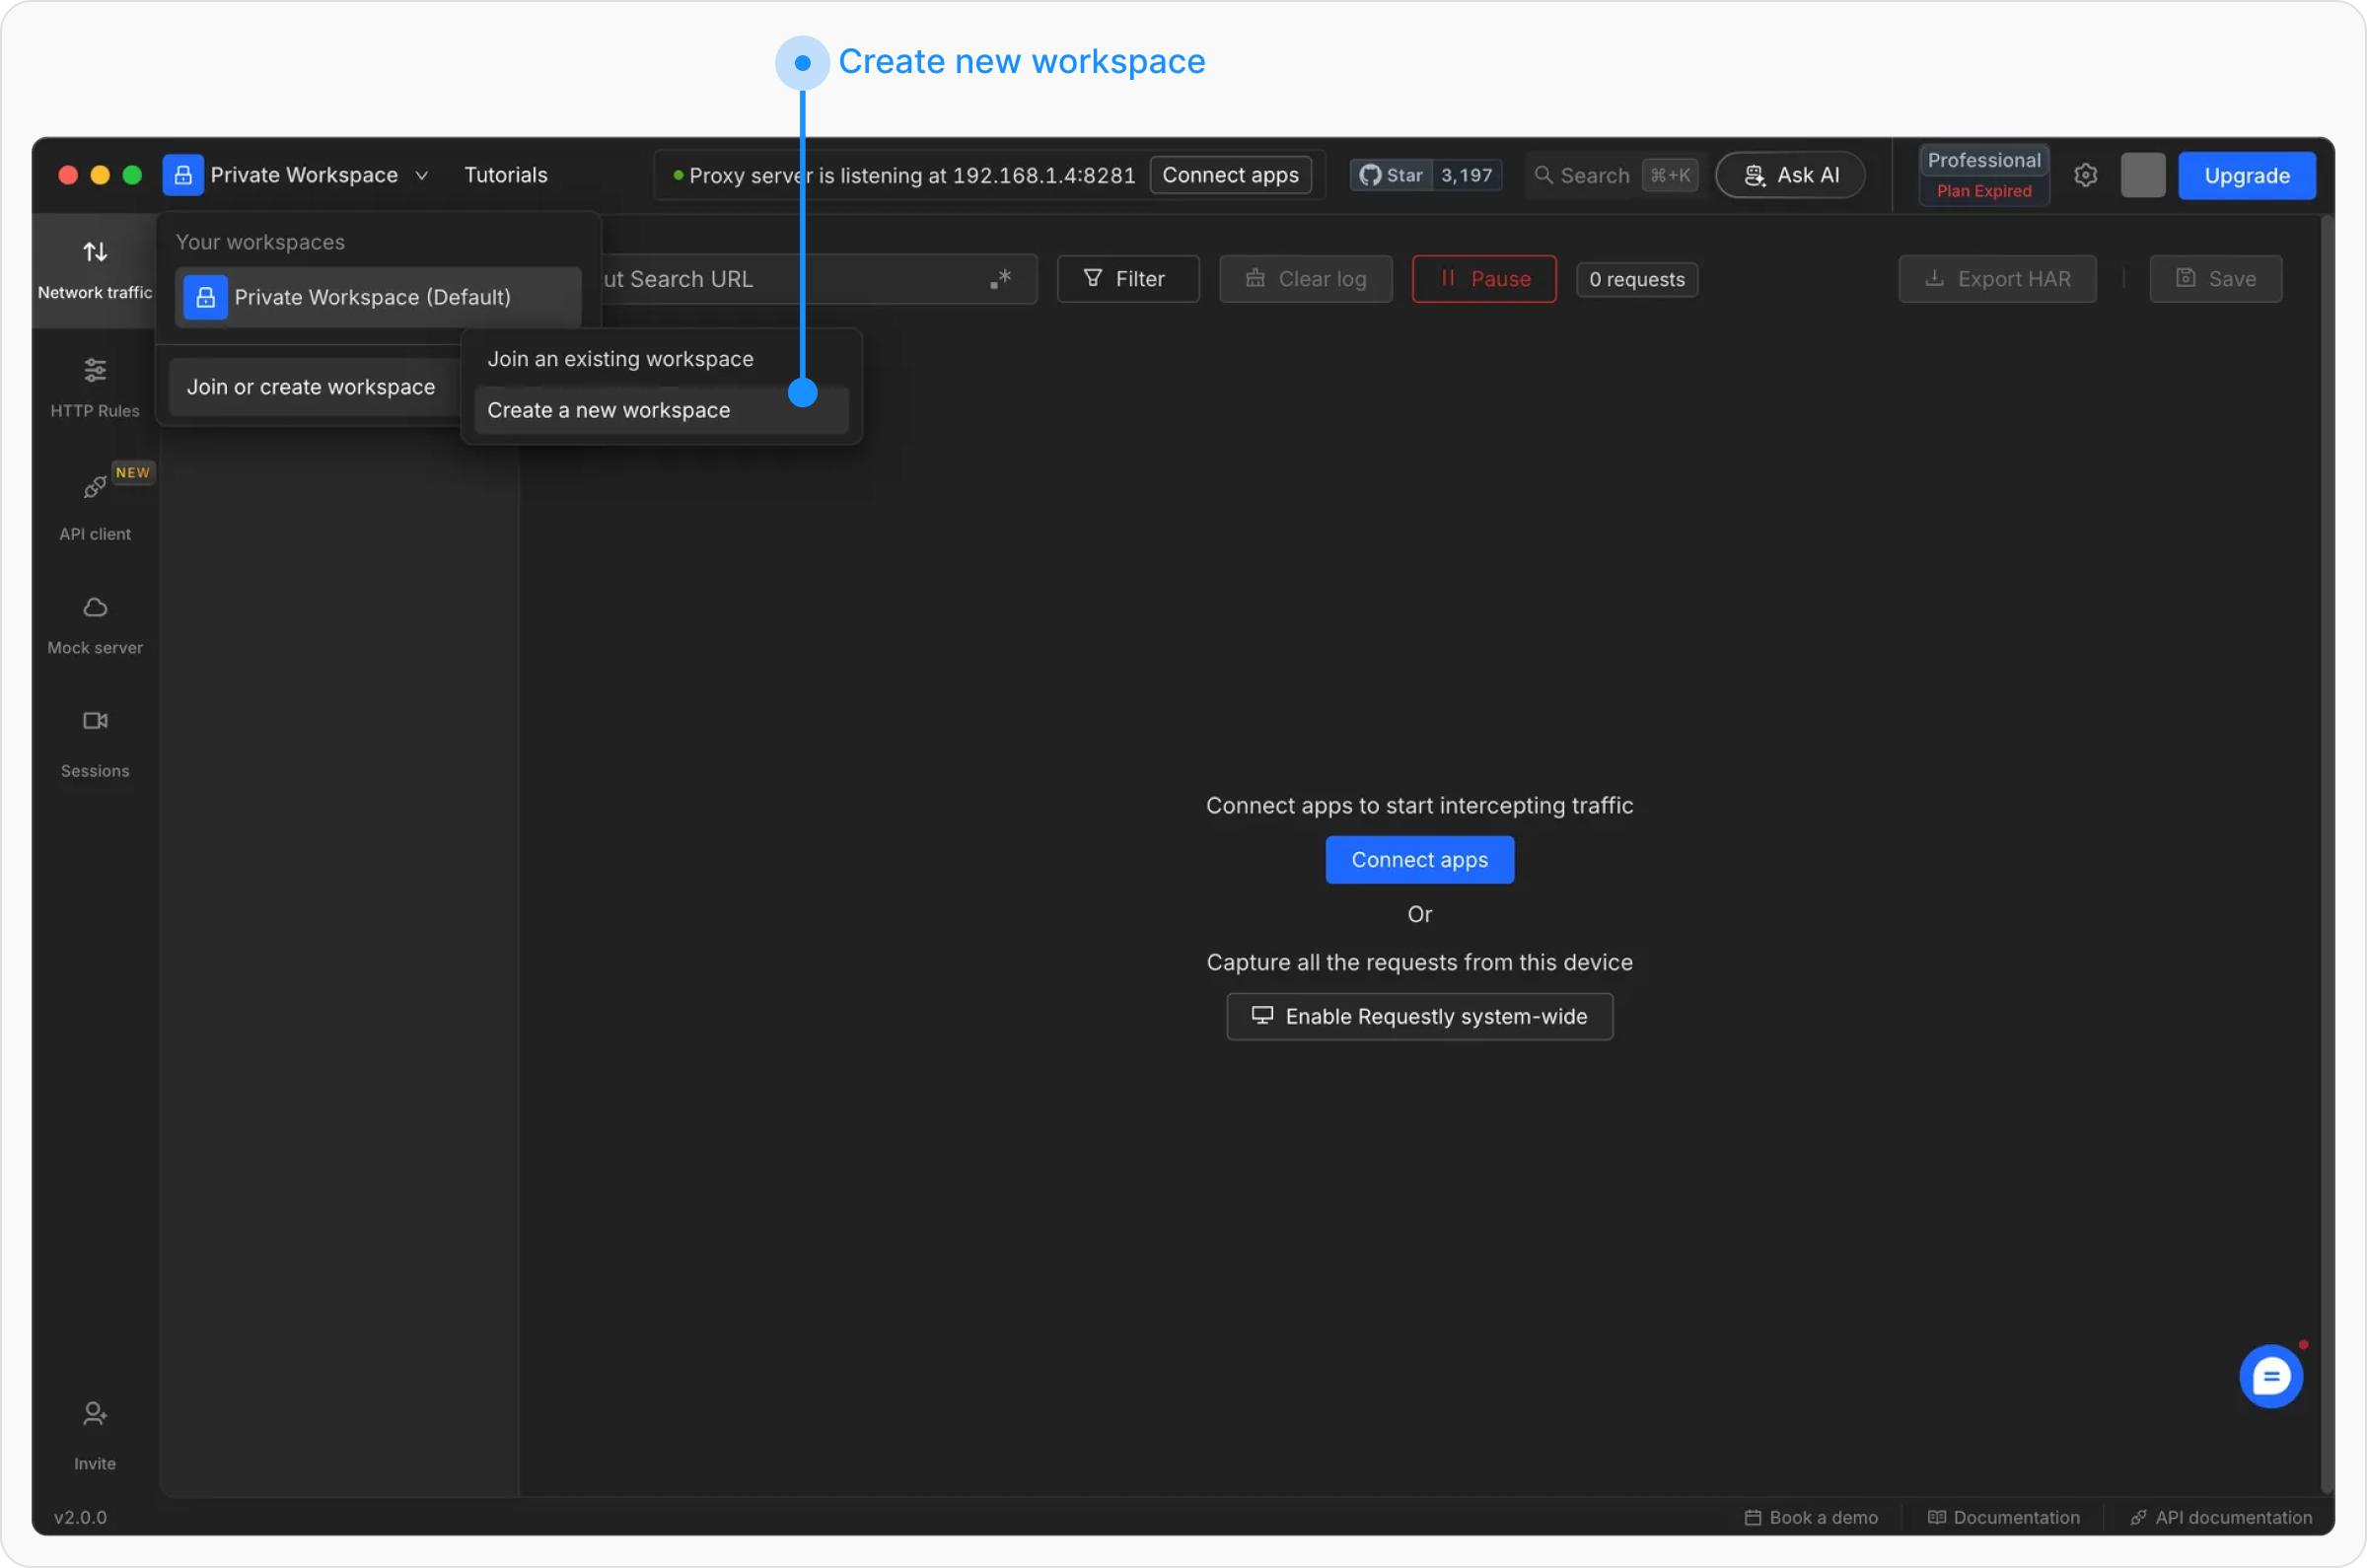
3
Choose Create a new local project
In the Add a local project dialog, select Create a new local project, then click Create project. Pick an empty folder in the system dialog. You name the project after choosing the folder.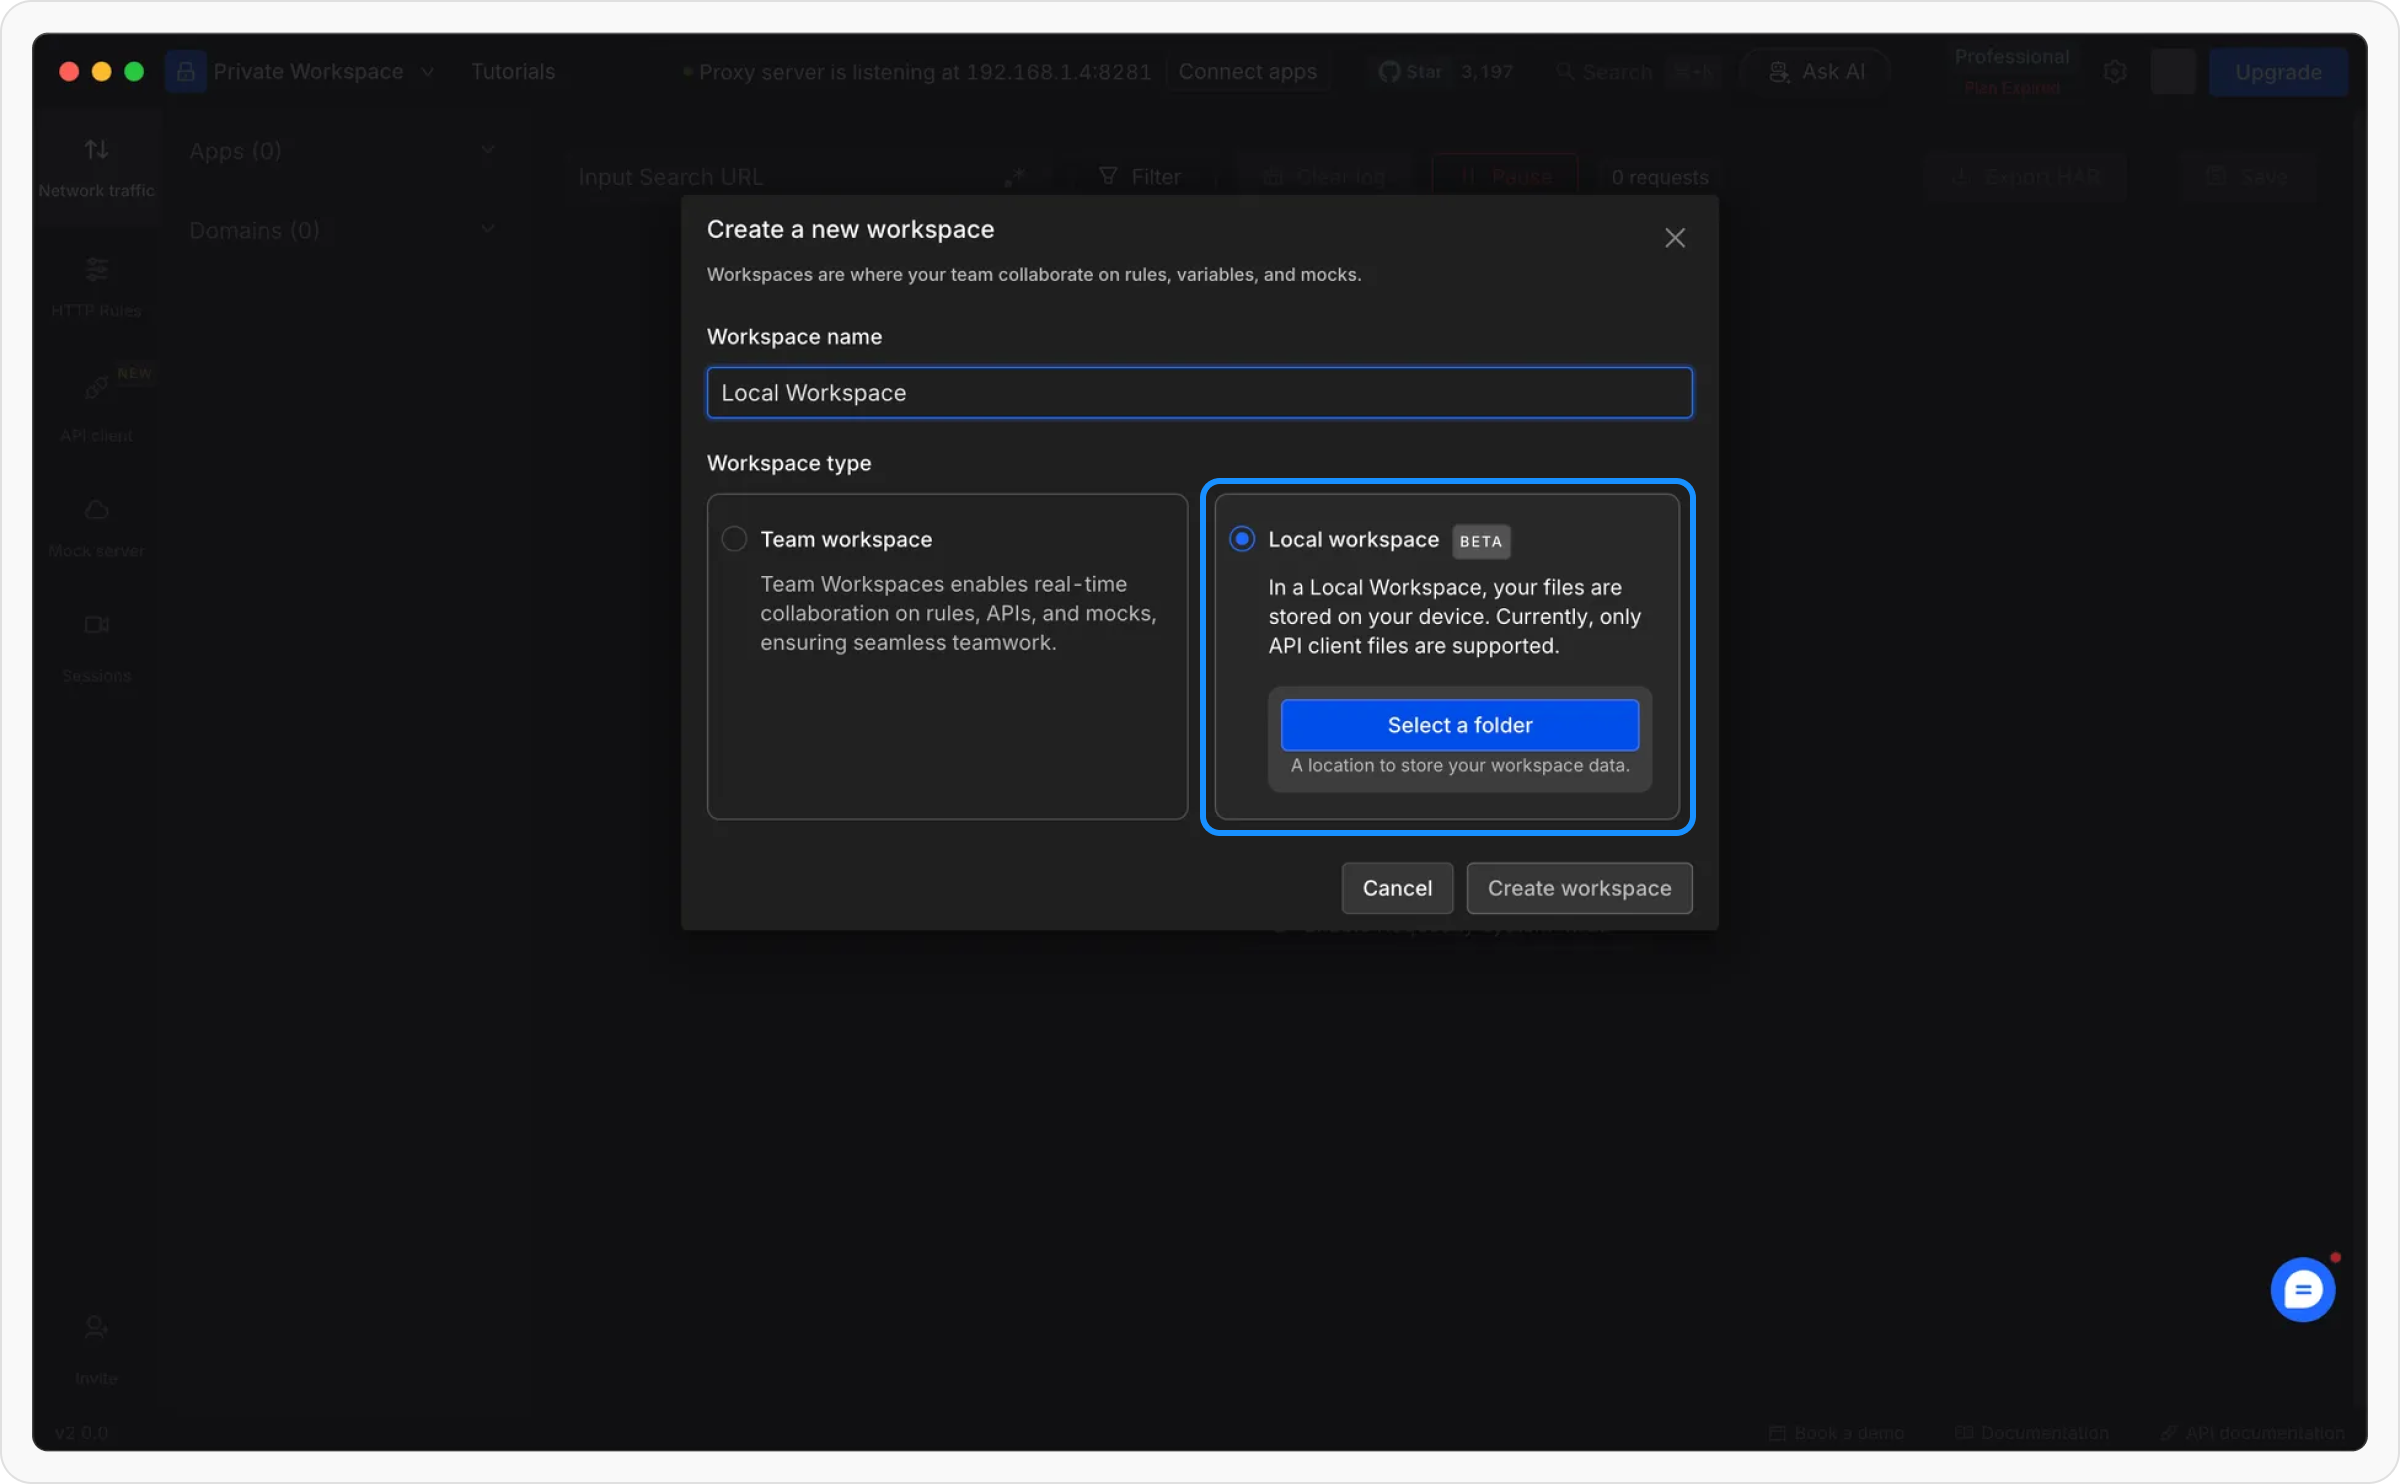
4
Name the project and create it
Enter a Project name, then click Create project to finalize the setup. Your local project is now ready to use!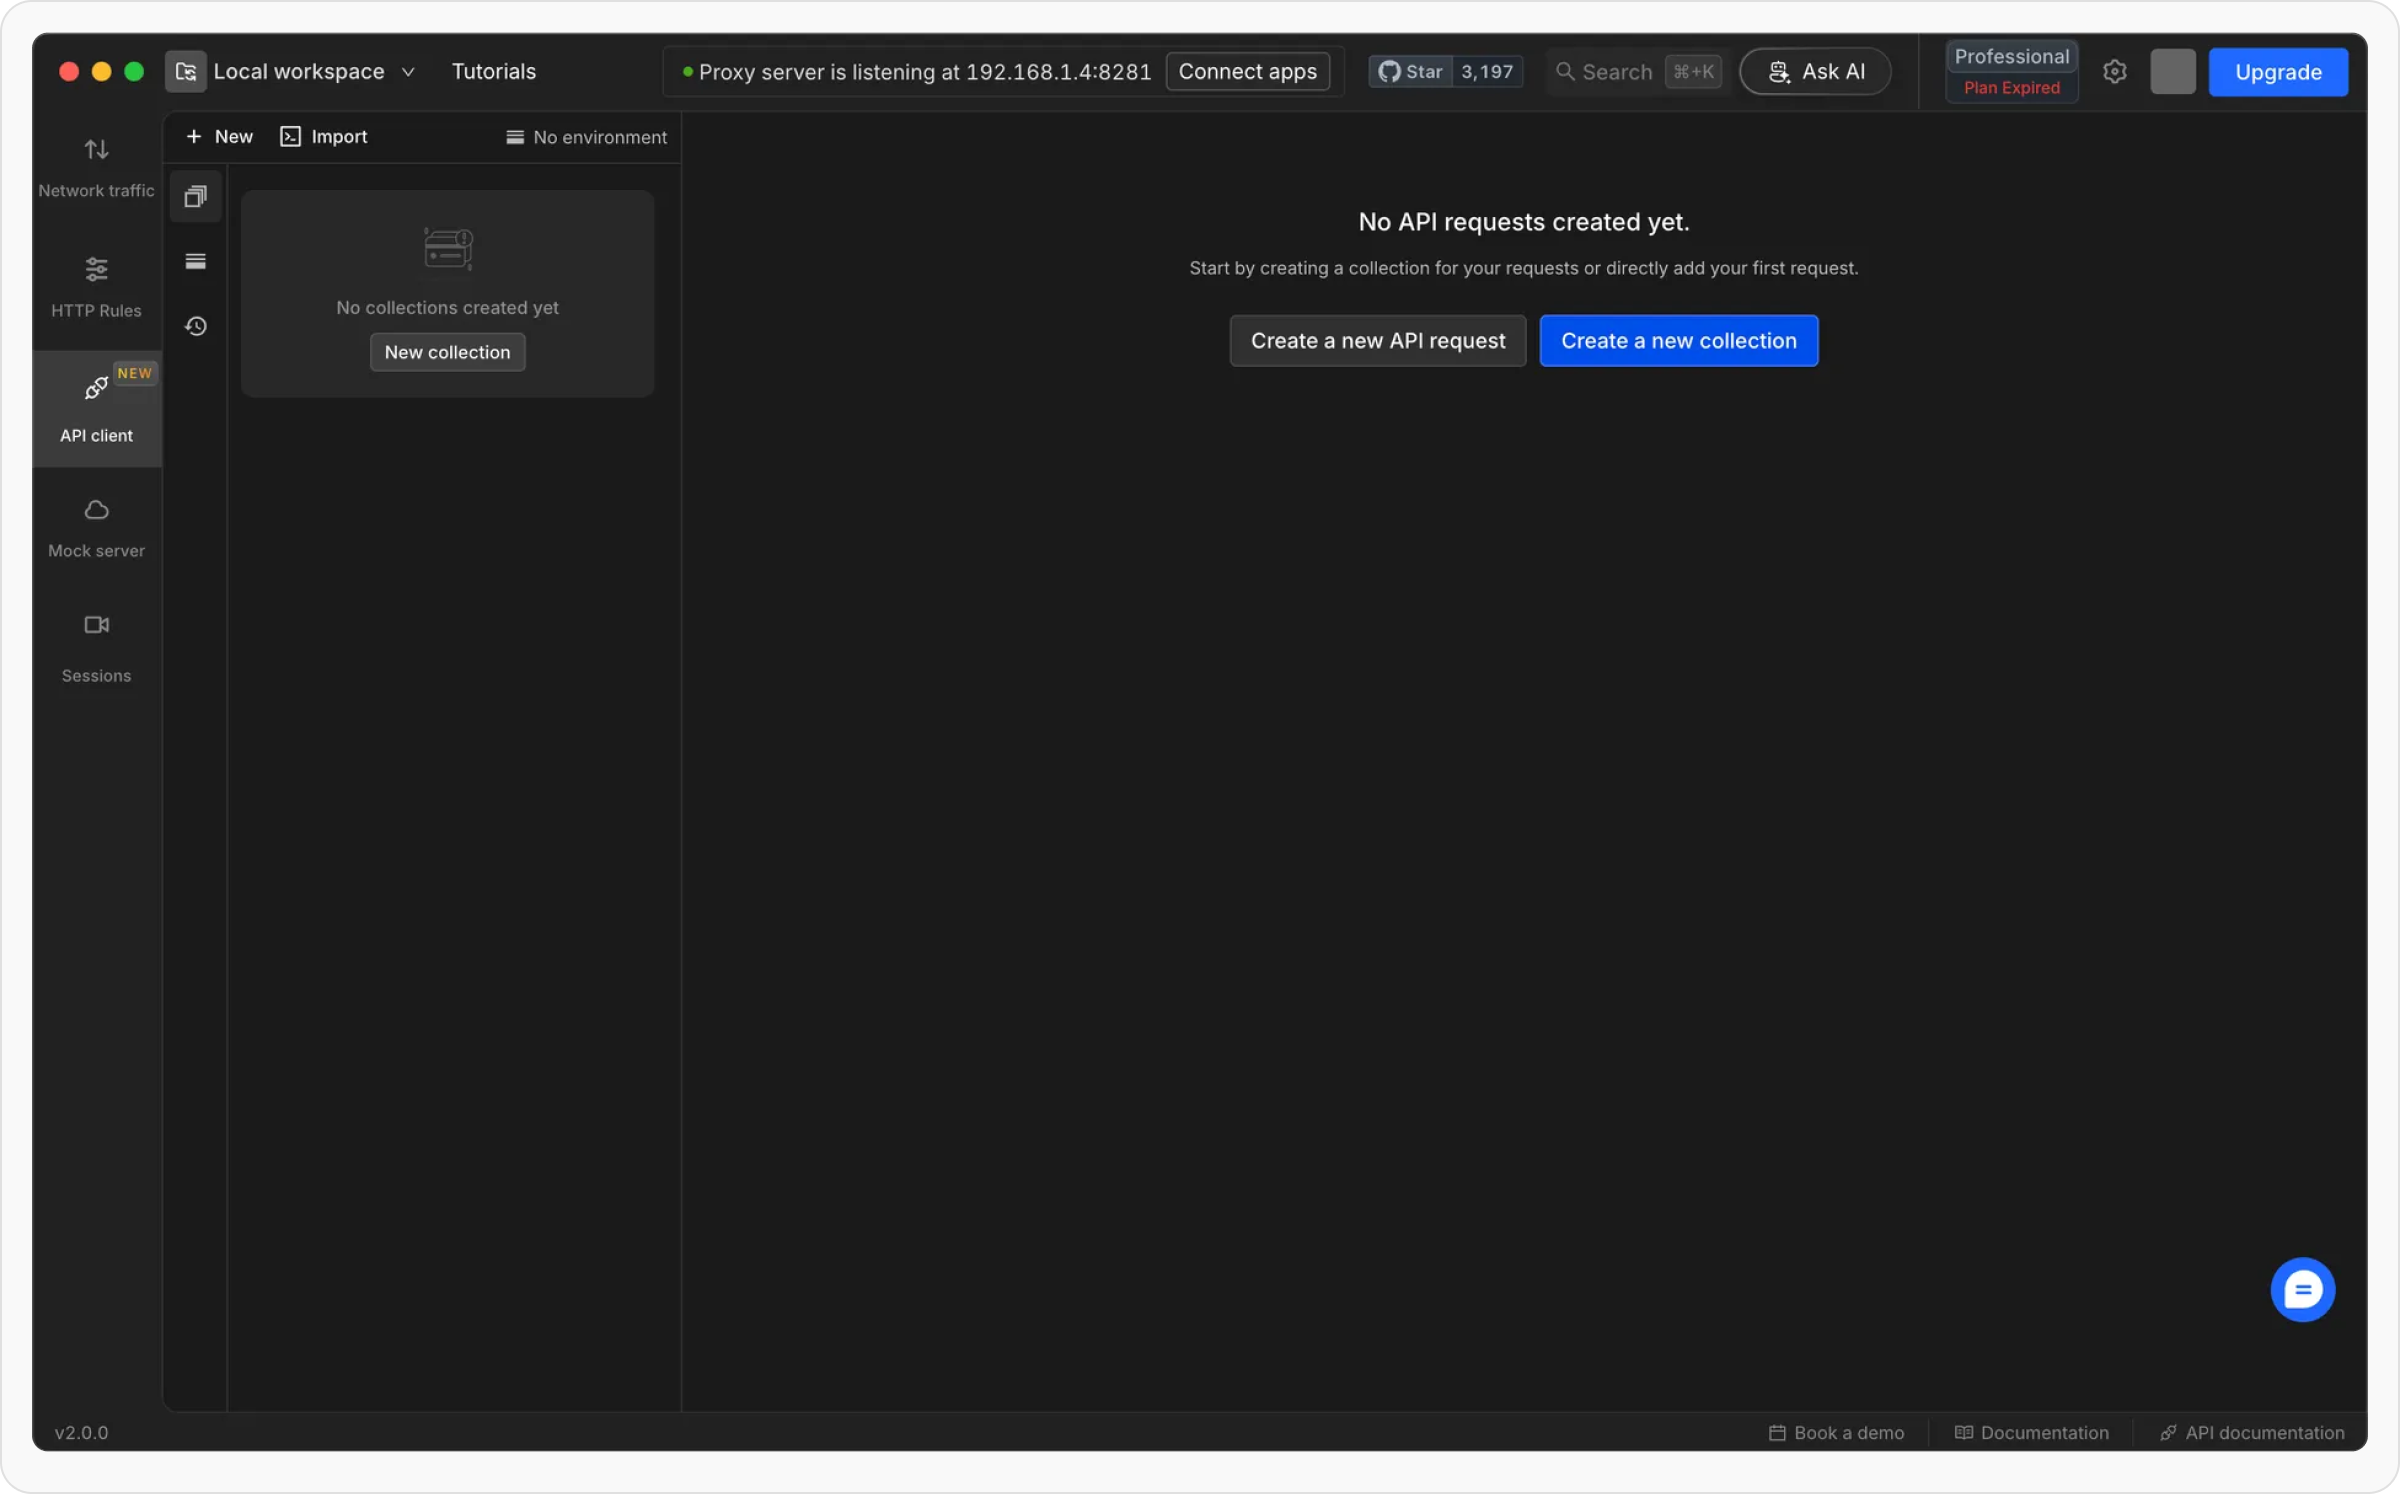
How to delete a local project
1
Open project menu
Click the current project name in the top left to open the project dropdown.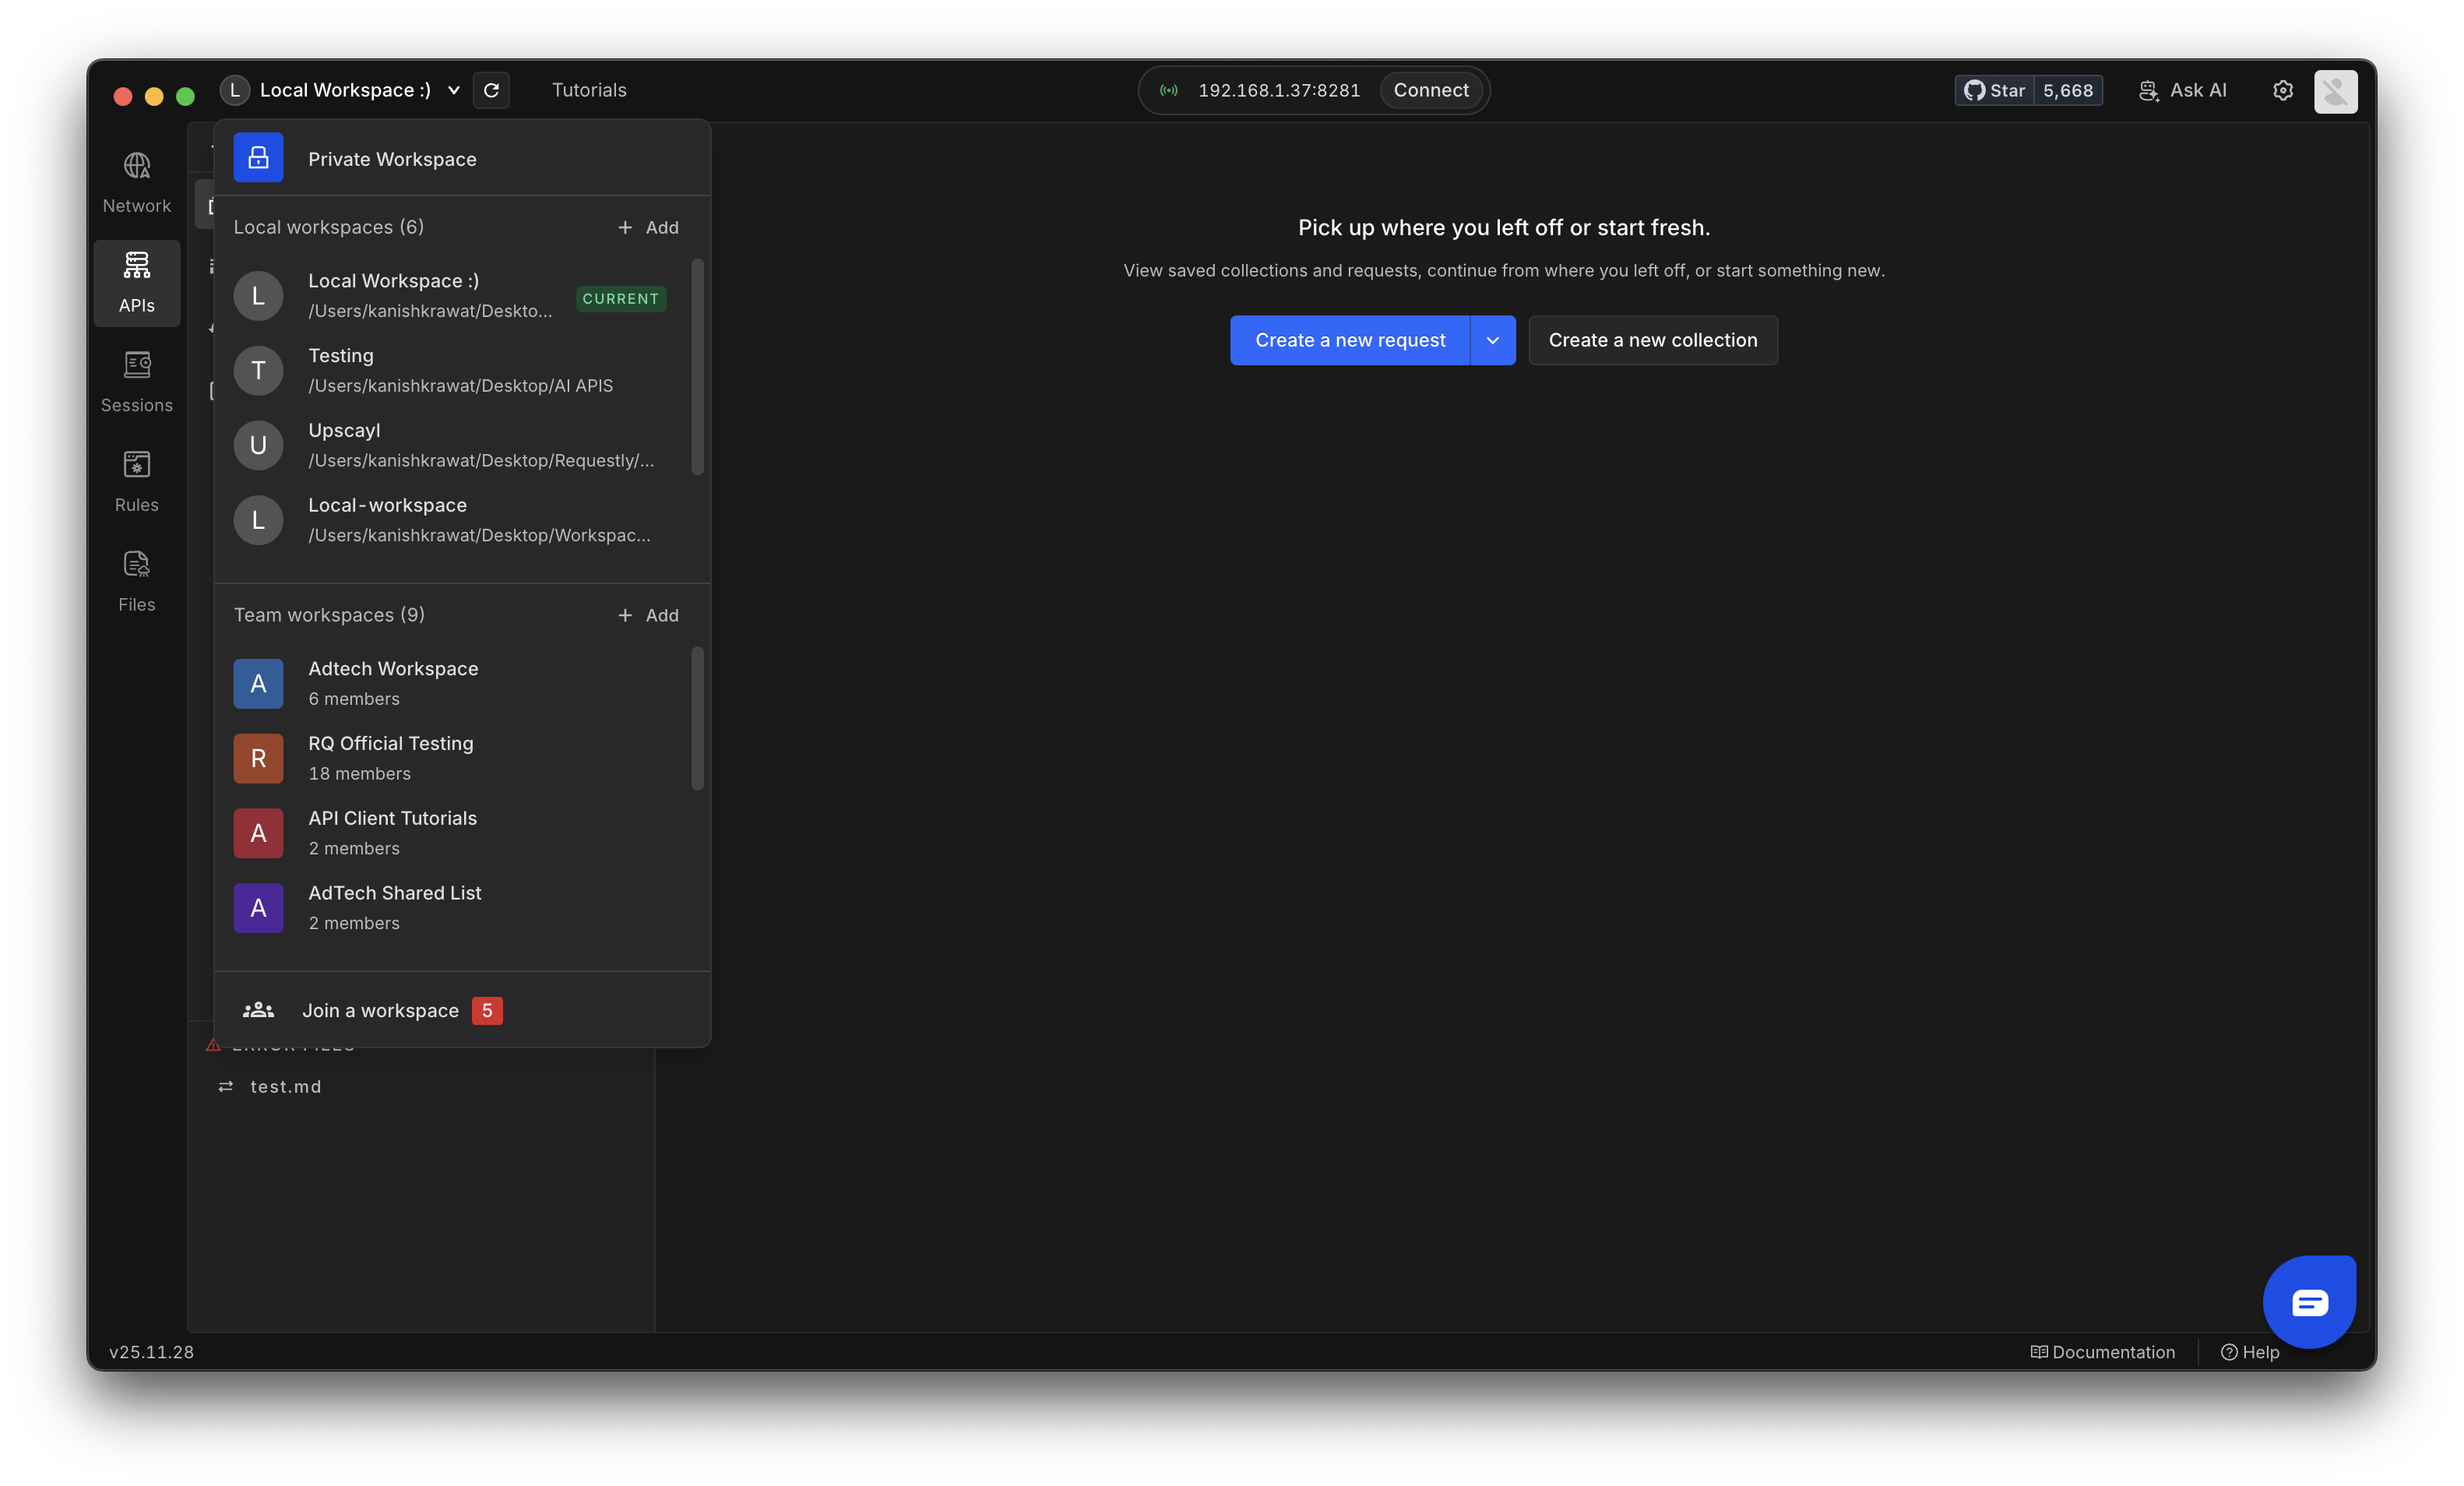
2
Go to project settings
Select the local project you want to remove and open its Settings.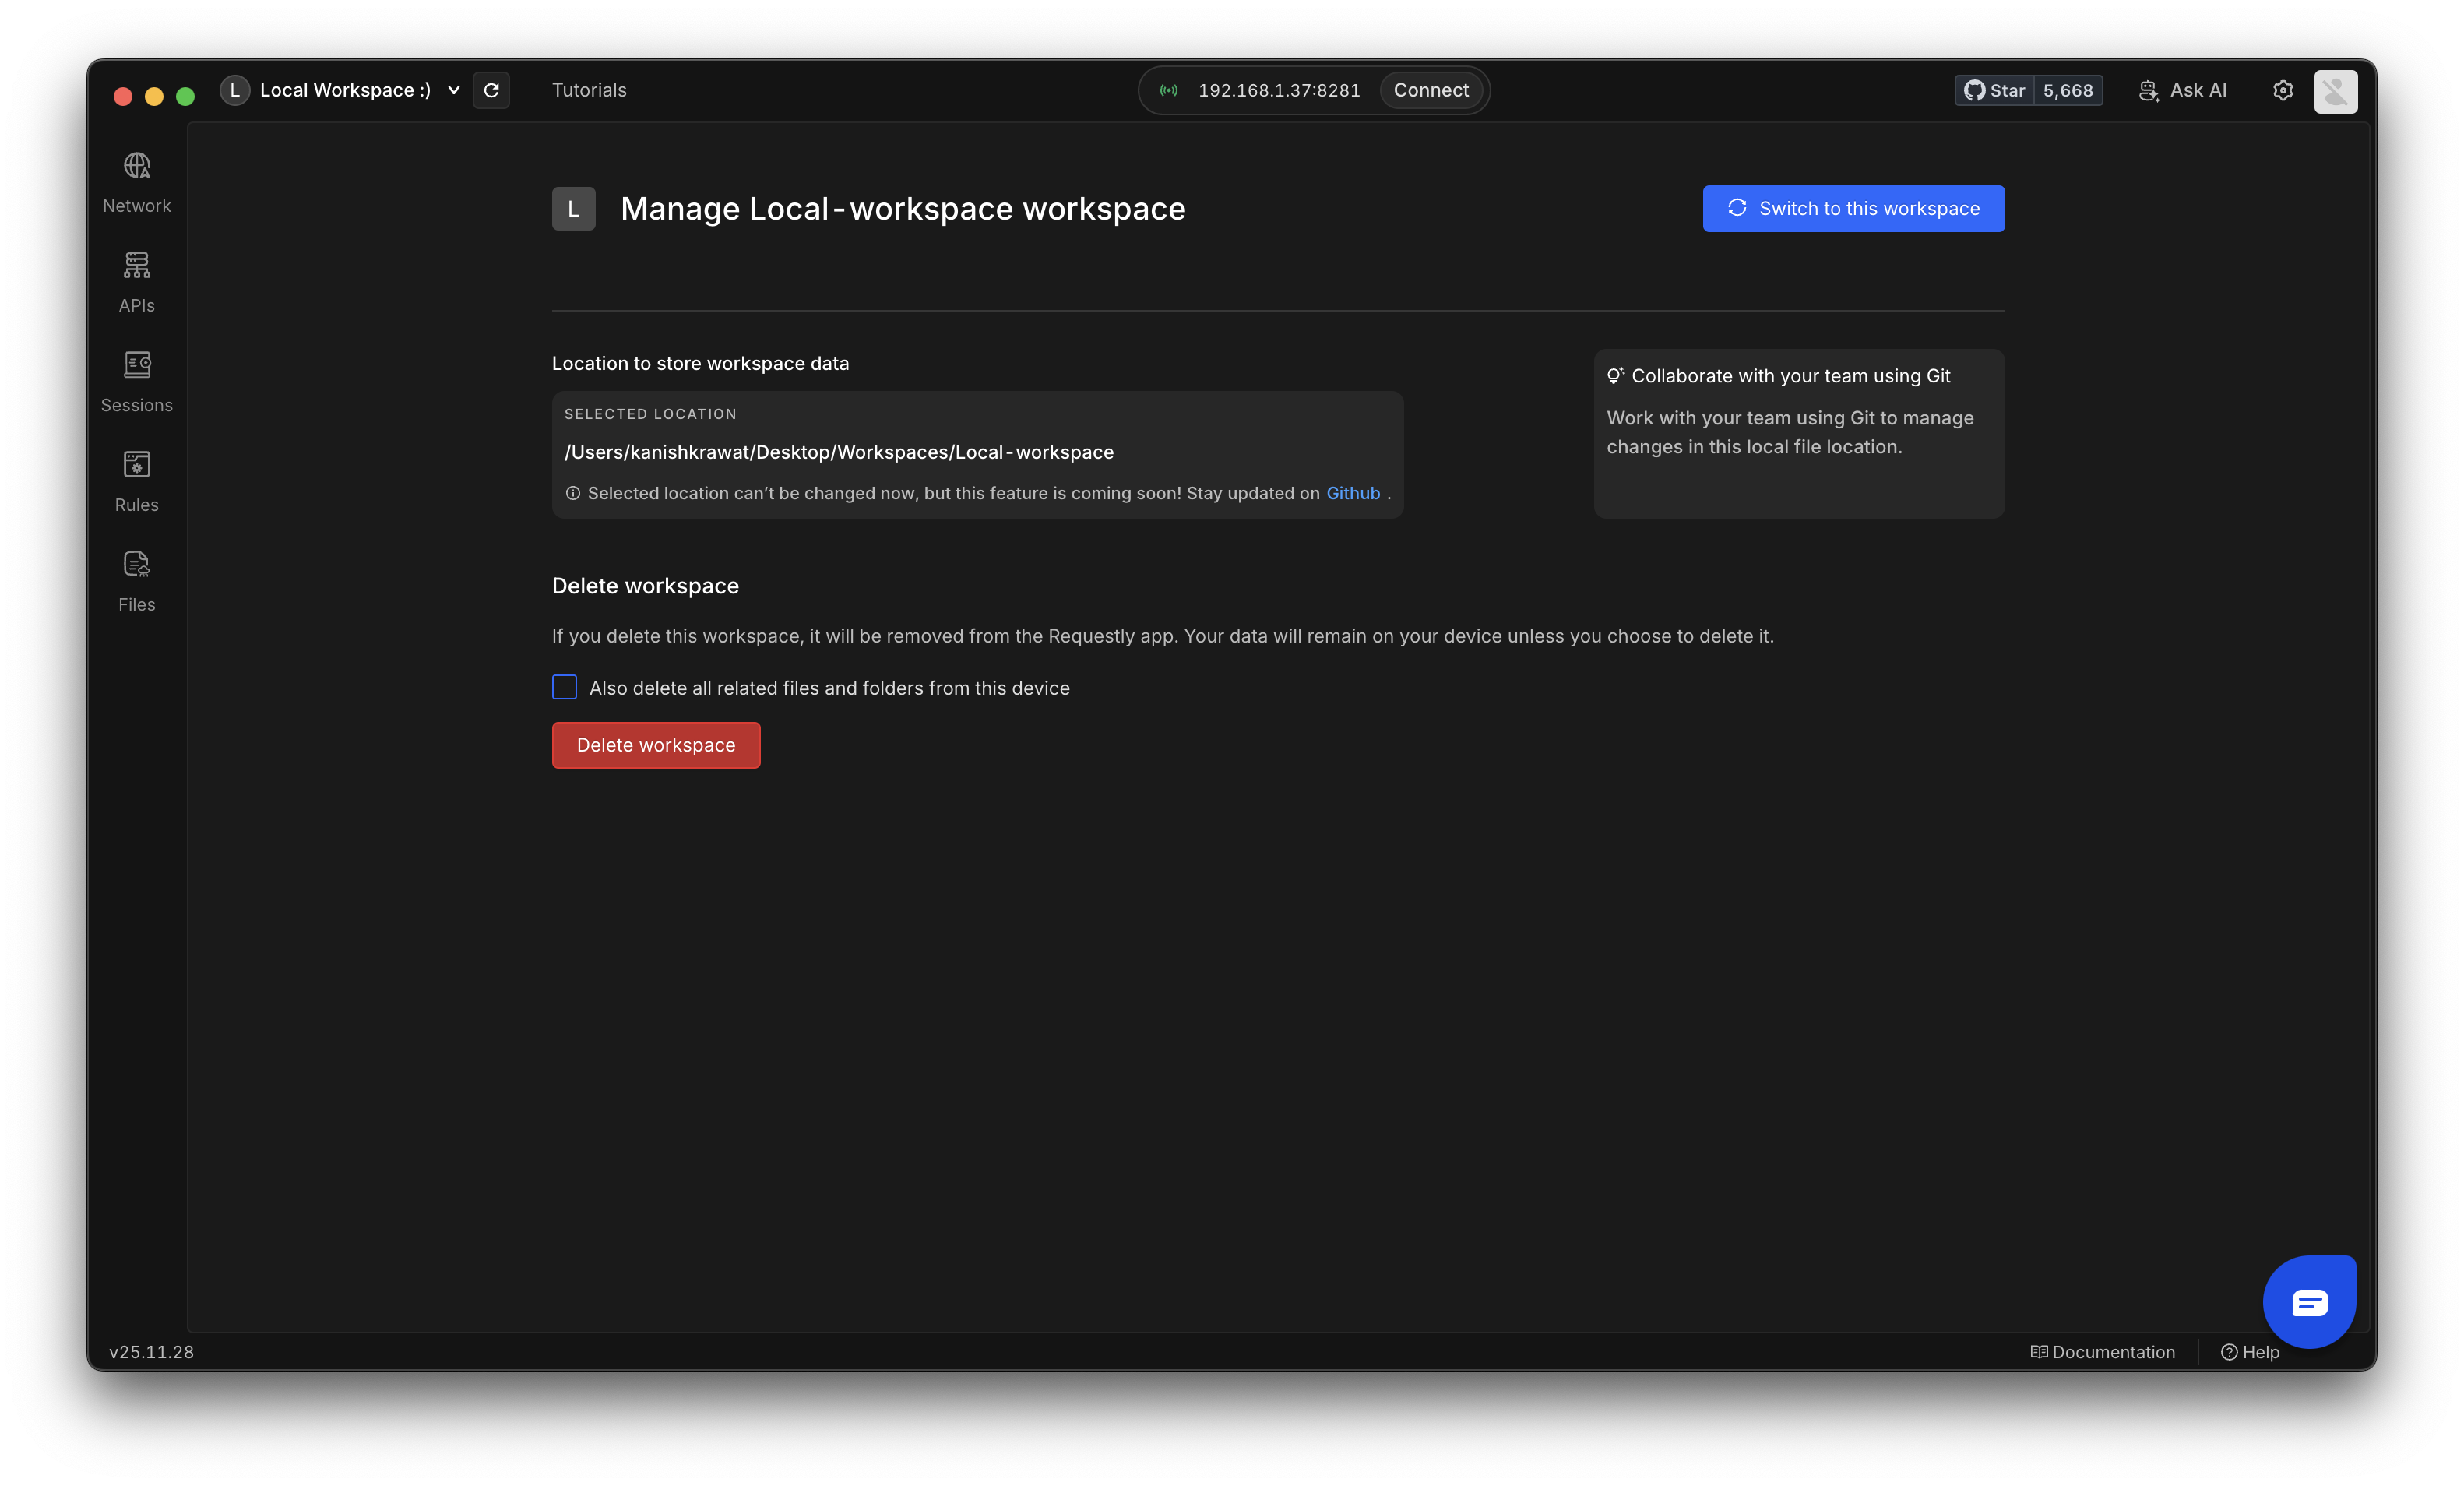
3
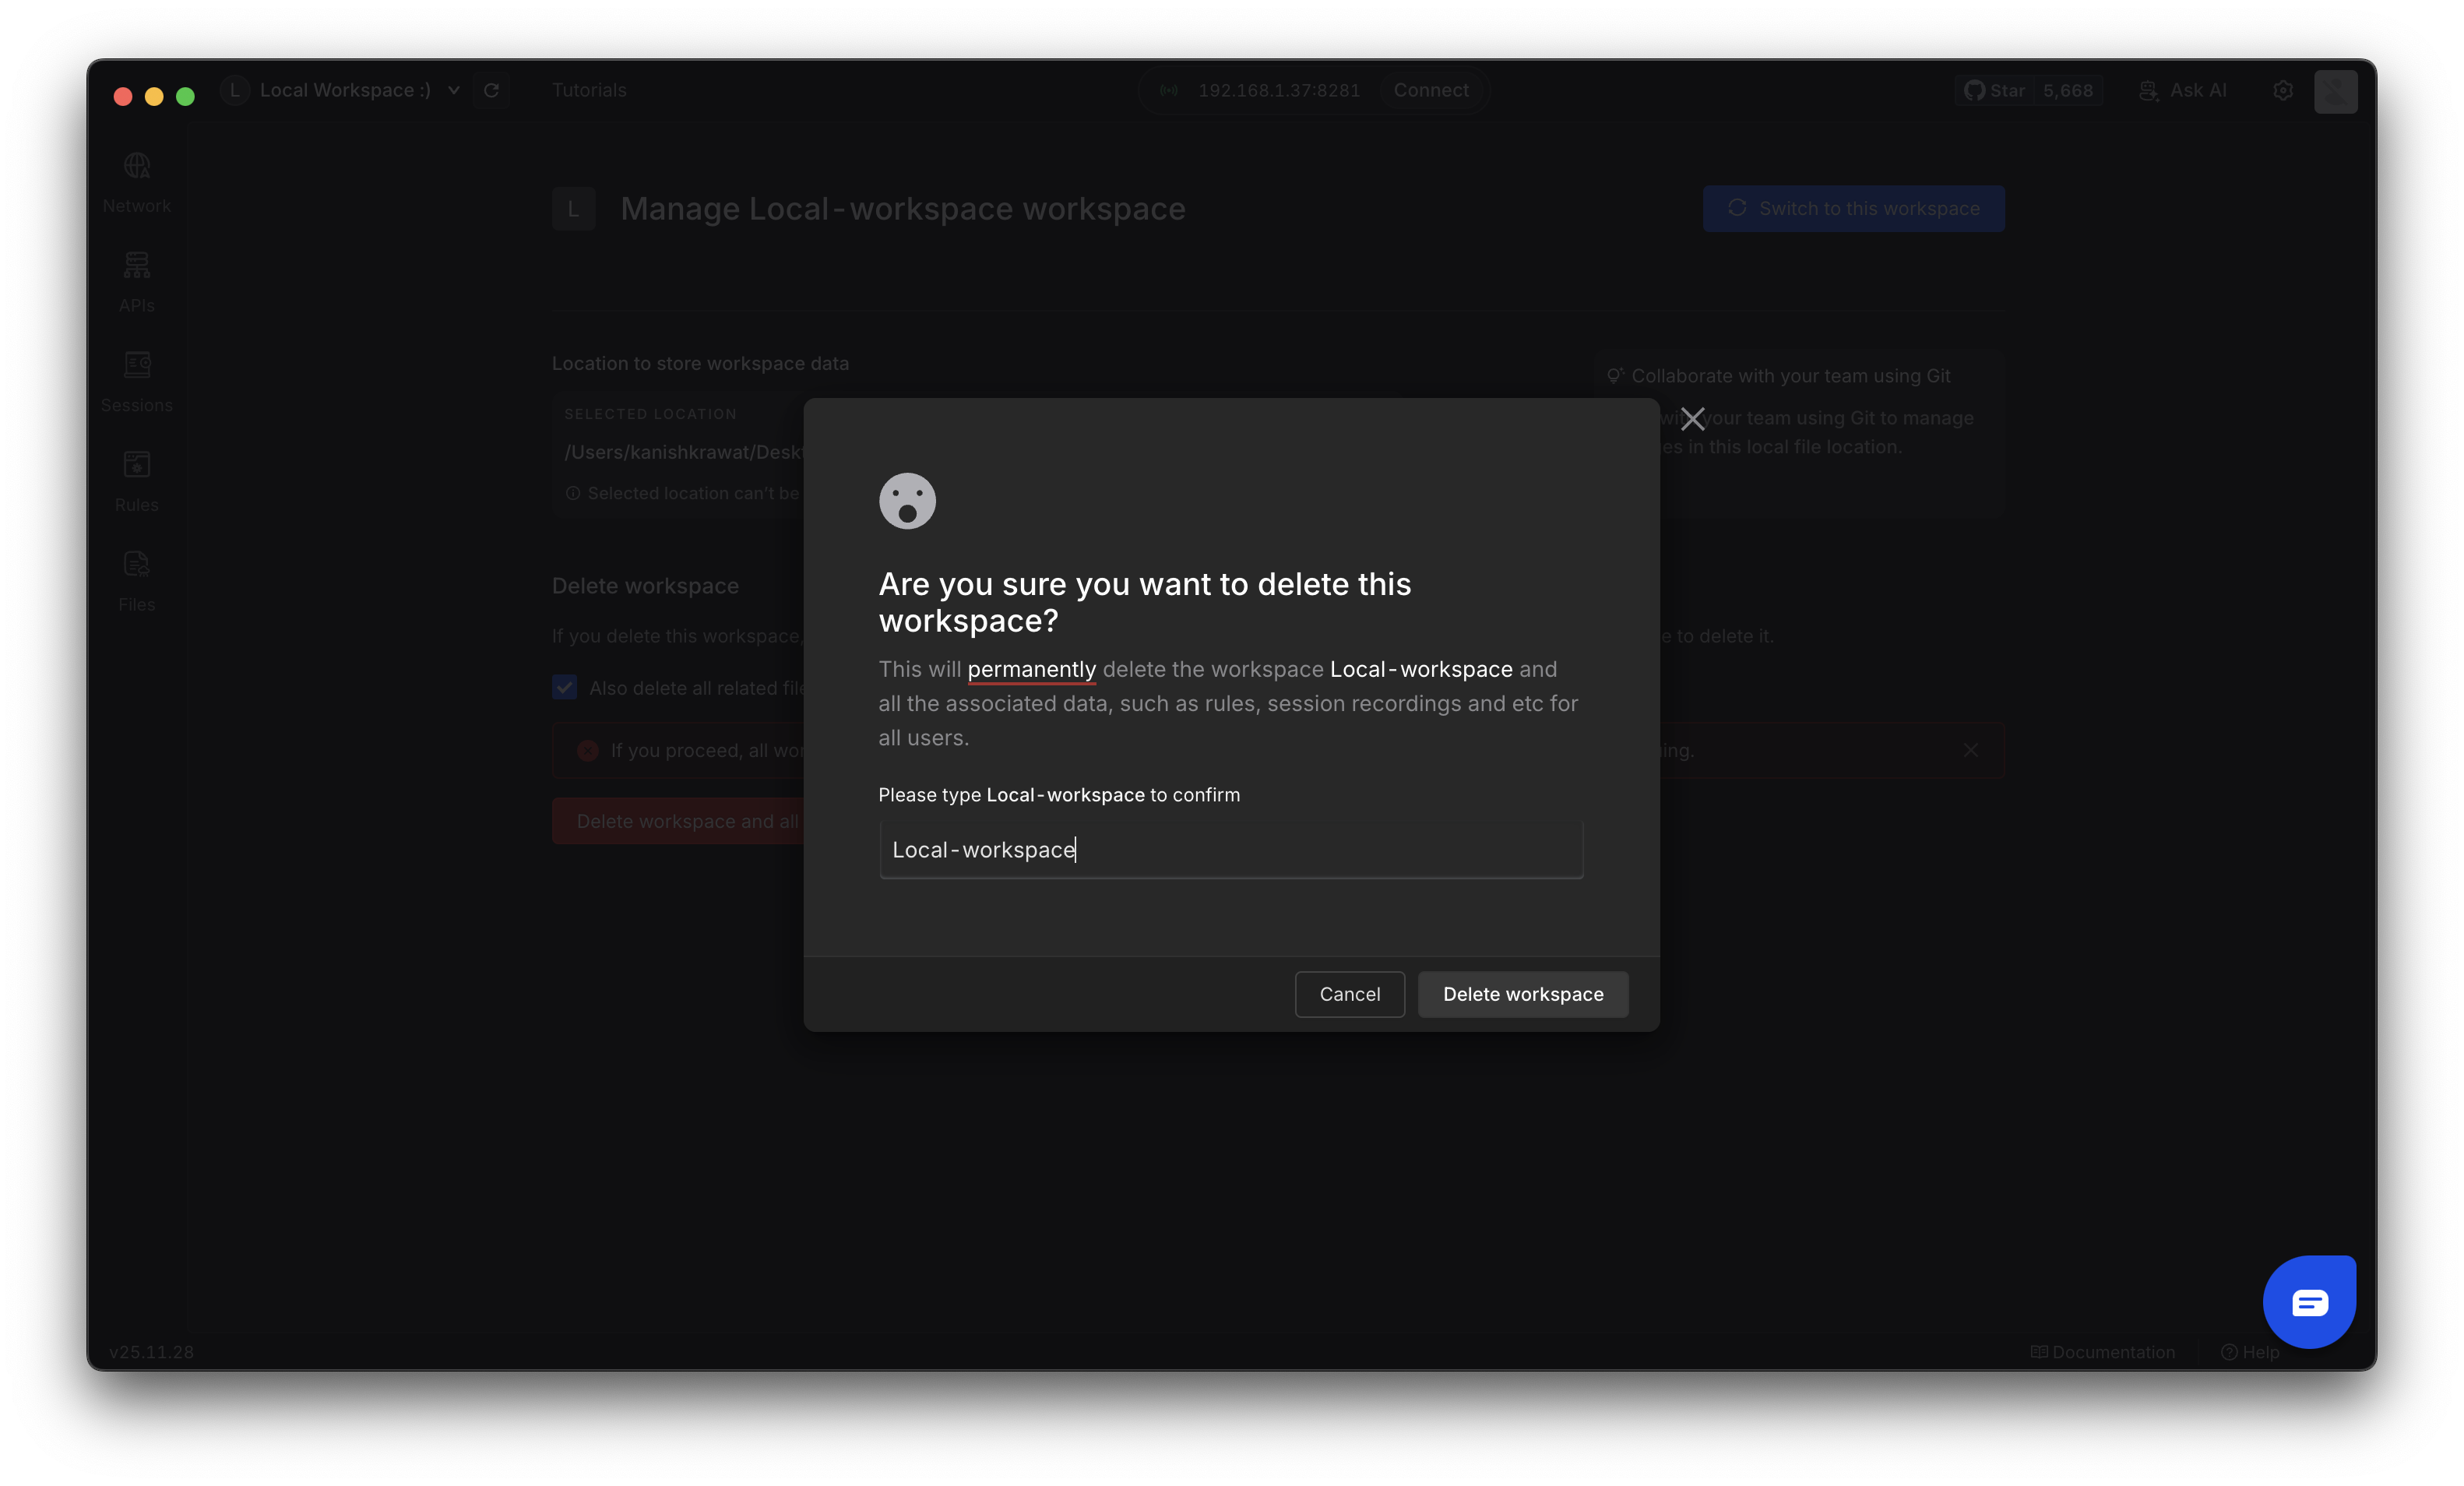
Delete project
Click Delete Project and confirm the action by entering the project name. Then click the Delete Project button to complete the removal.