

x-api-key header on every request. Anyone who does not gets a 404, exactly as if the mock did not exist.
Prerequisites
- You are signed in and a cloud project is active. Mock servers are cloud-only, so privacy is not available in local projects.
- Your role has permission to update mocks in the project. Without it, a public mock shows the Private switch disabled with a tooltip explaining why, and an already-private mock shows a read-only Private badge instead.
The privacy control is rolling out gradually. If you do not see a Private switch at the end of the URL strip, it is not enabled for your account yet.
Make a mock private
1
Open the mock and find the Private switch
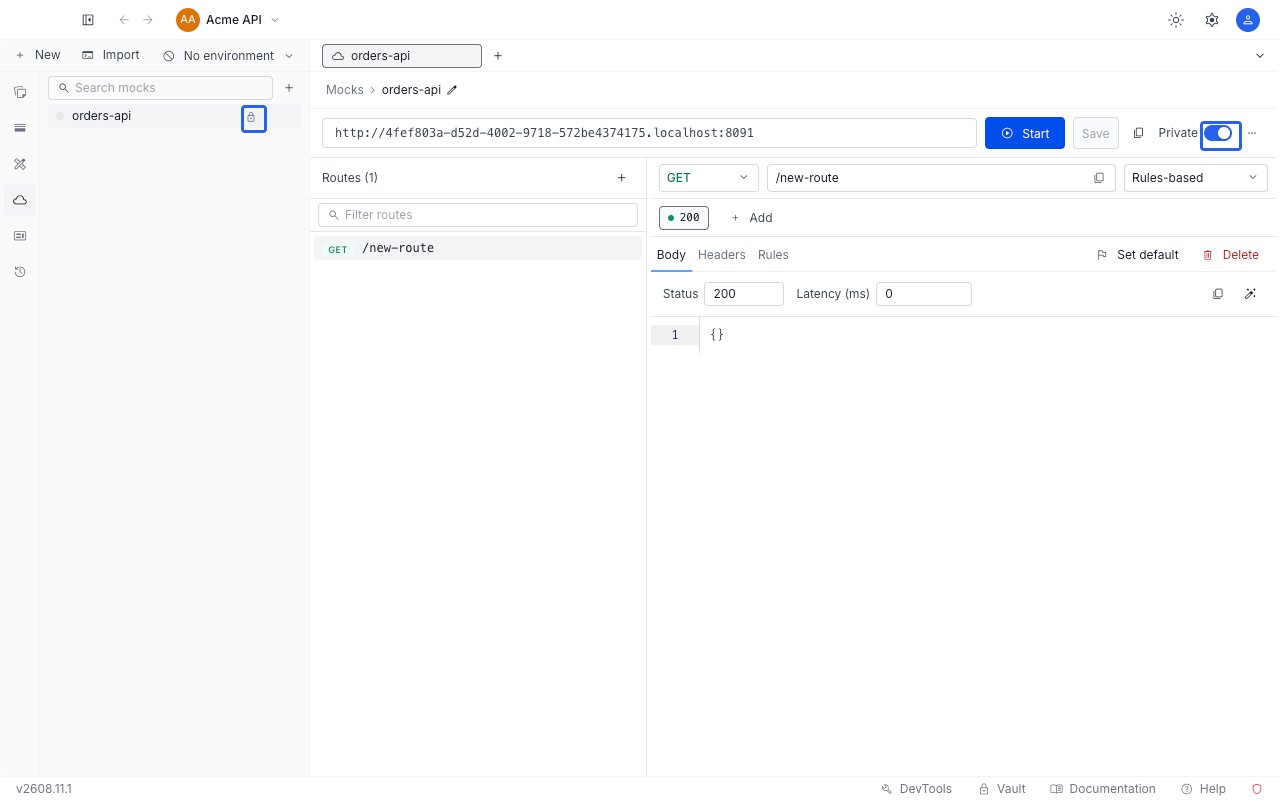
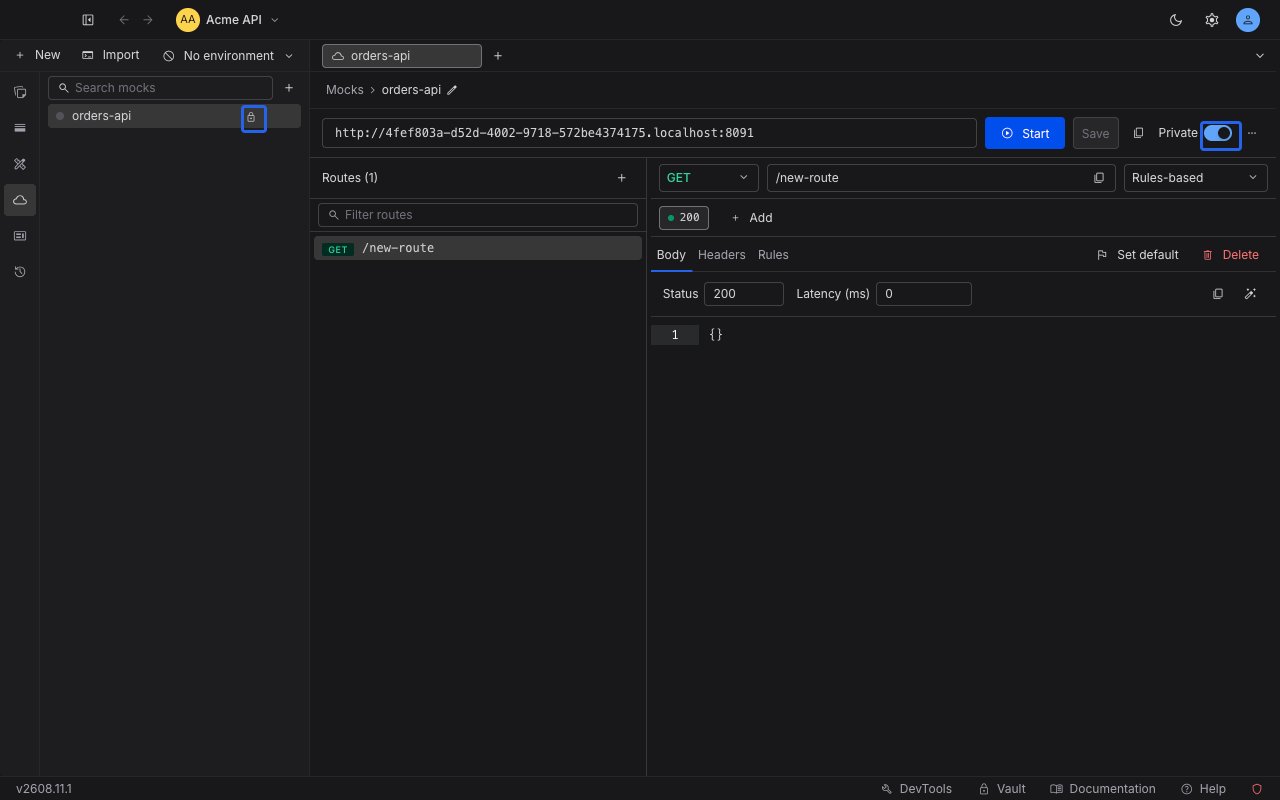
Open the mock from the Mocks section in the sidebar. At the far end of the URL strip, past the copy button, is a Private switch.
2
Turn it on and copy the token
Switch Private on. Requestly generates a token and shows it to you in a dialog. Tokens start with 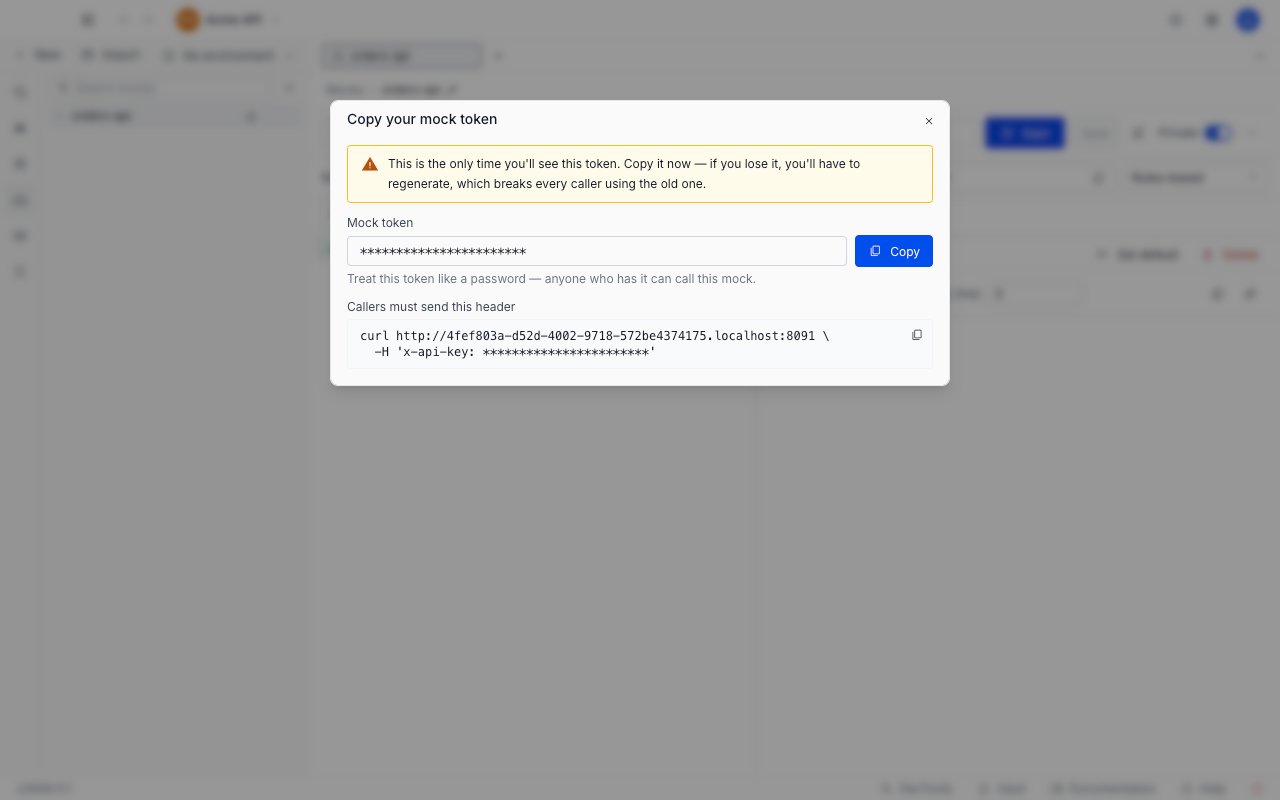
rqmock_.Click Copy to put the token on your clipboard, or use the copy button on the curl block below it to take the whole command at once. Requestly stores the token hashed and cannot show it to you again.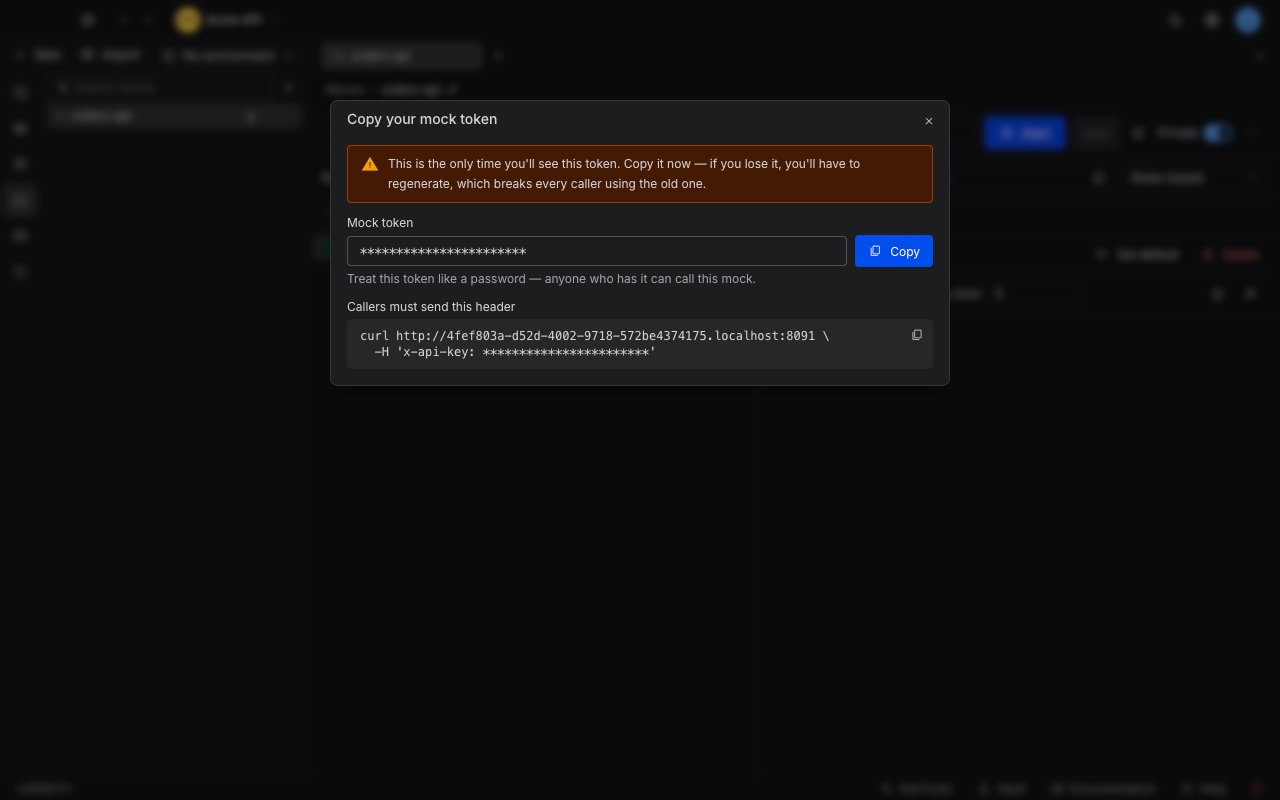
3
Call the mock with the token
Send the token in an You get back the response you configured, exactly as before. The URL is unchanged - only the header is new. The
x-api-key header on every request:curl block in the reveal dialog is the same command with your base URL and token already filled in, so copy it and append your route path.What callers without a token see
A request that is missing the token, or sends the wrong one, gets the same404 that an unknown mock URL returns. The response says nothing about the mock existing, being private, or being stopped, and it carries no WWW-Authenticate header.
That is deliberate. A reject that looked different from “no such mock” would confirm to anyone probing your URLs that something real is there.
The silence carries into your own mock’s request log. A caller rejected for a missing or wrong token is logged as No mock server matches this URL, the same row an unknown or deleted mock produces, so that row on a private mock is not evidence the mock is gone. Rule out the x-api-key header first.
The token must travel in the header. Putting it in a query string does not work.
Where privacy shows up
Once a mock is private, a lock icon appears next to its name in the Mocks sidebar, so you can tell at a glance which mocks in the project need a token. Hovering the icon confirms it: callers must sendx-api-key.
Regenerate the token
Regenerating replaces the mock’s token with a new one. Reach for it when a token has leaked, when someone who had it leaves the project, or when you have lost your copy.1
Open the token menu
With the mock private, click the ⋯ button beside the Private switch and choose Regenerate token…. The menu also shows when the token was last rotated, so you can check whether someone has already done it.
2
Confirm
Requestly asks you to confirm, because the consequence lands on other people.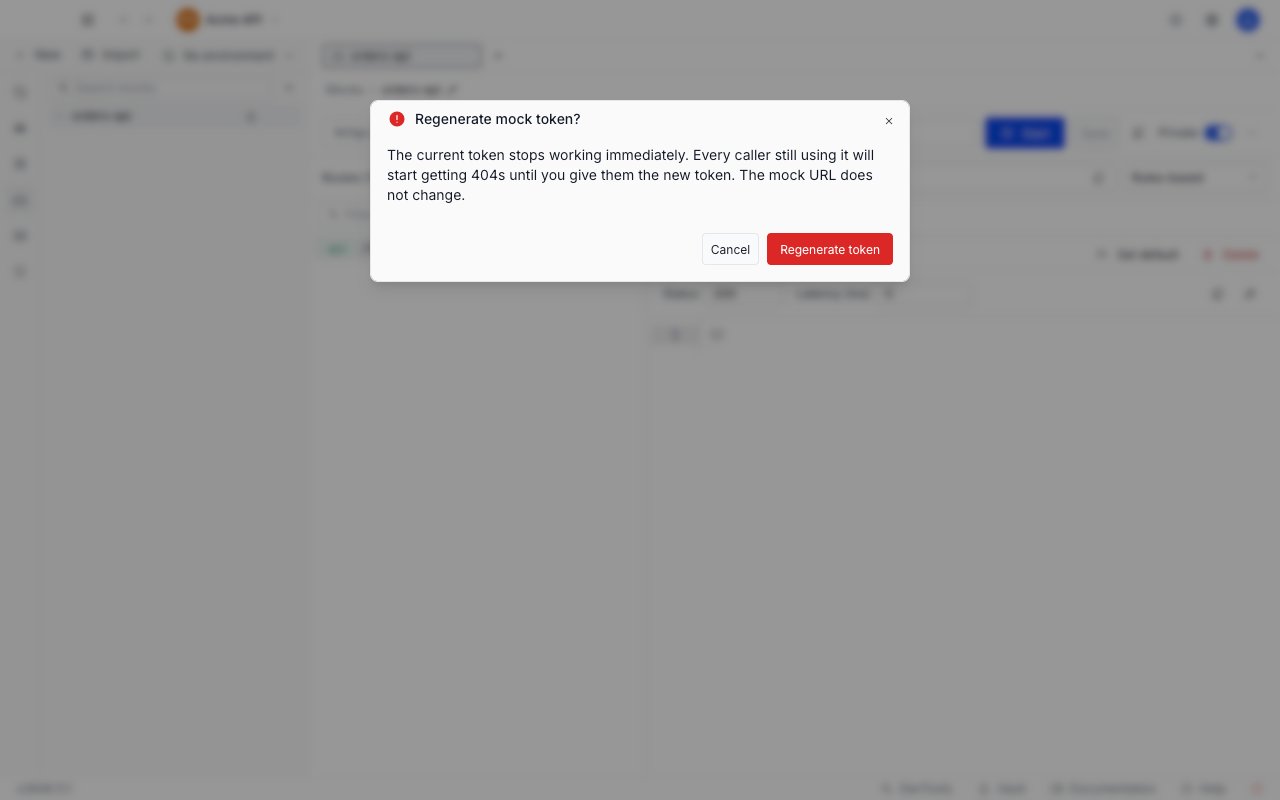
3
Copy the new token
The same one-time reveal dialog opens with the new token. Copy it and distribute it, exactly as you did the first time. The mock URL does not change.
Make a mock public again
Switch Private off. The mock goes back to answering anyone with its URL, and its token is deleted.Token limits and lifetime
- A mock has exactly one token. There is no way to issue a second token for the same mock, or to give different callers different tokens. Everyone who calls the mock shares one credential.
- A token stays valid until you replace it. Regenerating, making the mock public, or deleting the mock are the three things that invalidate it. Tokens do not expire on their own, so treat one like a password: anyone holding it can call the mock.
- Privacy is independent of start and stop. A private mock that is stopped returns the same
404to a caller without a token, rather than the503a stopped public mock returns. A caller sending the correct token still gets the normal503. - Requestly consumes the
x-api-keyheader. On a private mock it is stripped before your matching rules and response templates see it, so the live token is never reflected back to the caller. Every other header behaves normally.