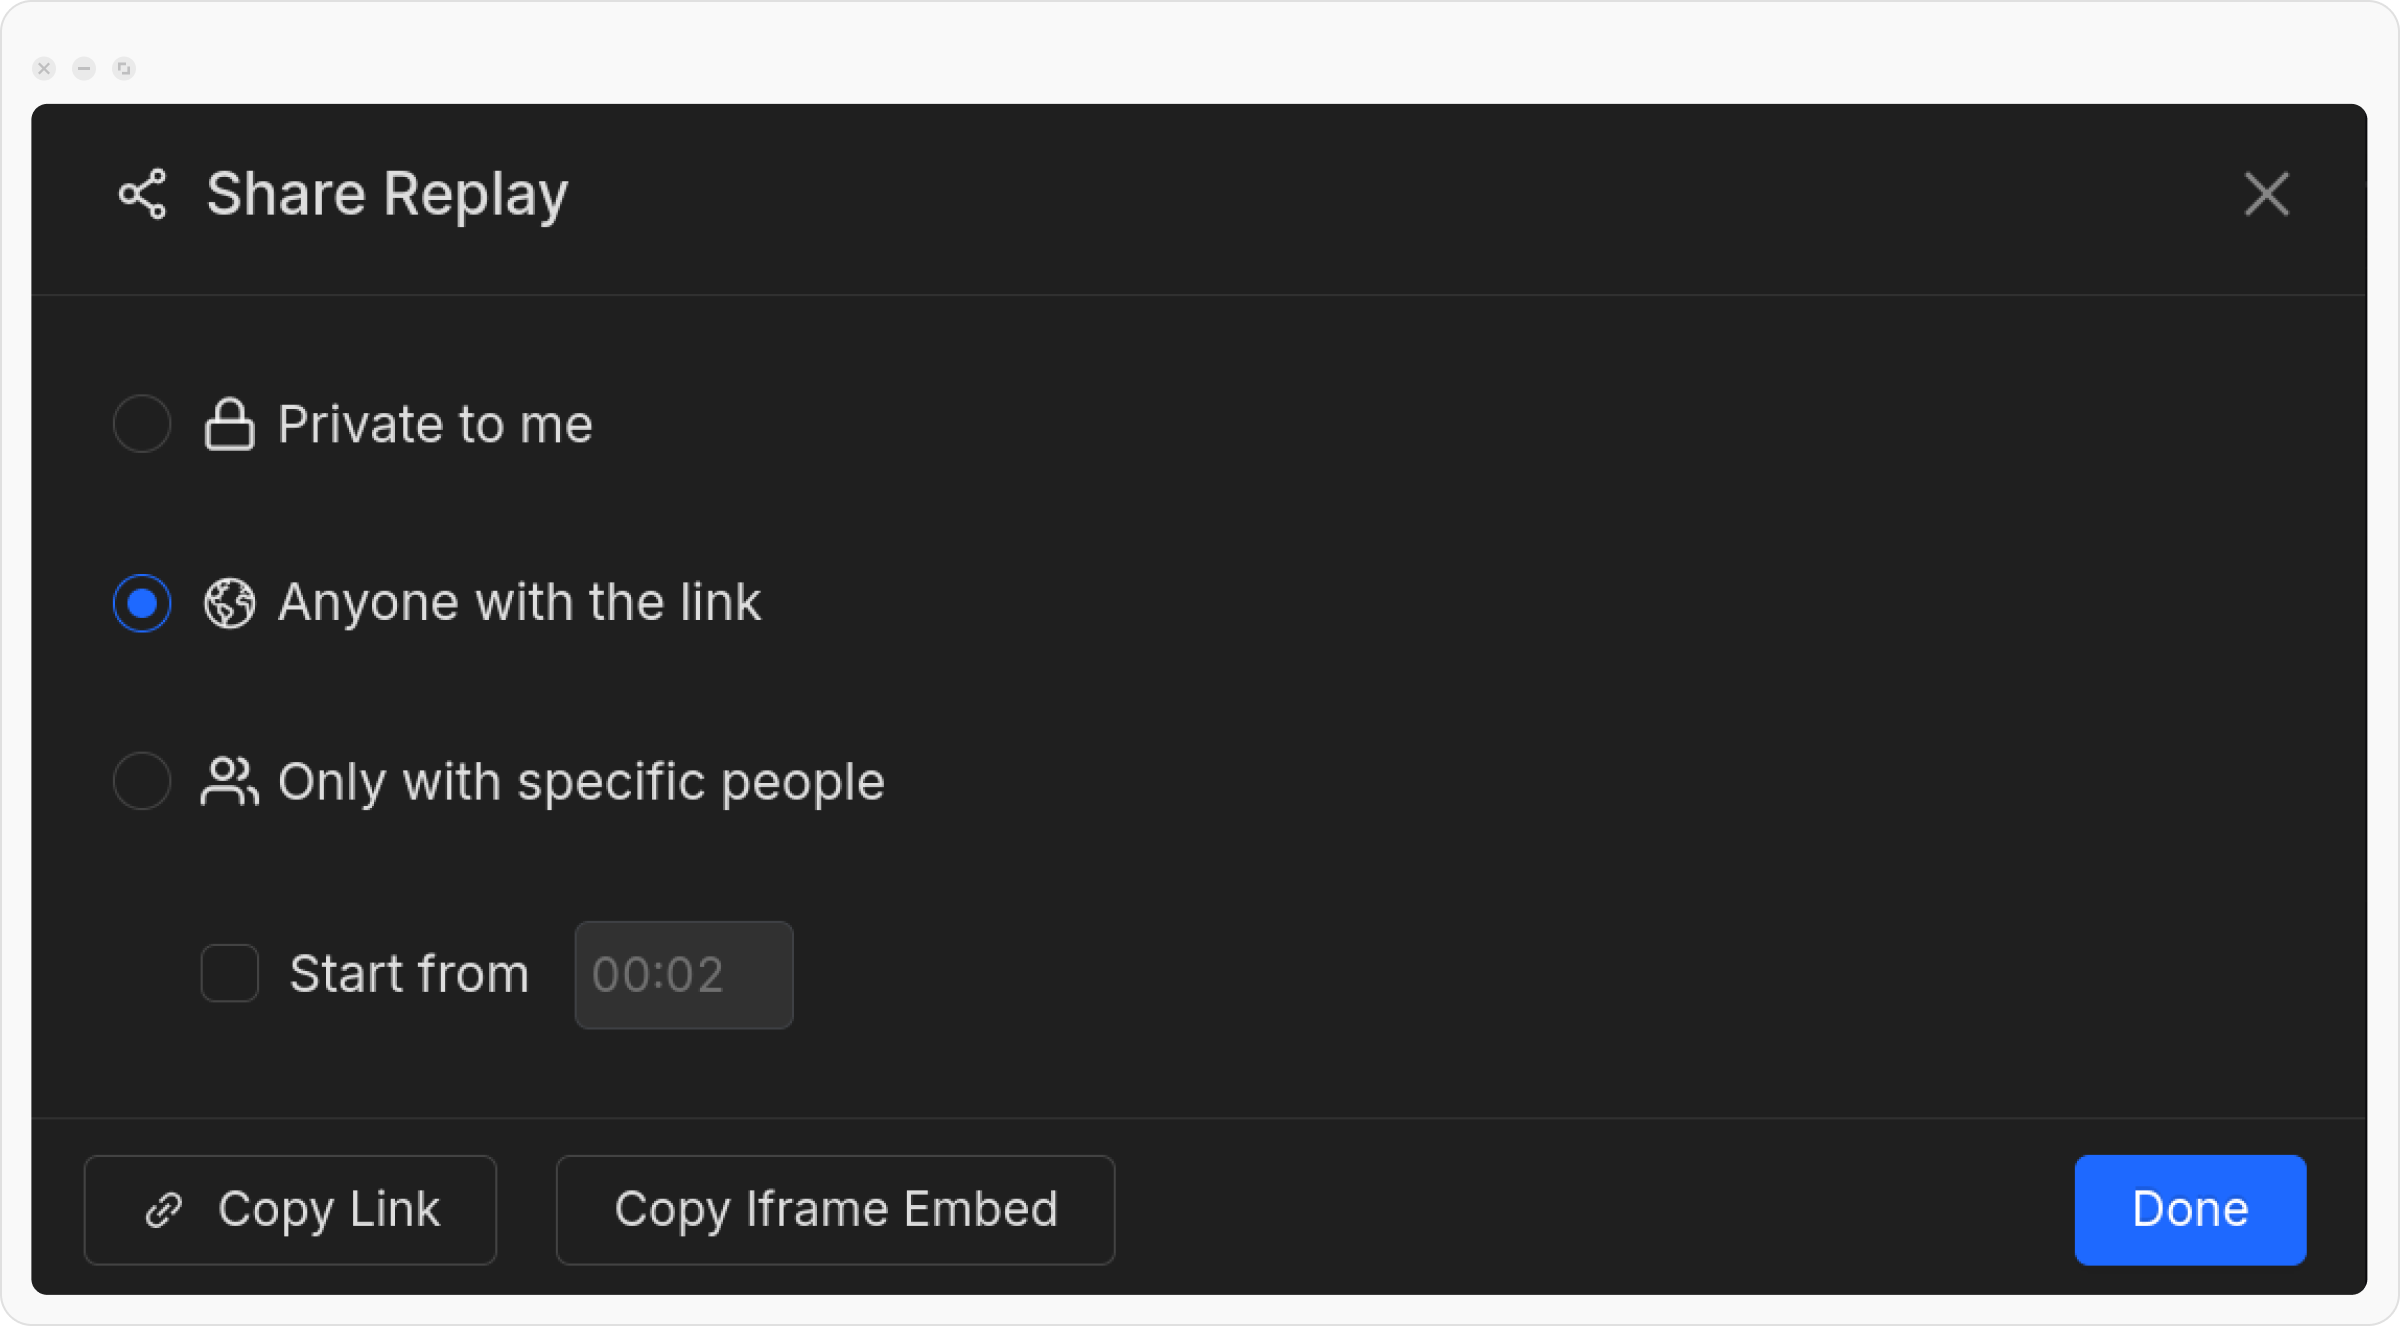
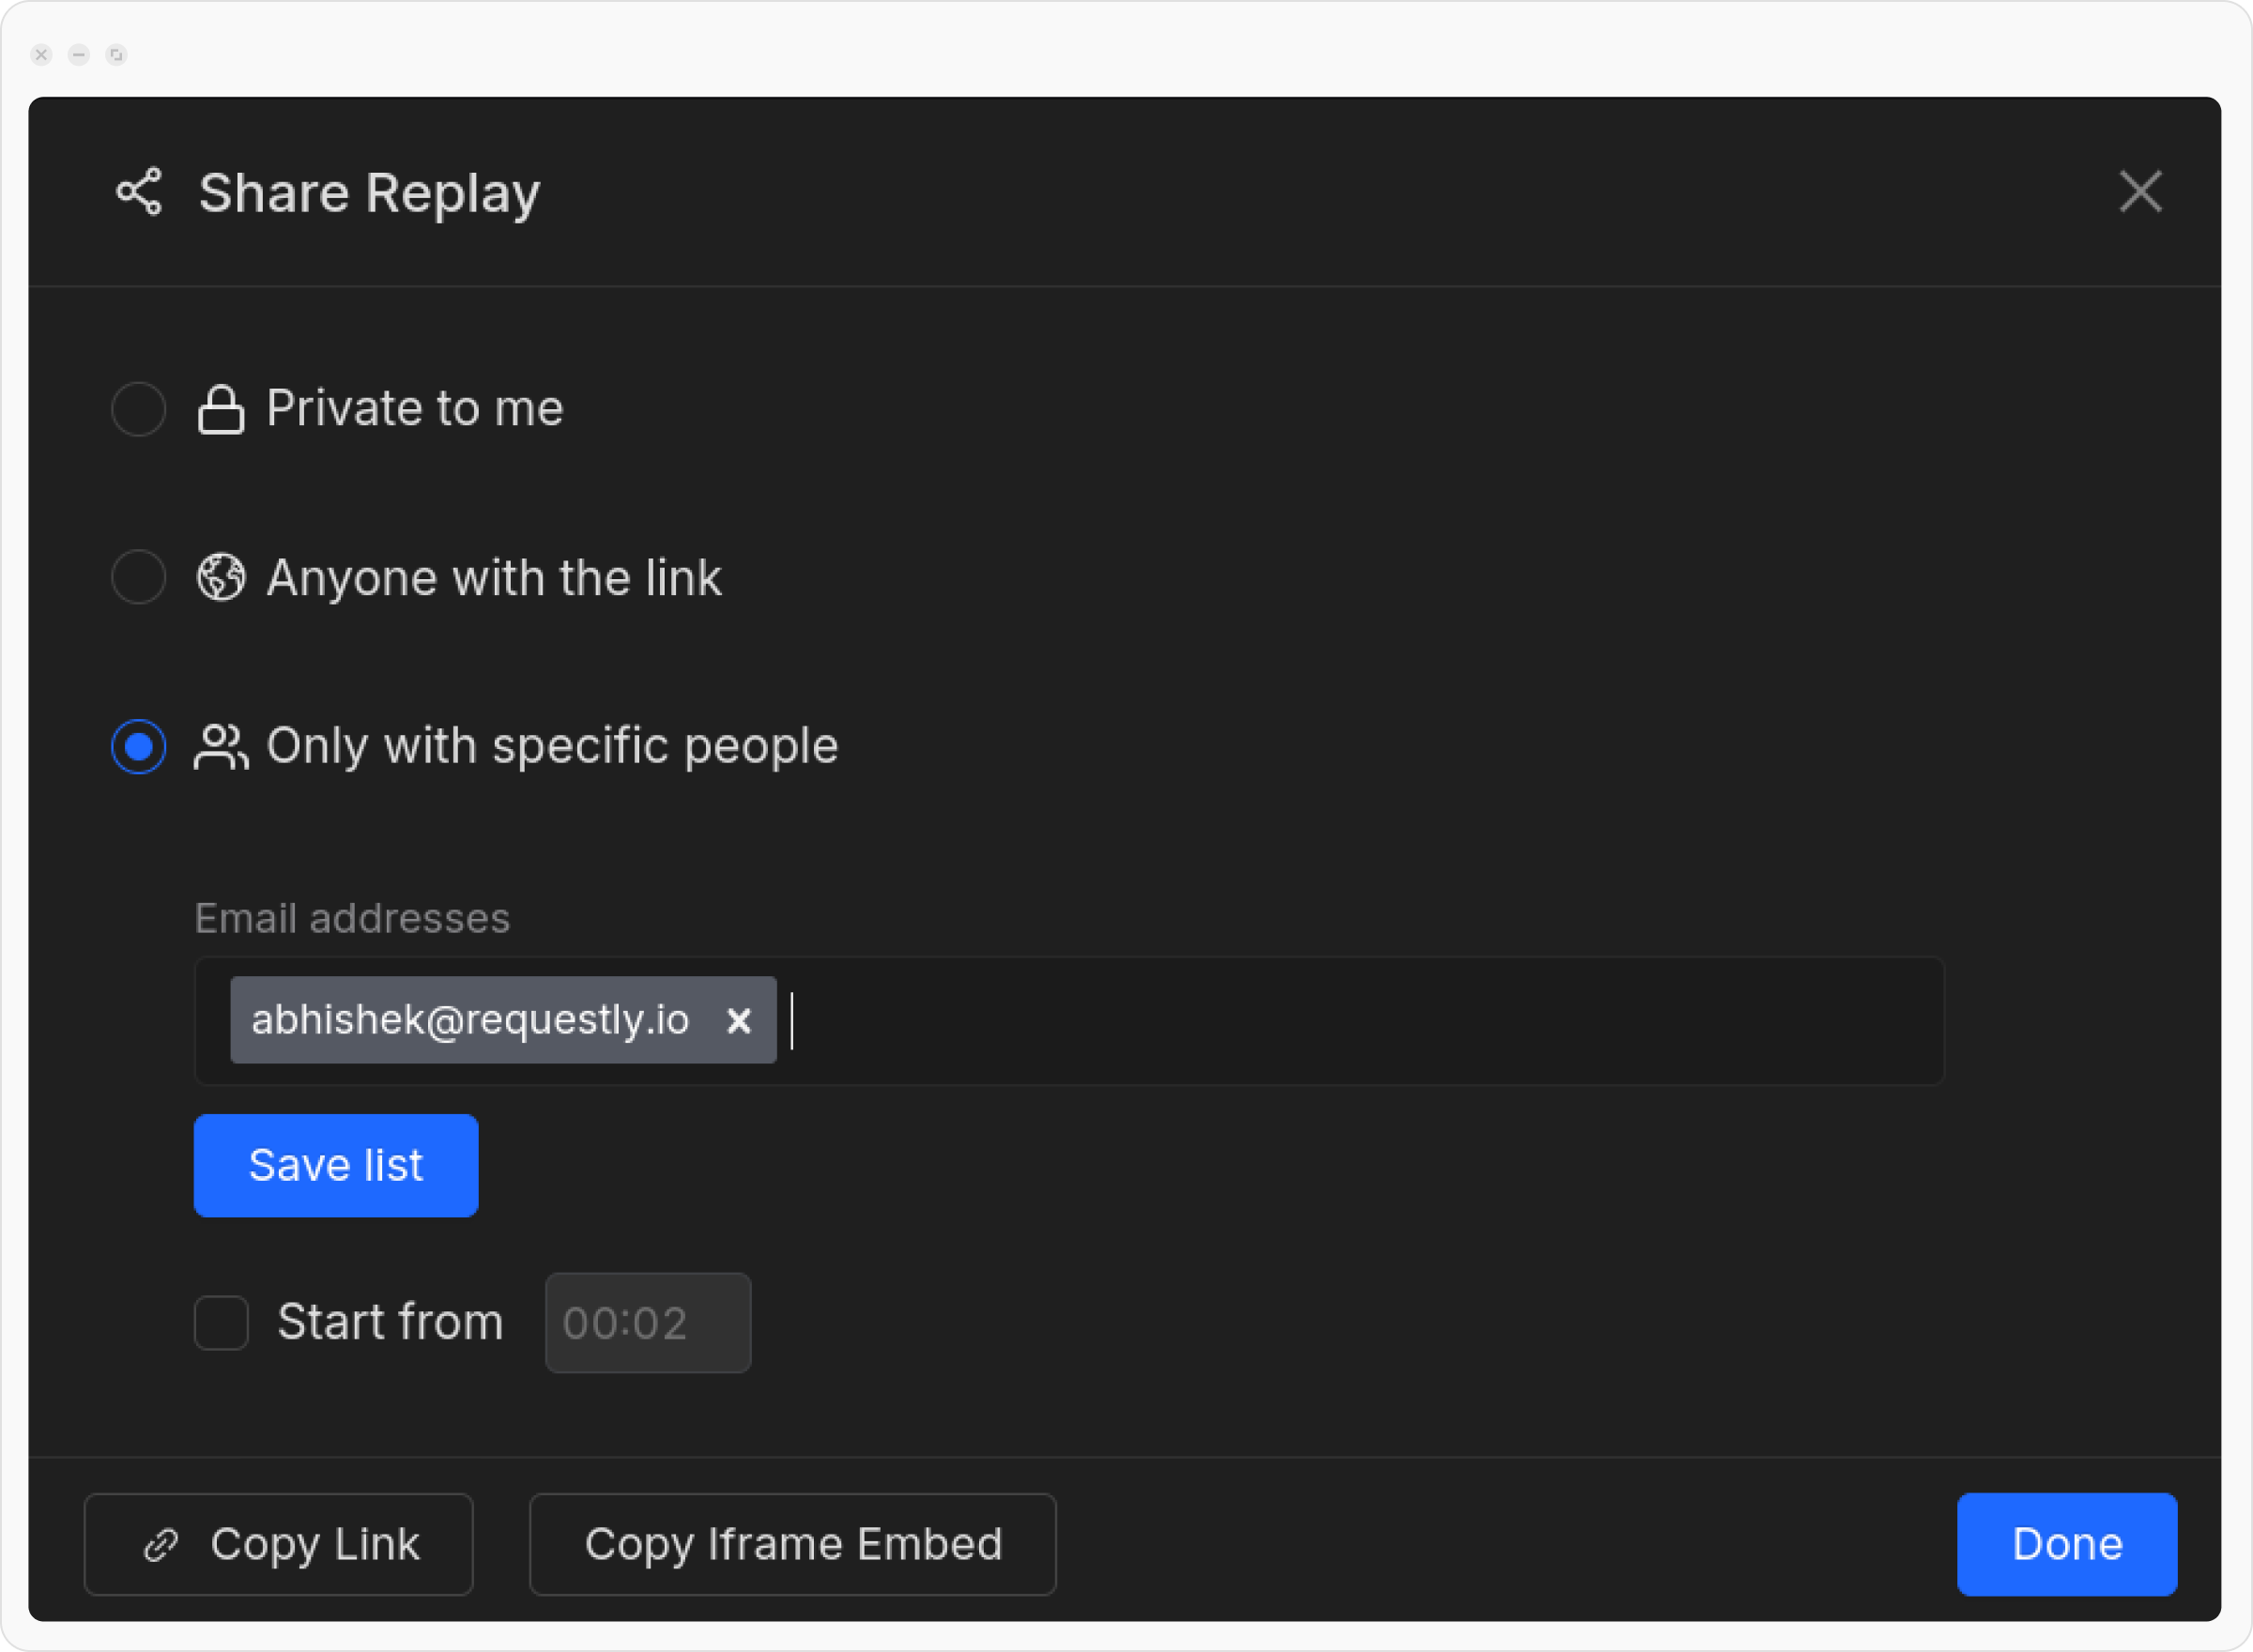
Once you get familiar with SessionBook, you can dive into managing access control for session recordings. Requestly offers flexible Access Control, allowing you to decide who can view, delete, and share recorded sessions. These options ensure that your recordings are shared securely with the right people, giving you full control over who has access based on your team’s needs.
Sharing Options for Recordings

1. Private (Default Option)
Select this option if you want to keep the recording for personal or future reference only. No one else will be able to access the recording unless explicitly shared.For recordings made within workspaces, private recordings are visible only to members of that workspace.
2. Anyone with the Link
Choose this option if you want anyone on the internet to be able to access the recording. This is useful for sharing recordings with external stakeholders or collaborators.3. Only with Specific People
This option allows you to restrict access to the recording to specific individuals. It is ideal when you want to share a session with a select team or person, without making it public to others. For recordings inside workspaces, this option ensures that the recording is visible only to those specified, as well as members of the workspace.
How to Modify Access Control Settings
Step 1: Find and Select the Session
Choose the session you want to update.Step 2: Click the Share Button
Click the Share button to open the sharing options.
Step 3: Set Access Permissions
- Private: Only you can access it.
- Anyone with the Link: Anyone with the link can access it.
- Specific People: Share with specific people by entering their emails.

