

Prerequisites
Scheduled Runs are available on team projects only. Local projects and personal cloud projects show an explanatory screen with a link to switch to a team project instead.
Finding Scheduled Runs
1
Open the collection's Runner tab
Open the collection you want to schedule, then select the Runner tab.
2
Switch to the Scheduled sub-tab
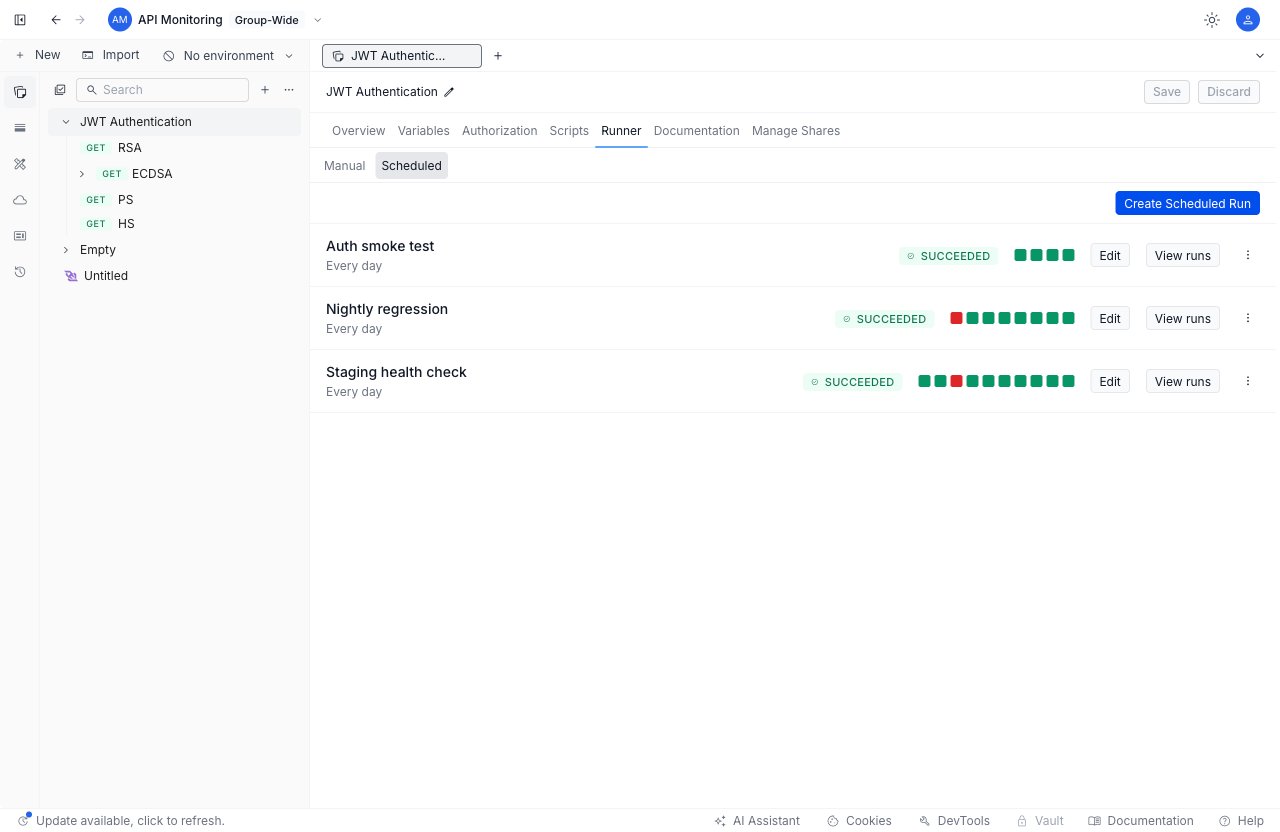
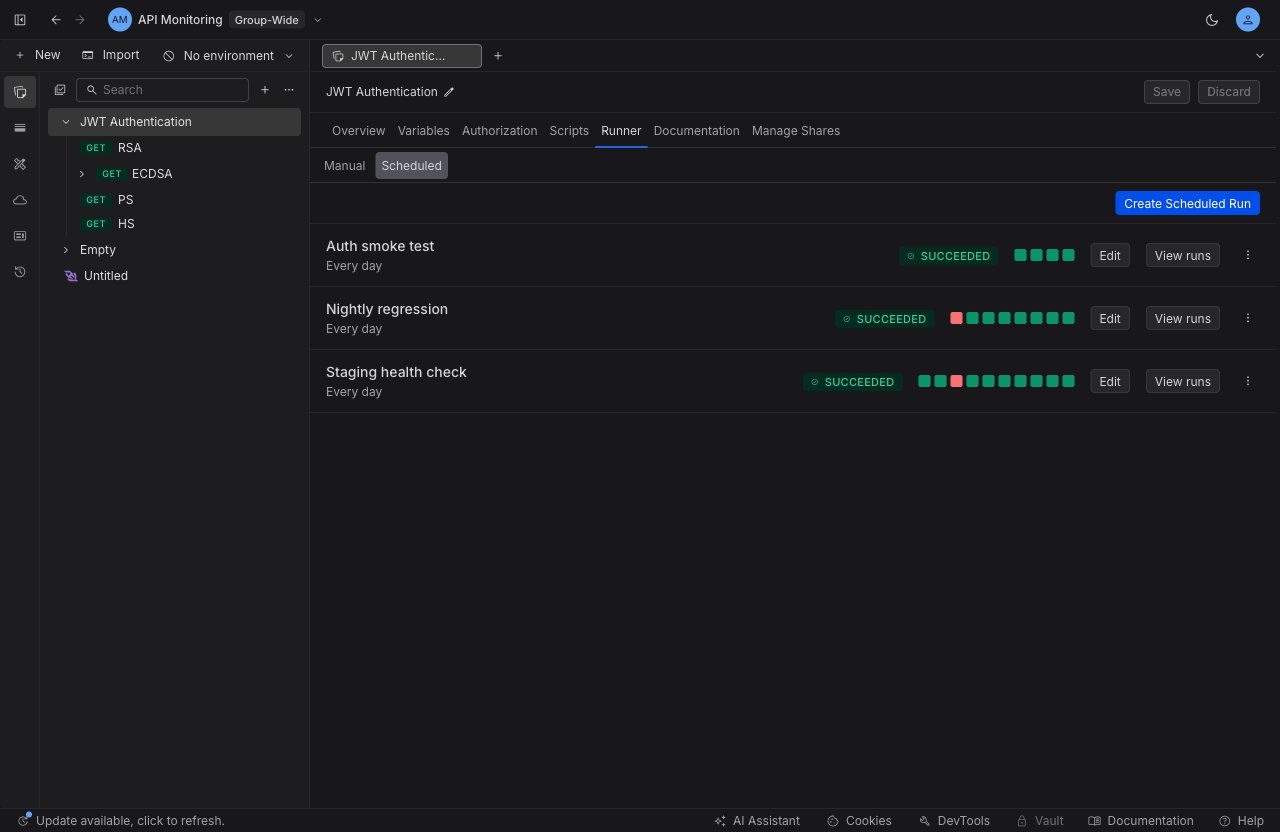
The Runner tab has sub-tabs for Manual, Scheduled, and Run in CLI. Manual is the on-demand Collection Runner, and Run in CLI is the entry point to Run on CI/CD. Select Scheduled to see the Scheduled Runs for this collection.
3
Review the inventory
Each Scheduled Run appears as a row showing its name, schedule, the outcome of its most recent run, and a strip of colored squares summarizing recent runs. If the collection has no Scheduled Runs yet, you see an empty state with a Create Scheduled Run button.
Creating a scheduled run
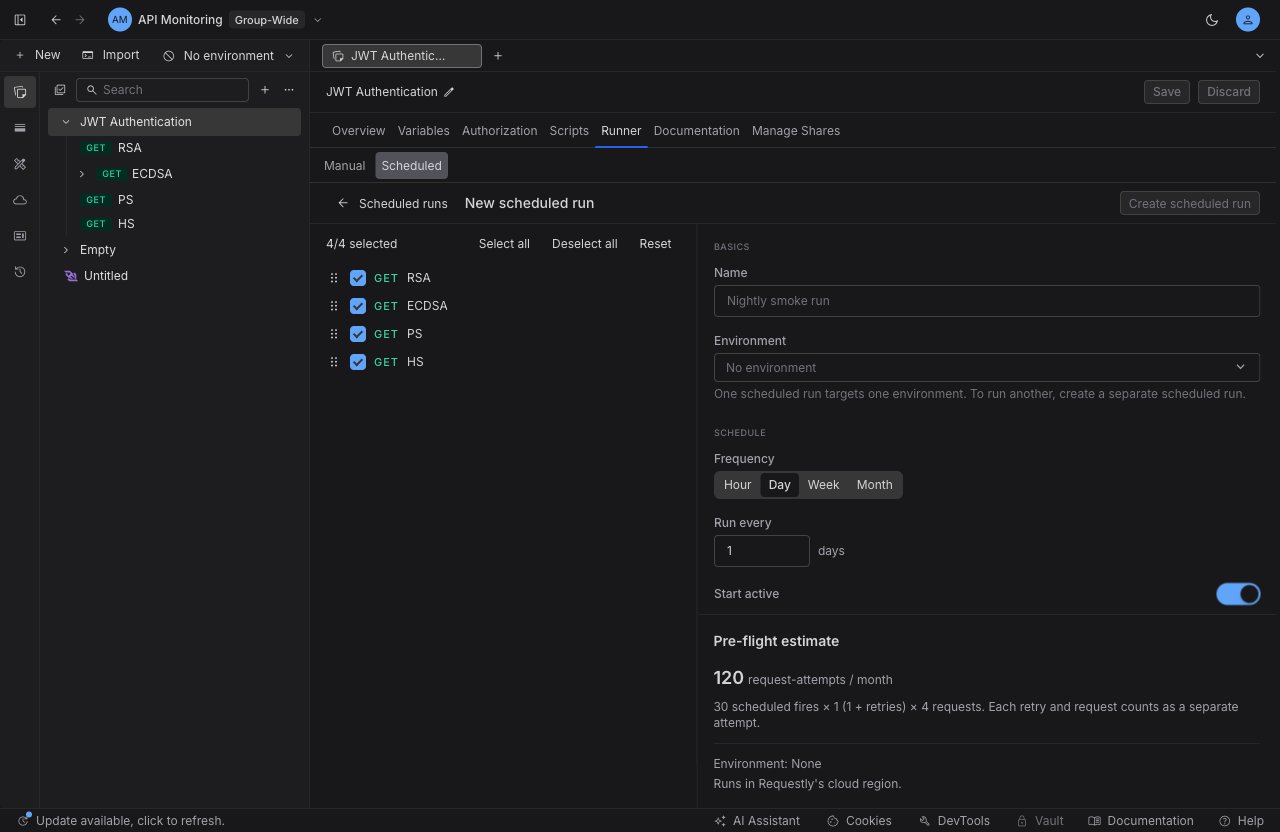
Select Create Scheduled Run to open the configuration pane. It has two areas: a request-selection list on the left, and the schedule settings on the right.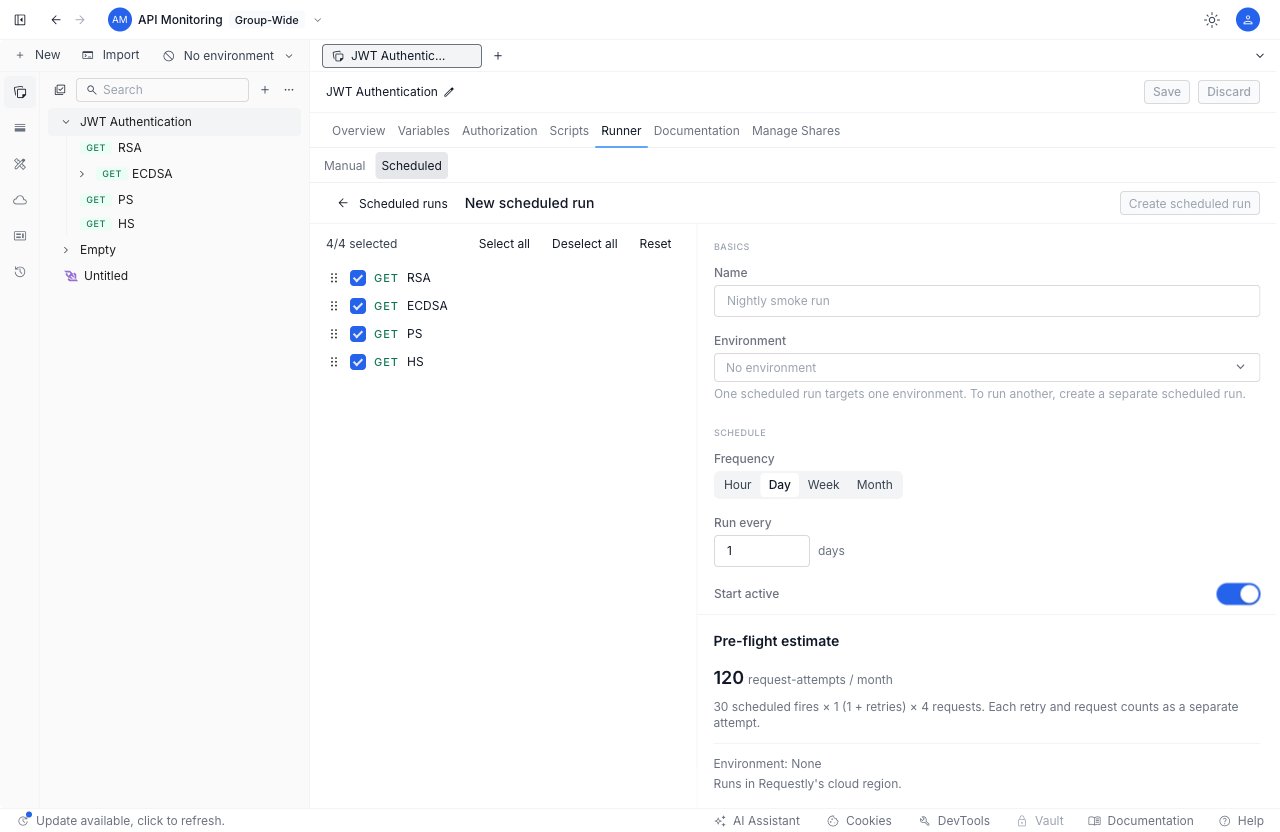
1
Name the run
Give the Scheduled Run a name that describes its purpose, such as “Nightly smoke run”.
2
Choose an environment
Pick the environment the run should use, or leave it as No environment.
One scheduled run targets one environment. To run another environment, create a separate scheduled run.
3
Set the schedule
Choose a frequency (Hour, Day, Week, or Month) and how often it should run under Run every. For example, a frequency of Hour with an interval of
6 runs the collection every six hours. Use the Start active toggle to decide whether the run begins firing immediately after you create it, or starts paused.4
Select and order the requests
In the left panel, choose which requests to include and drag to reorder them. Requests that cannot run on a schedule are shown locked and are skipped. By default the whole collection runs in its natural order.
5
Configure retries (optional)
Under Retry on failure, set Retries per request (0 to 10) and a Backoff strategy (None, Fixed, Linear, or Exponential). The backoff option is only enabled once you set at least one retry.
Each retry counts as a separate request-attempt against your quota.
6
Create the run
Select Create scheduled run. The new run appears in the inventory and begins firing on its schedule (unless you started it paused). Scheduled Runs execute in Requestly’s cloud region, not on your machine, so they keep running when the app is closed.
Redaction
Scheduled Runs always redact a fixed set of sensitive headers from the results they capture, so credentials are never stored in run history. This set is shown read-only in the config pane and cannot be changed.These request and response headers are always redacted in captured results:
Authorization, Cookie, Set-Cookie, X-Api-Key, and Proxy-Authorization.Managing scheduled runs
Each row in the inventory has an Edit button, a View runs button, and an overflow (⋮) menu with lifecycle actions:
- Run now triggers an immediate on-demand run without changing the schedule. The run is dispatched to the cloud and appears in the run history shortly after it finishes, not instantly.
- Pause stops a run from firing on its schedule; Resume starts it again. A paused run shows a Paused badge in its row.
- Delete removes the Scheduled Run after an explicit confirmation. Deleting stops the schedule and removes the run definition, but past run history is retained.
- Edit reopens the configuration pane so you can change the name, environment, schedule, request selection, or retry settings.
Viewing run history
Select View runs on any row to open its run history: a list of every run the schedule has produced, newest first. Each entry shows the outcome, when the run started, what triggered it, and how long it took, along with a short failure summary when a run did not succeed. Use the search box to filter by run ID, run status, failure text, or trigger source, and the outcome filter to narrow the list to one of: Succeeded, Failed, Timeout, Infra error, or Skipped. Use Load more to page through older runs.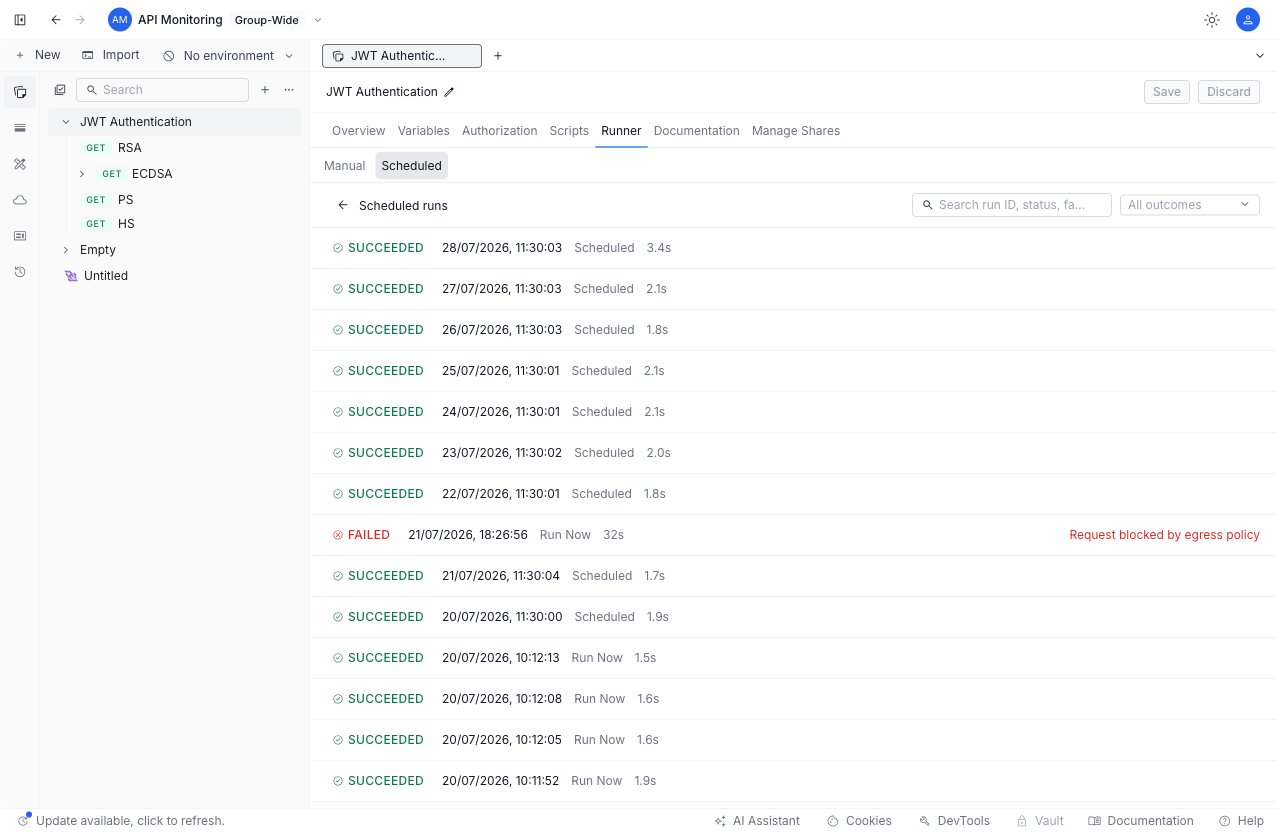
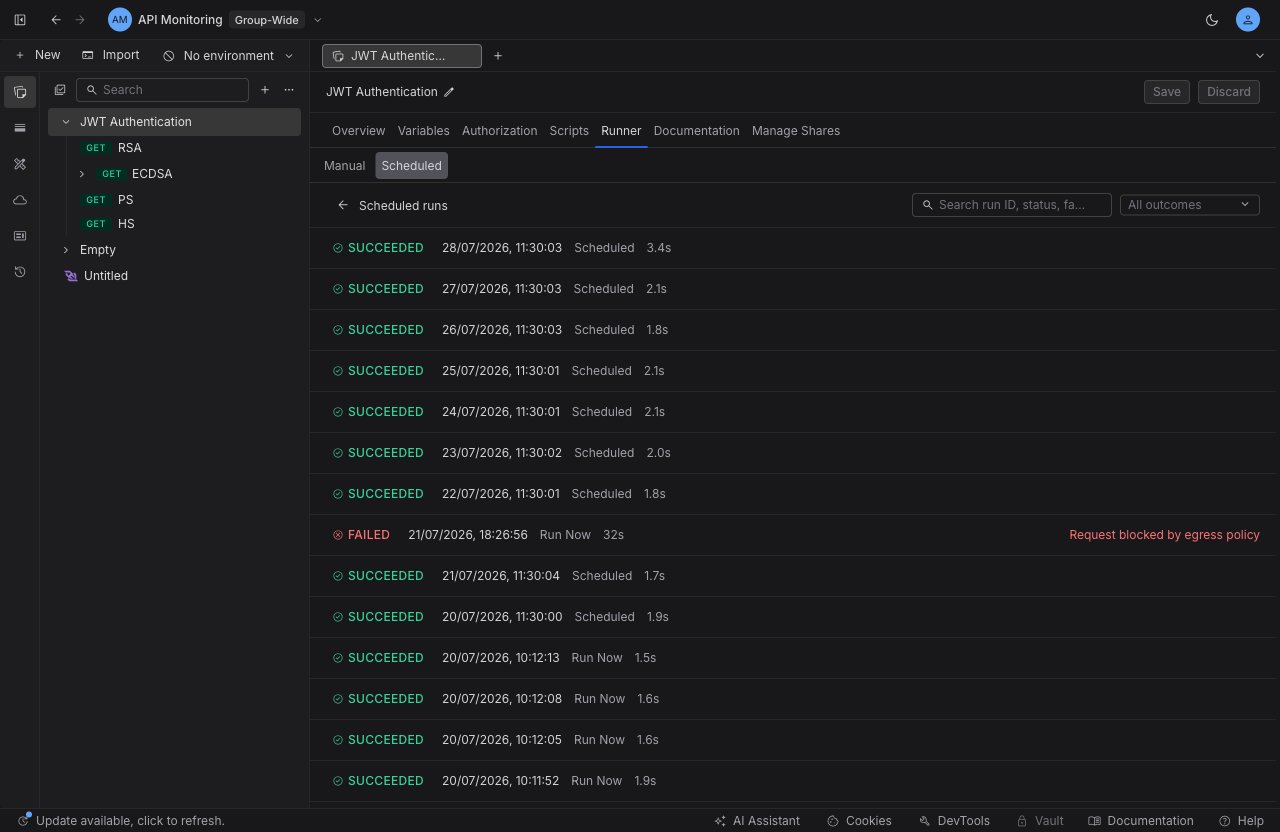
Run history lists finalized runs only and refreshes on its own periodically. A run you just triggered with Run now appears once it finishes, so give it a moment and the list will update. A run that is still in progress is shown but cannot be opened until it completes.
Inspecting a run
Select any finished run to open its drill-down view. The header shows the run’s overall outcome, a Re-run button that dispatches a fresh on-demand run, and a failure summary when the run failed.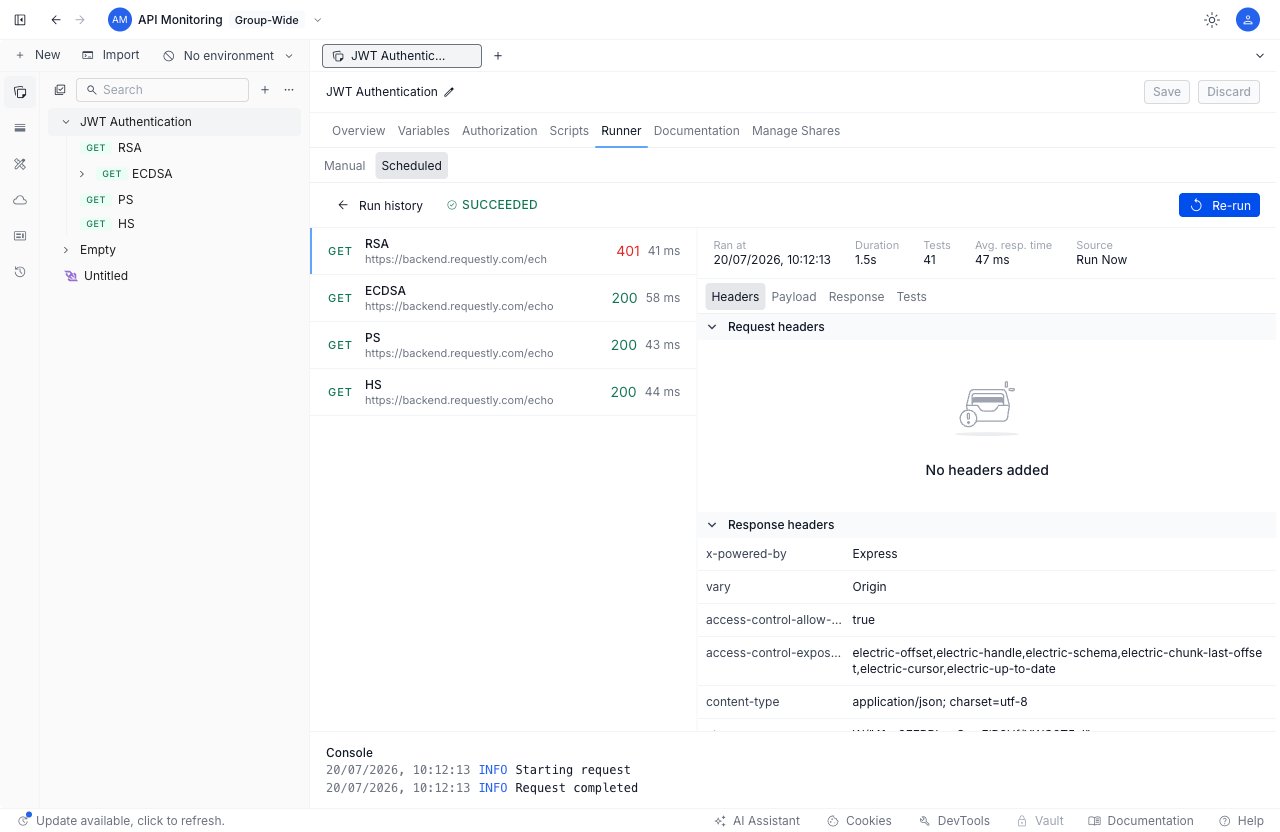
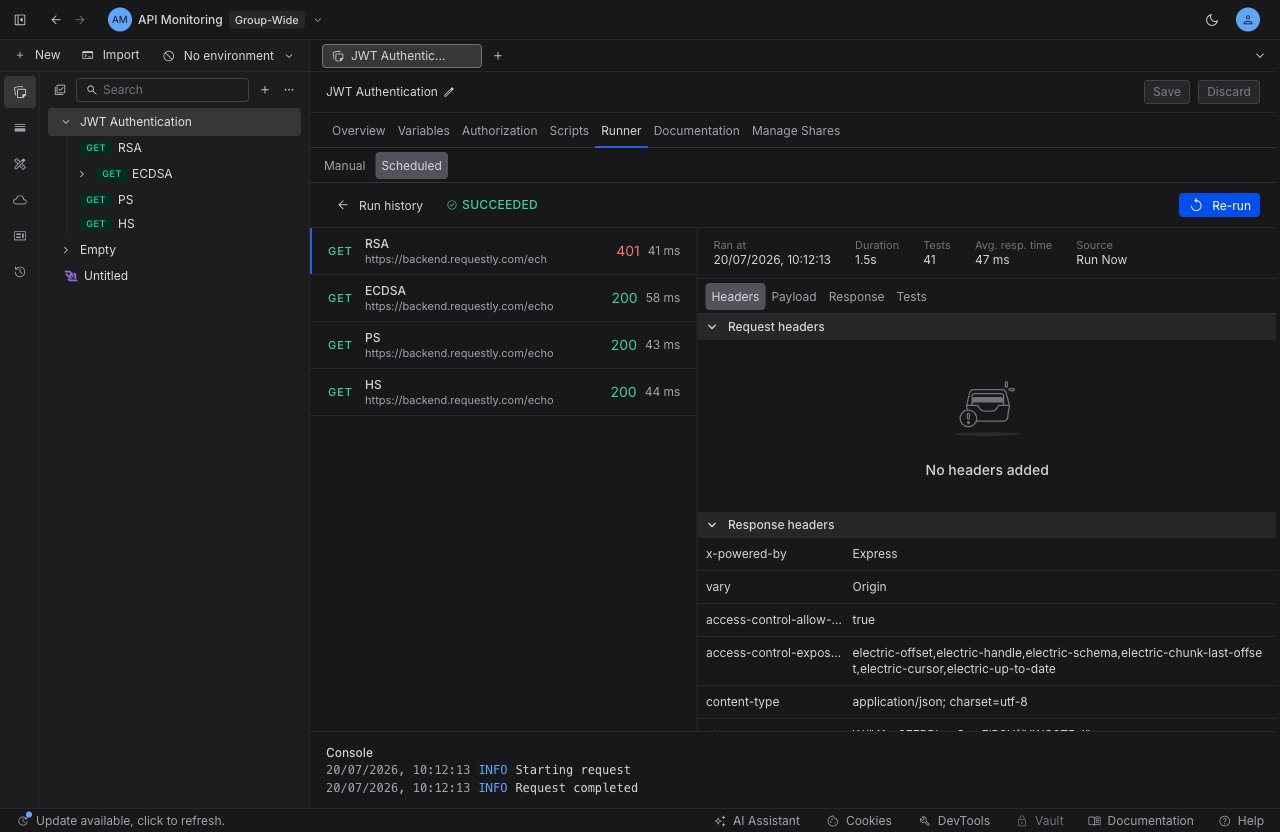
- The left pane lists every request attempt in the run, in order. Each row shows the method, name, and URL, the response status and time, and markers for failed requests, failed assertions, and retry attempts (attempts past the first are labeled).
- The right pane shows metrics for the run (when it ran, its duration, the number of tests, the average response time, and what triggered it) and, for the request you select, a tabbed detail view:
- Headers - the request and response headers.
- Payload - the request body.
- Response - the response body. A marker appears when a large body was truncated.
- Tests - the assertions for that request, with pass, fail, and error counts.
Running as a deploy gate
Scheduled Runs are built for recurring, unattended monitoring. To run a collection as a pass or fail gate inside a CI pipeline instead, use the Requestly CLI, which runs the same collection from your terminal and returns a non-zero exit code when an assertion fails. To get that pipeline file without writing it yourself, use Run on CI/CD, which generates a ready-to-commit GitHub Actions, GitLab CI, Jenkins, or Azure Pipelines file from the collections you pick.What’s Next?
Collection Runner
Run a collection on demand and inspect the results before you schedule it.
Write Tests
Add assertions so each scheduled run validates status, body, and headers.
Run from the CLI
Run collections from your terminal or CI pipeline as a deploy gate.