If your company uses Microsoft Entra ID, you can set up the single sign-on feature for use with Requestly. This gives your employees the convenience of a one-click login, without using additional multi-factor authentication.Documentation Index
Fetch the complete documentation index at: https://docs.requestly.com/llms.txt
Use this file to discover all available pages before exploring further.
Step 1. Create an Microsoft Entra ID enterprise application
- Go to the Microsoft Entra ID portal.
- Go to Identity > Applications > Enterprise applications.
-
Click on + New application.
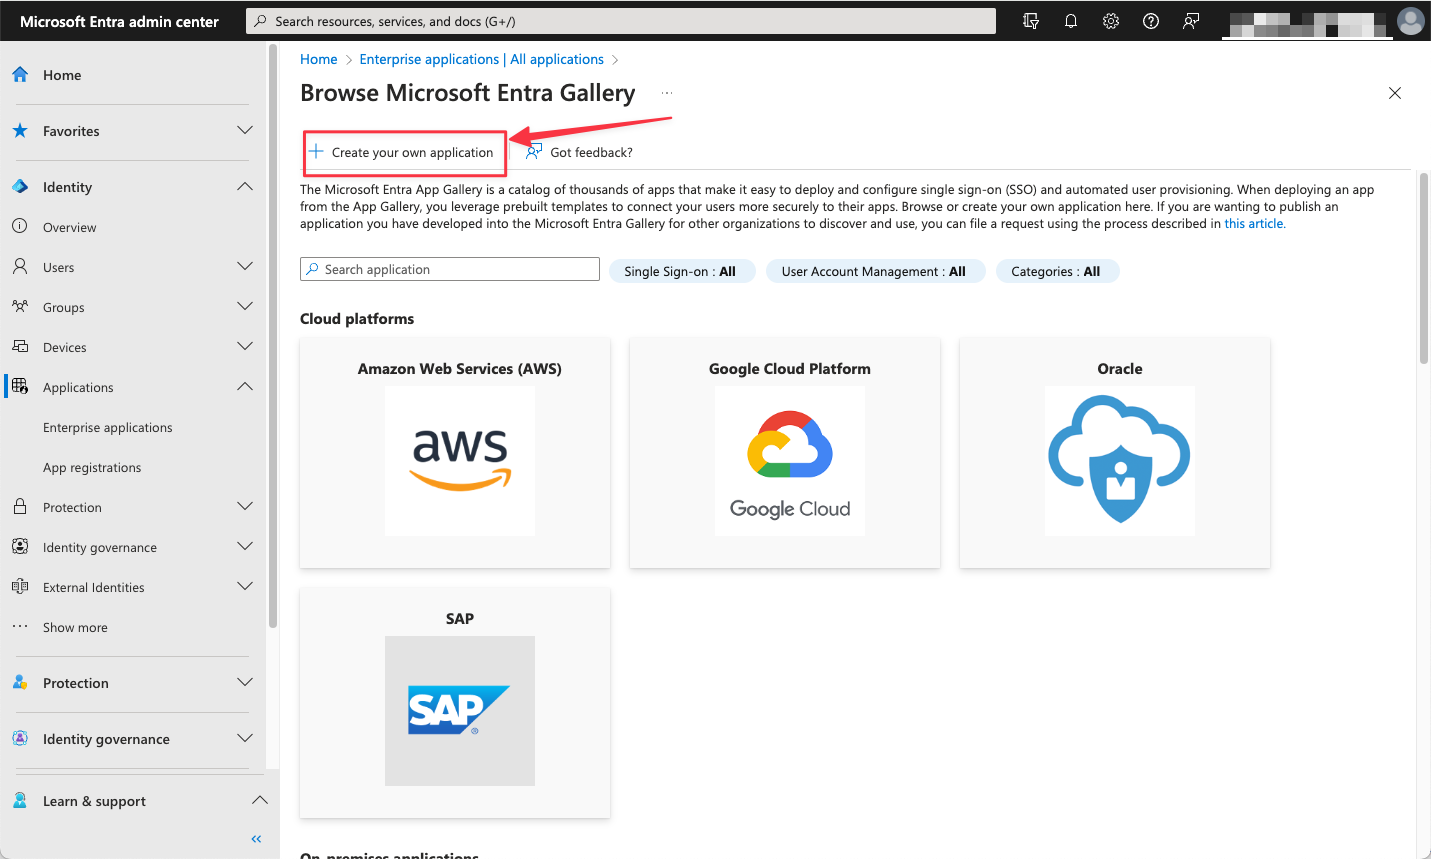
-
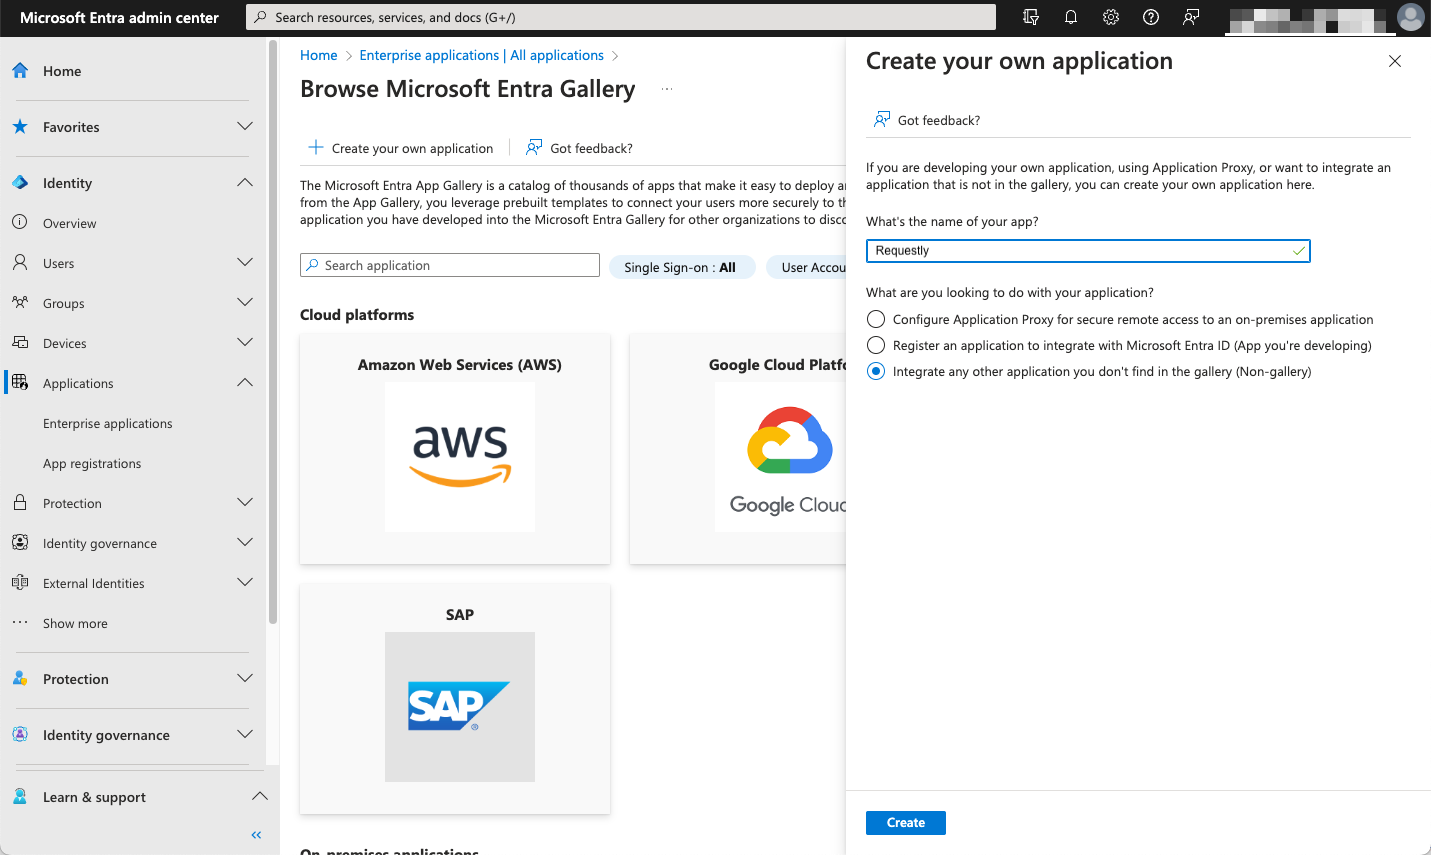
Enter app name as desired, select Integrate any other application you don’t find in the gallery (Non-gallery), and click Create
- After this you’re redirected to the newly created Requestly application Overview.
Step 2. Configure Microsoft Entra ID SAML Application
-
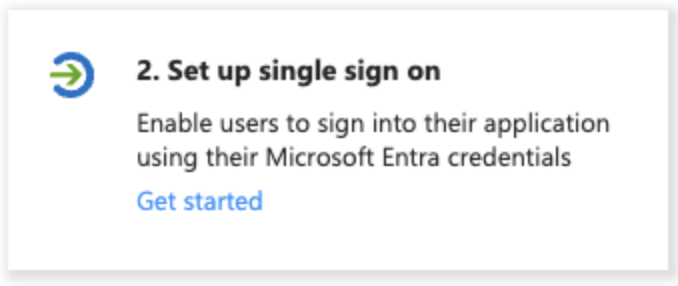
On the app’s Overview page, select 2. Set up single sign-on. You can assign users and groups later.
- On the app’s Single sign-on page, select SAML as the single sign-on method.
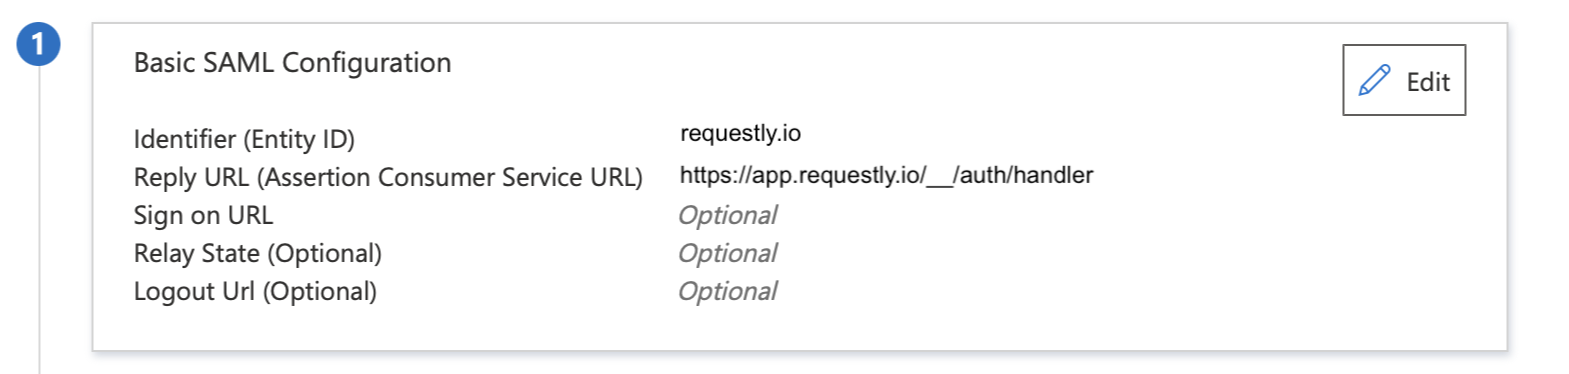
- Under the Basic SAML Configuration section, click Edit.
-
Add the following values and save:
-
Identifier (Entity ID):
urn:requestly.io -
Reply URL:
https://app.requestly.io/__/auth/handler -
Sign on URL (optional): Leave it empty. We don’t support IDP initiated SSO right now
-
Identifier (Entity ID):
Step 3. Setup SAML claims
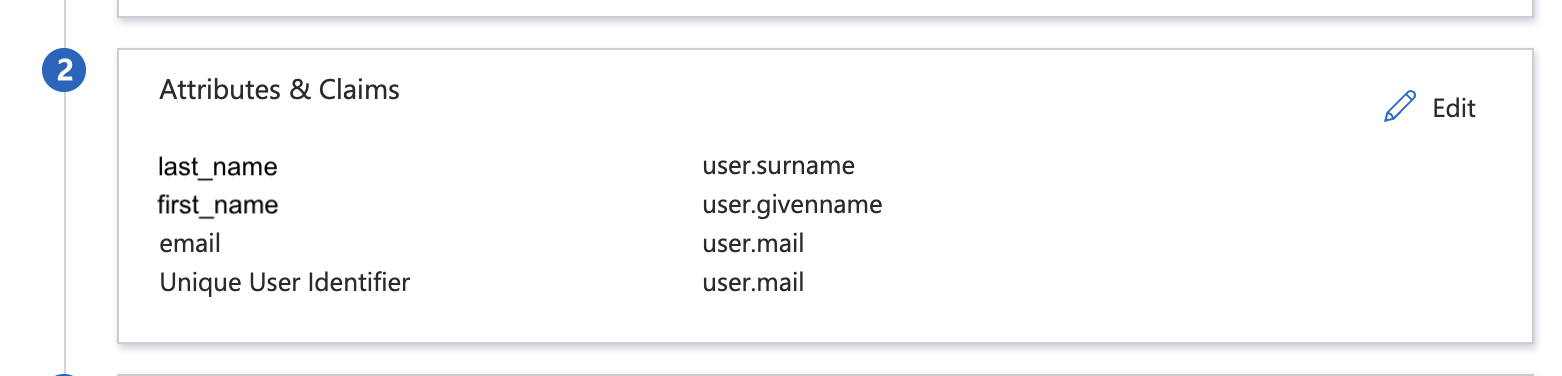
- Under the Attributes and Claims section, click Edit.
- Enter the following values:
| Unique User Identifier (Name ID) | user.mail |
|---|---|
| first_name | user.givenname |
| last_name | user.surname |
| user.mail |
Step 4. Share SAML metadata with Requestly
- Under SAML Certificates section, copy the App Federation Metadata URL.
-
Share the copied value with us
[email protected]