Quick Start
Follow these steps to send your first API request:1
Open API Client and Create a New Request
Open Requestly Desktop App, then click the 
+ New button to create a new request and select Request from the menu.2
Name Your API Request
Choose a descriptive title for your request to make it easy to identify later.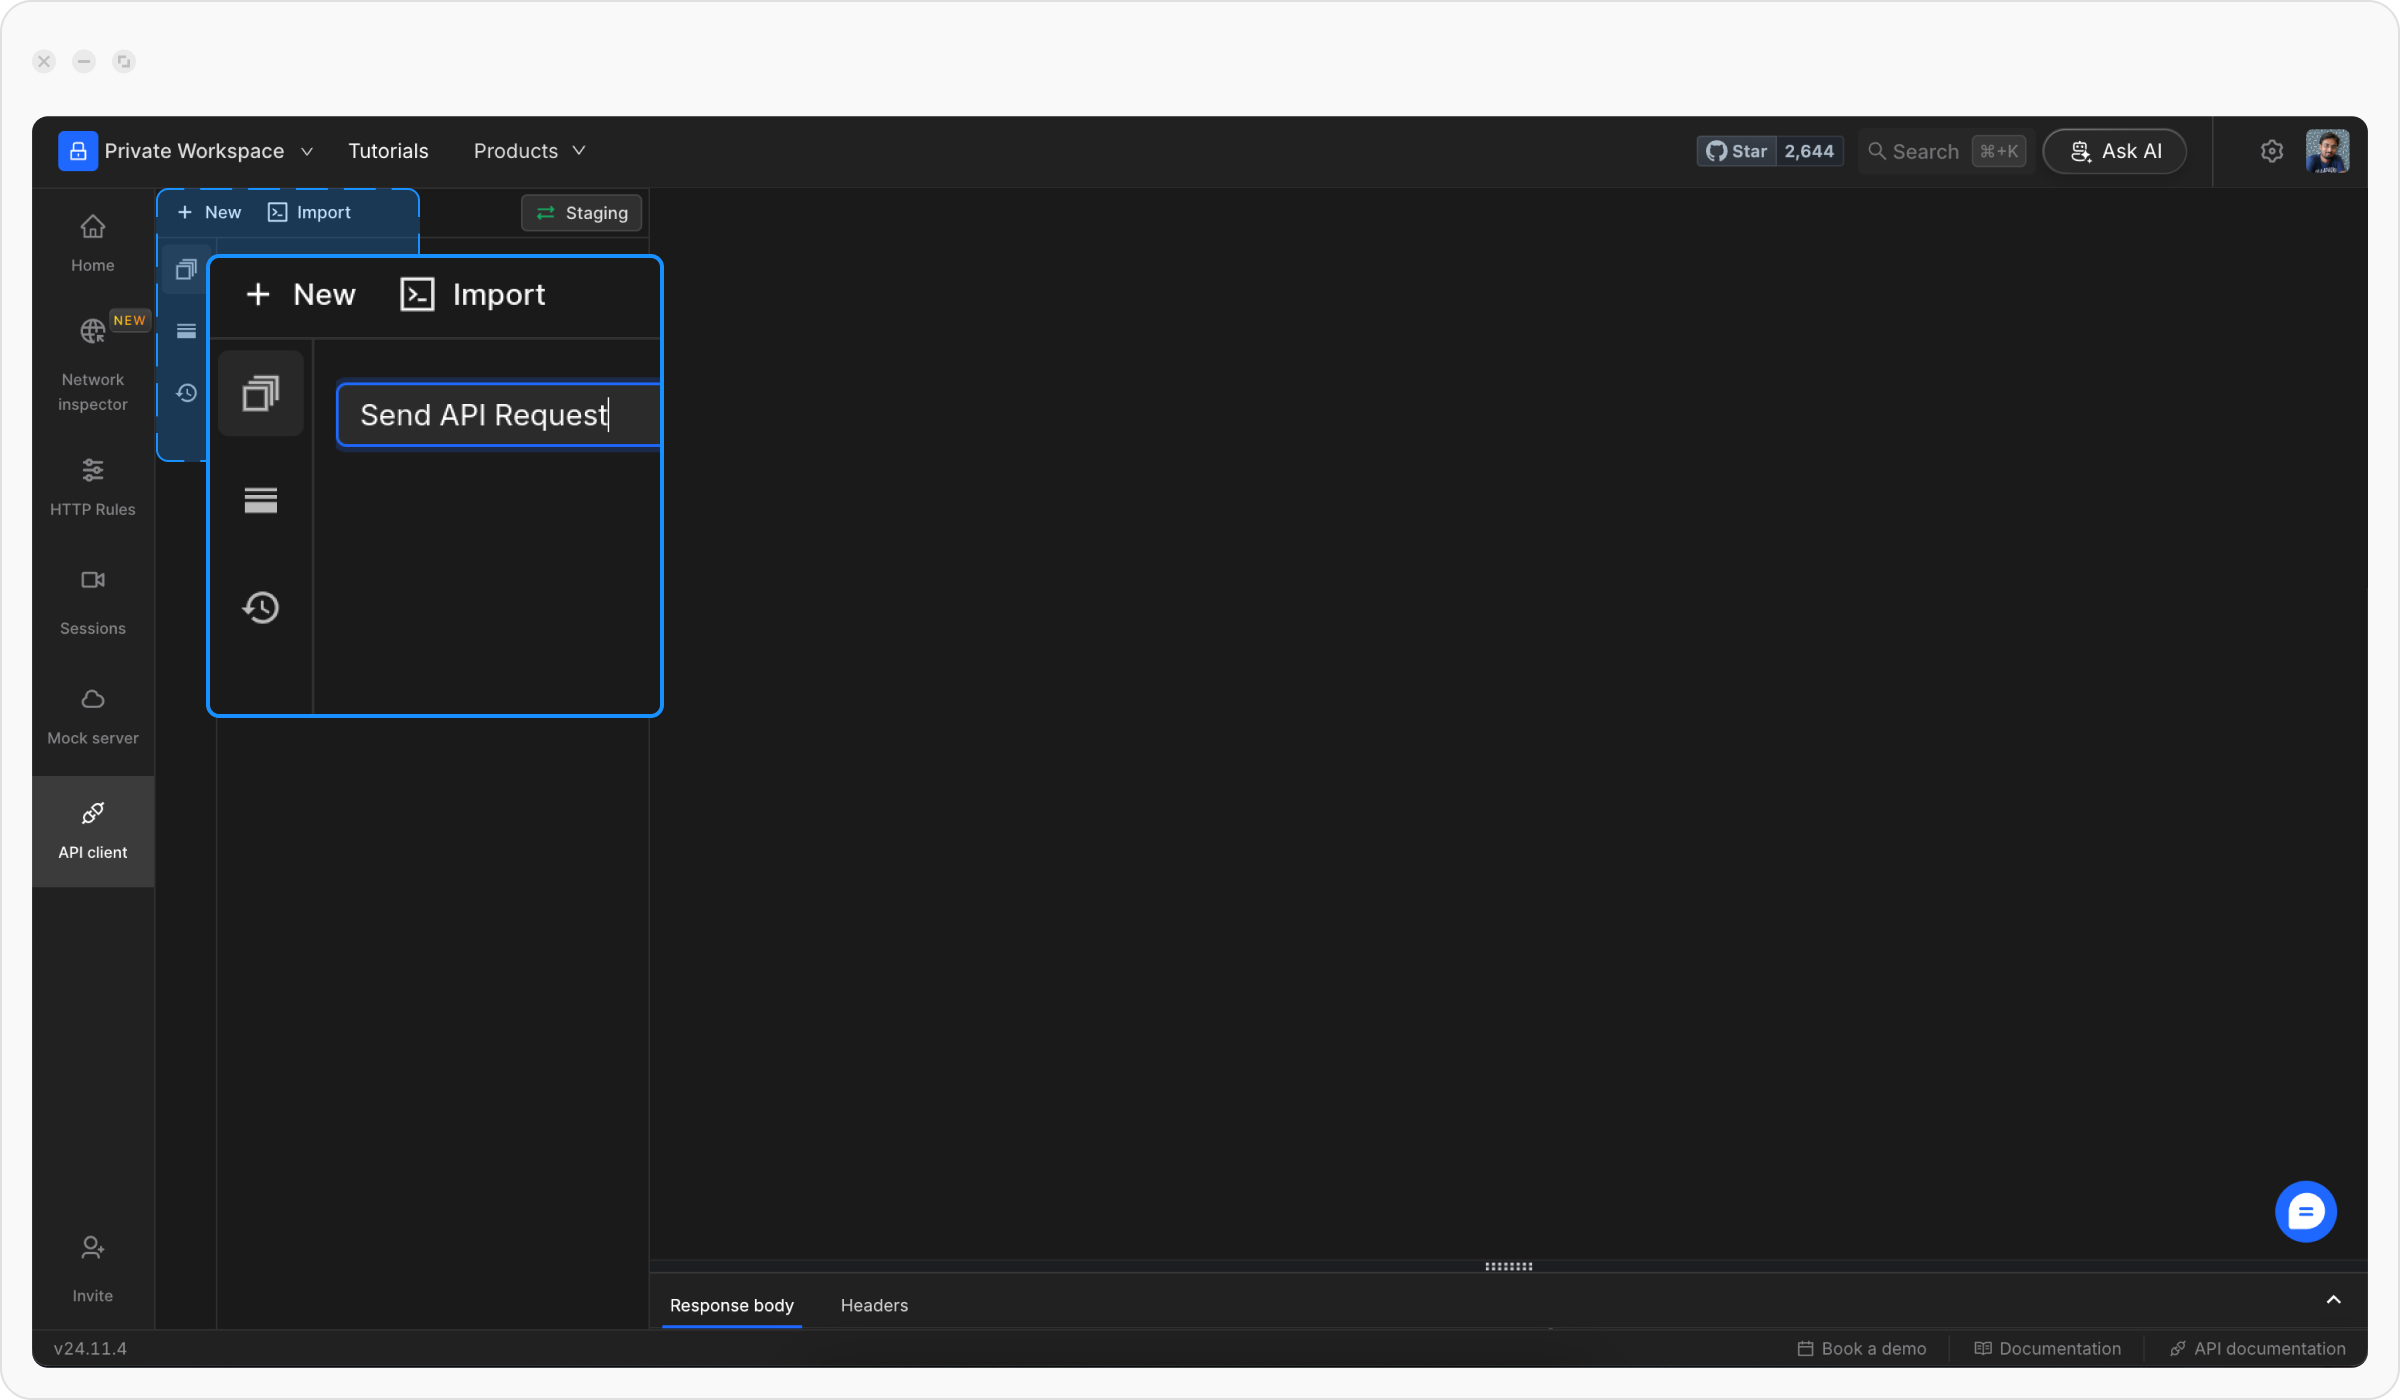
3
Enter the API URL and HTTP Method
Pick the HTTP method (e.g., 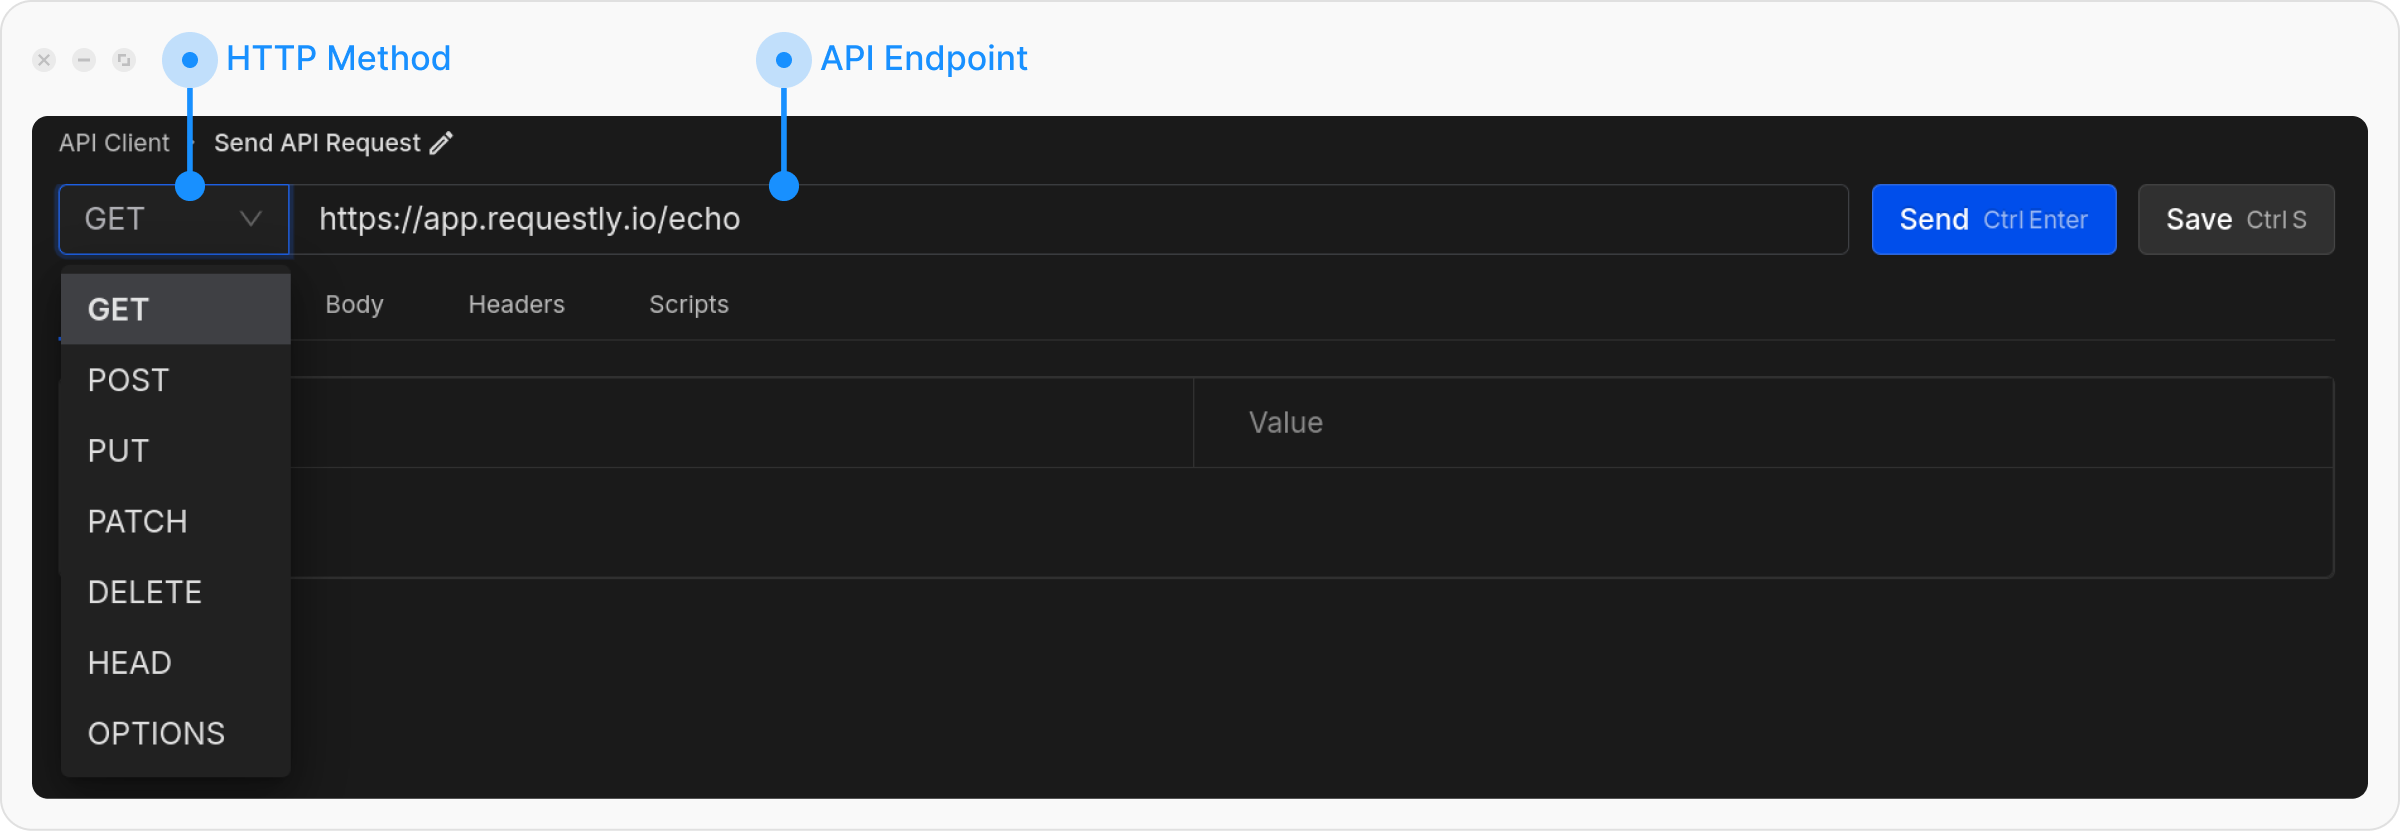
GET, POST) and type the URL of the API you want to test.4
Save & Send the Request
Click the Save & Send button to execute your request.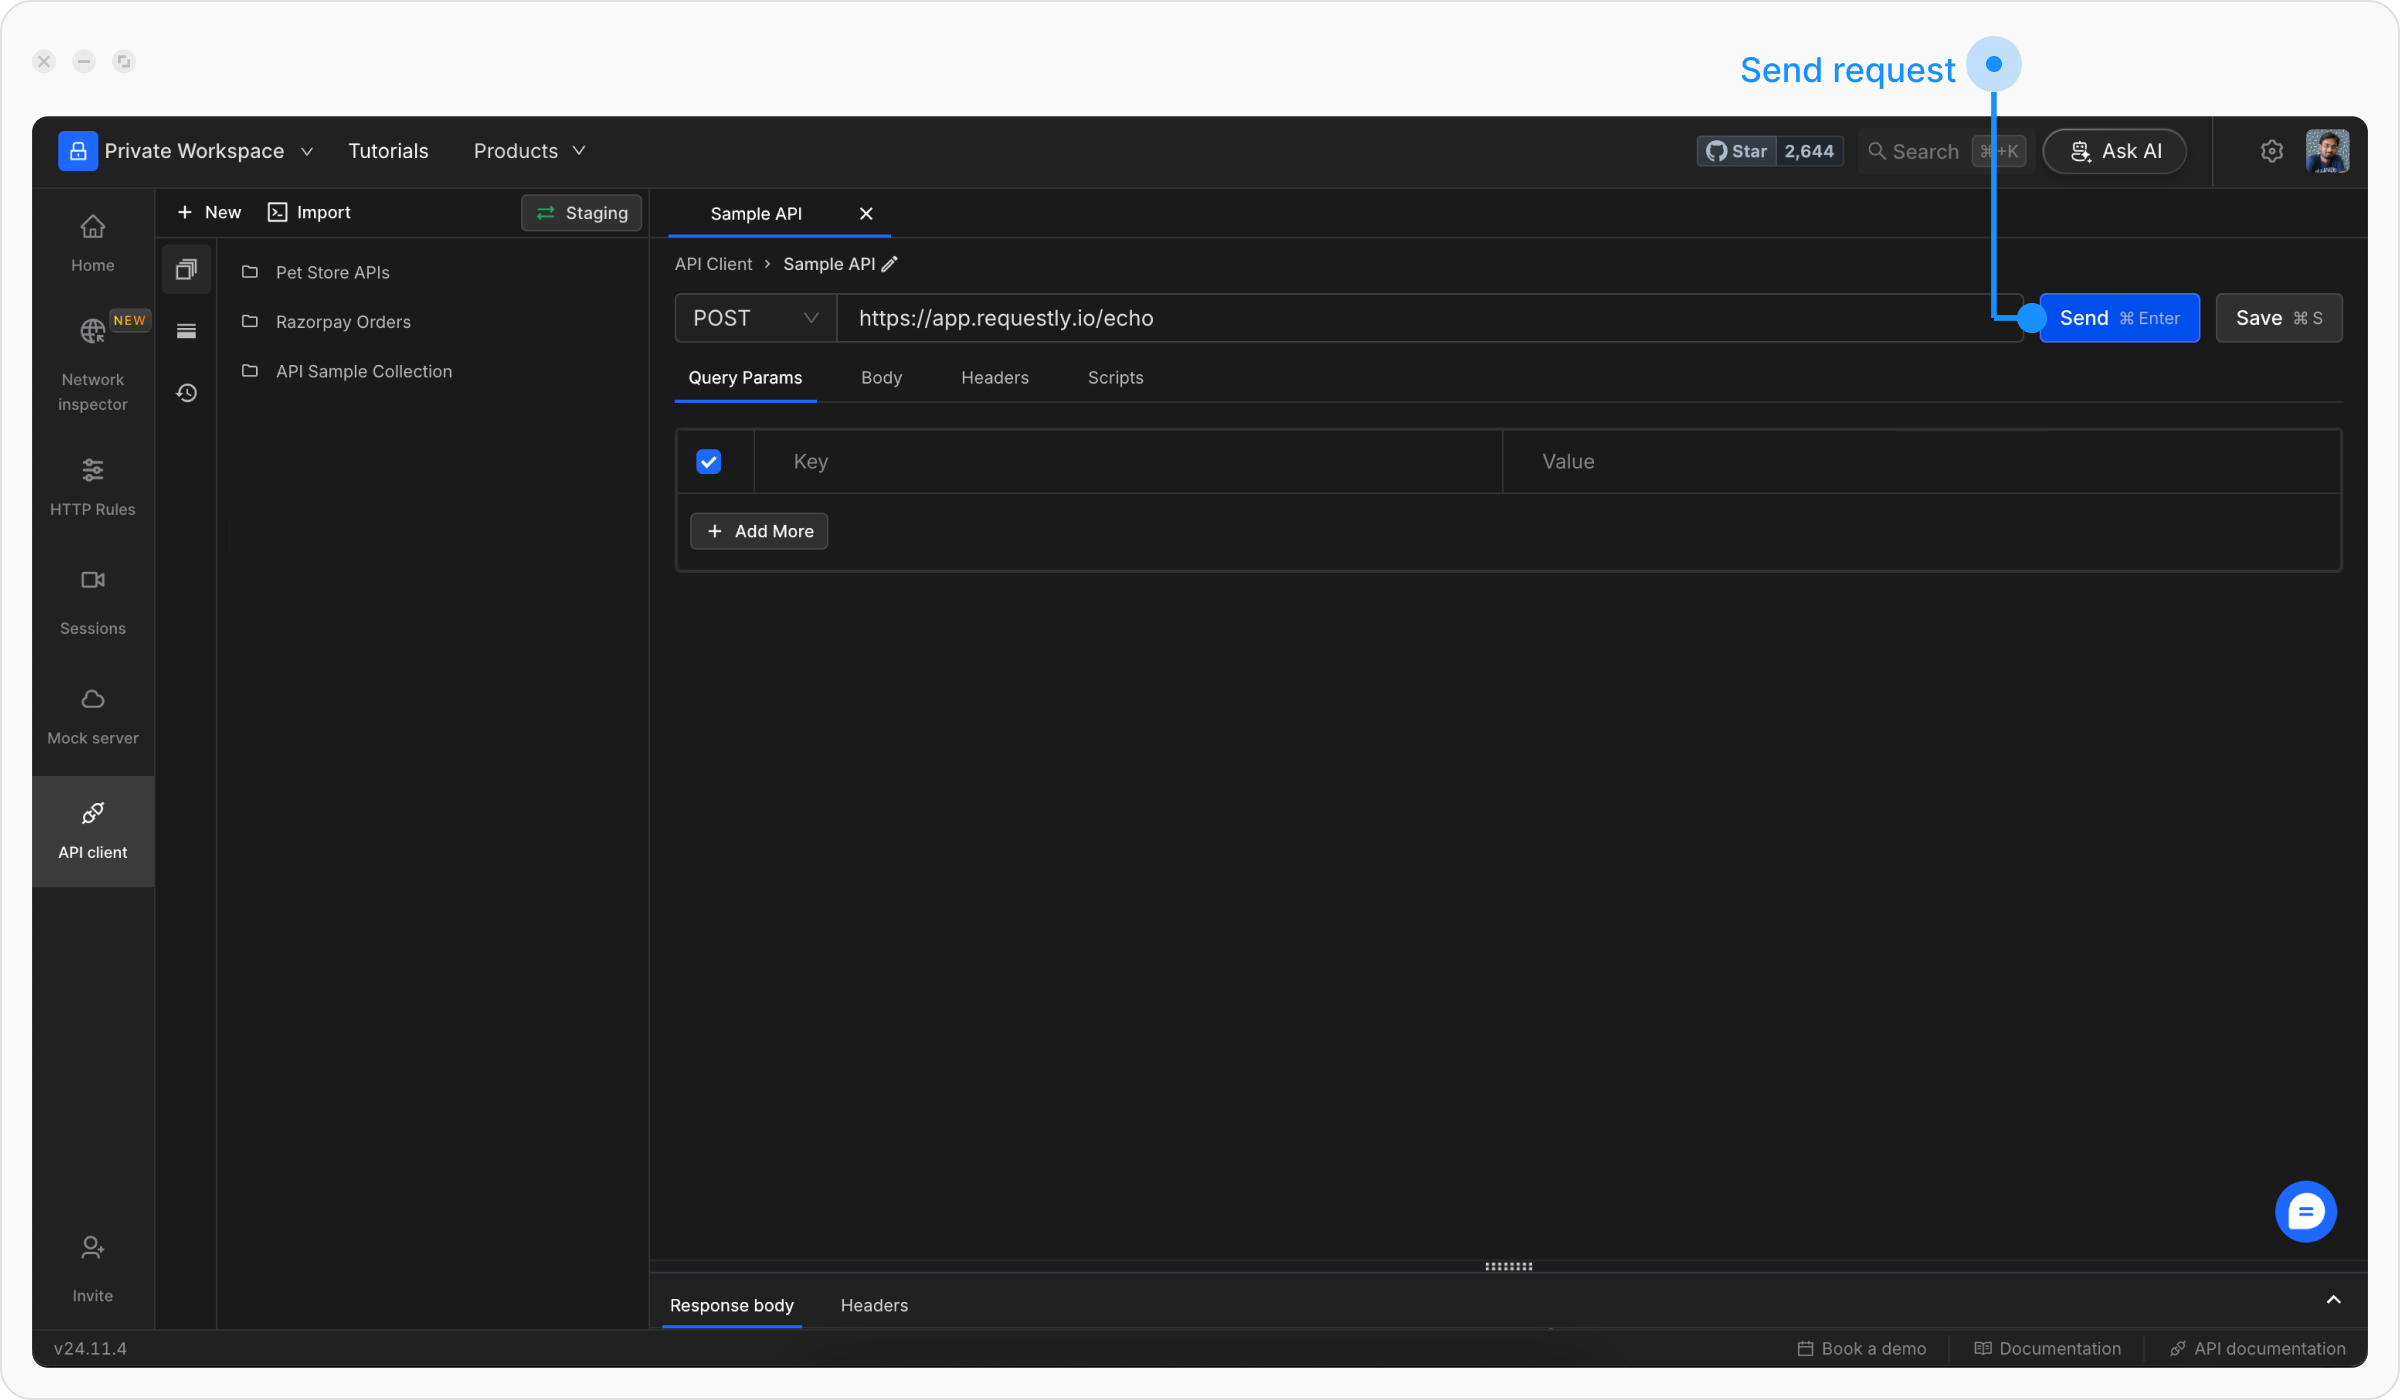
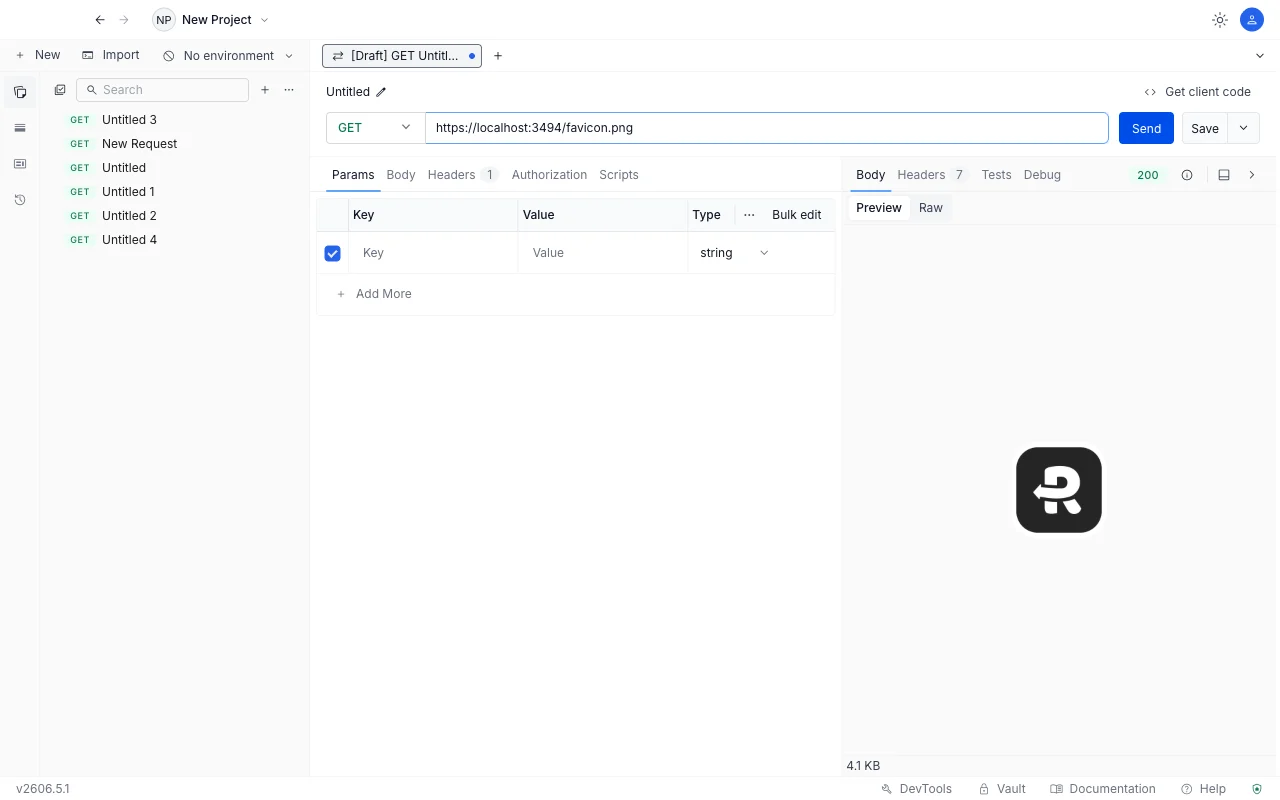
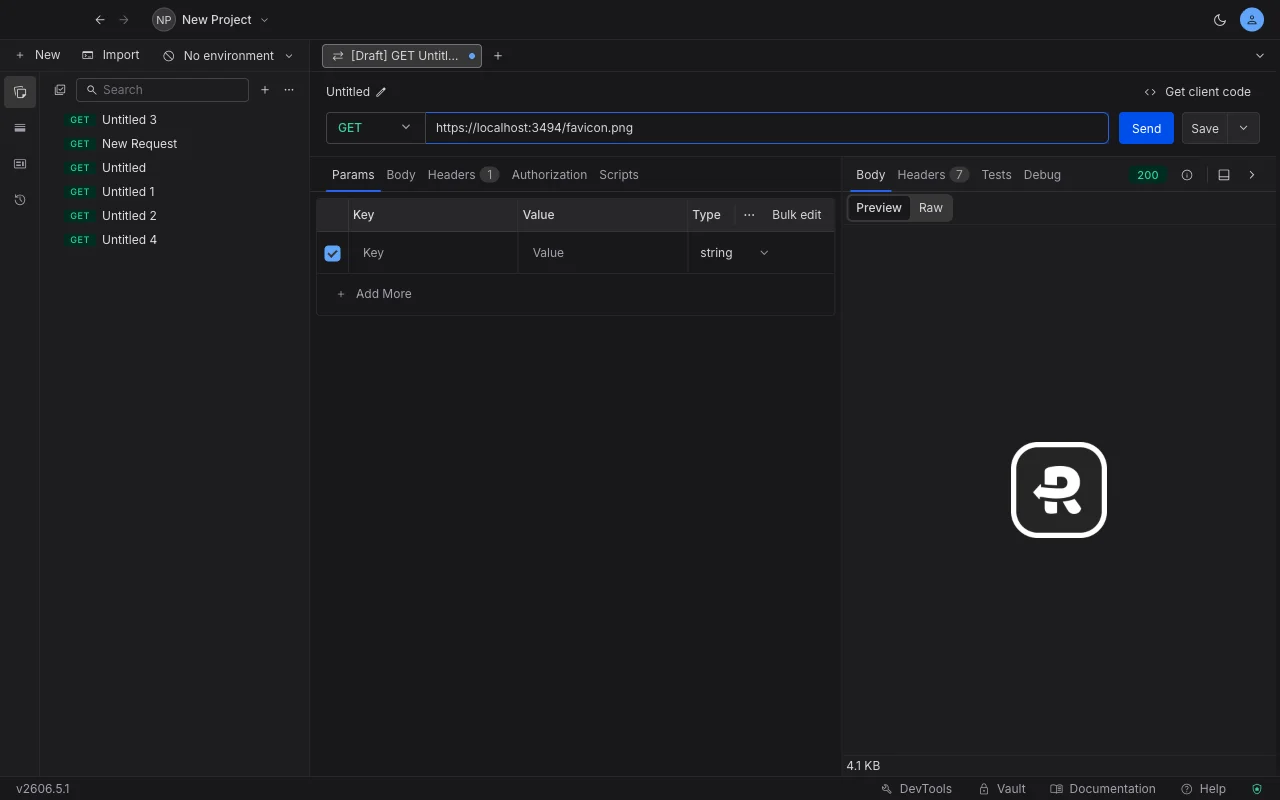
Understanding the Response
Once you send a request, you’ll see the response displayed in the bottom panel with the following information:View the Response Body
Check the response body in the Response Body section. You can switch between formatted (pretty) and raw views.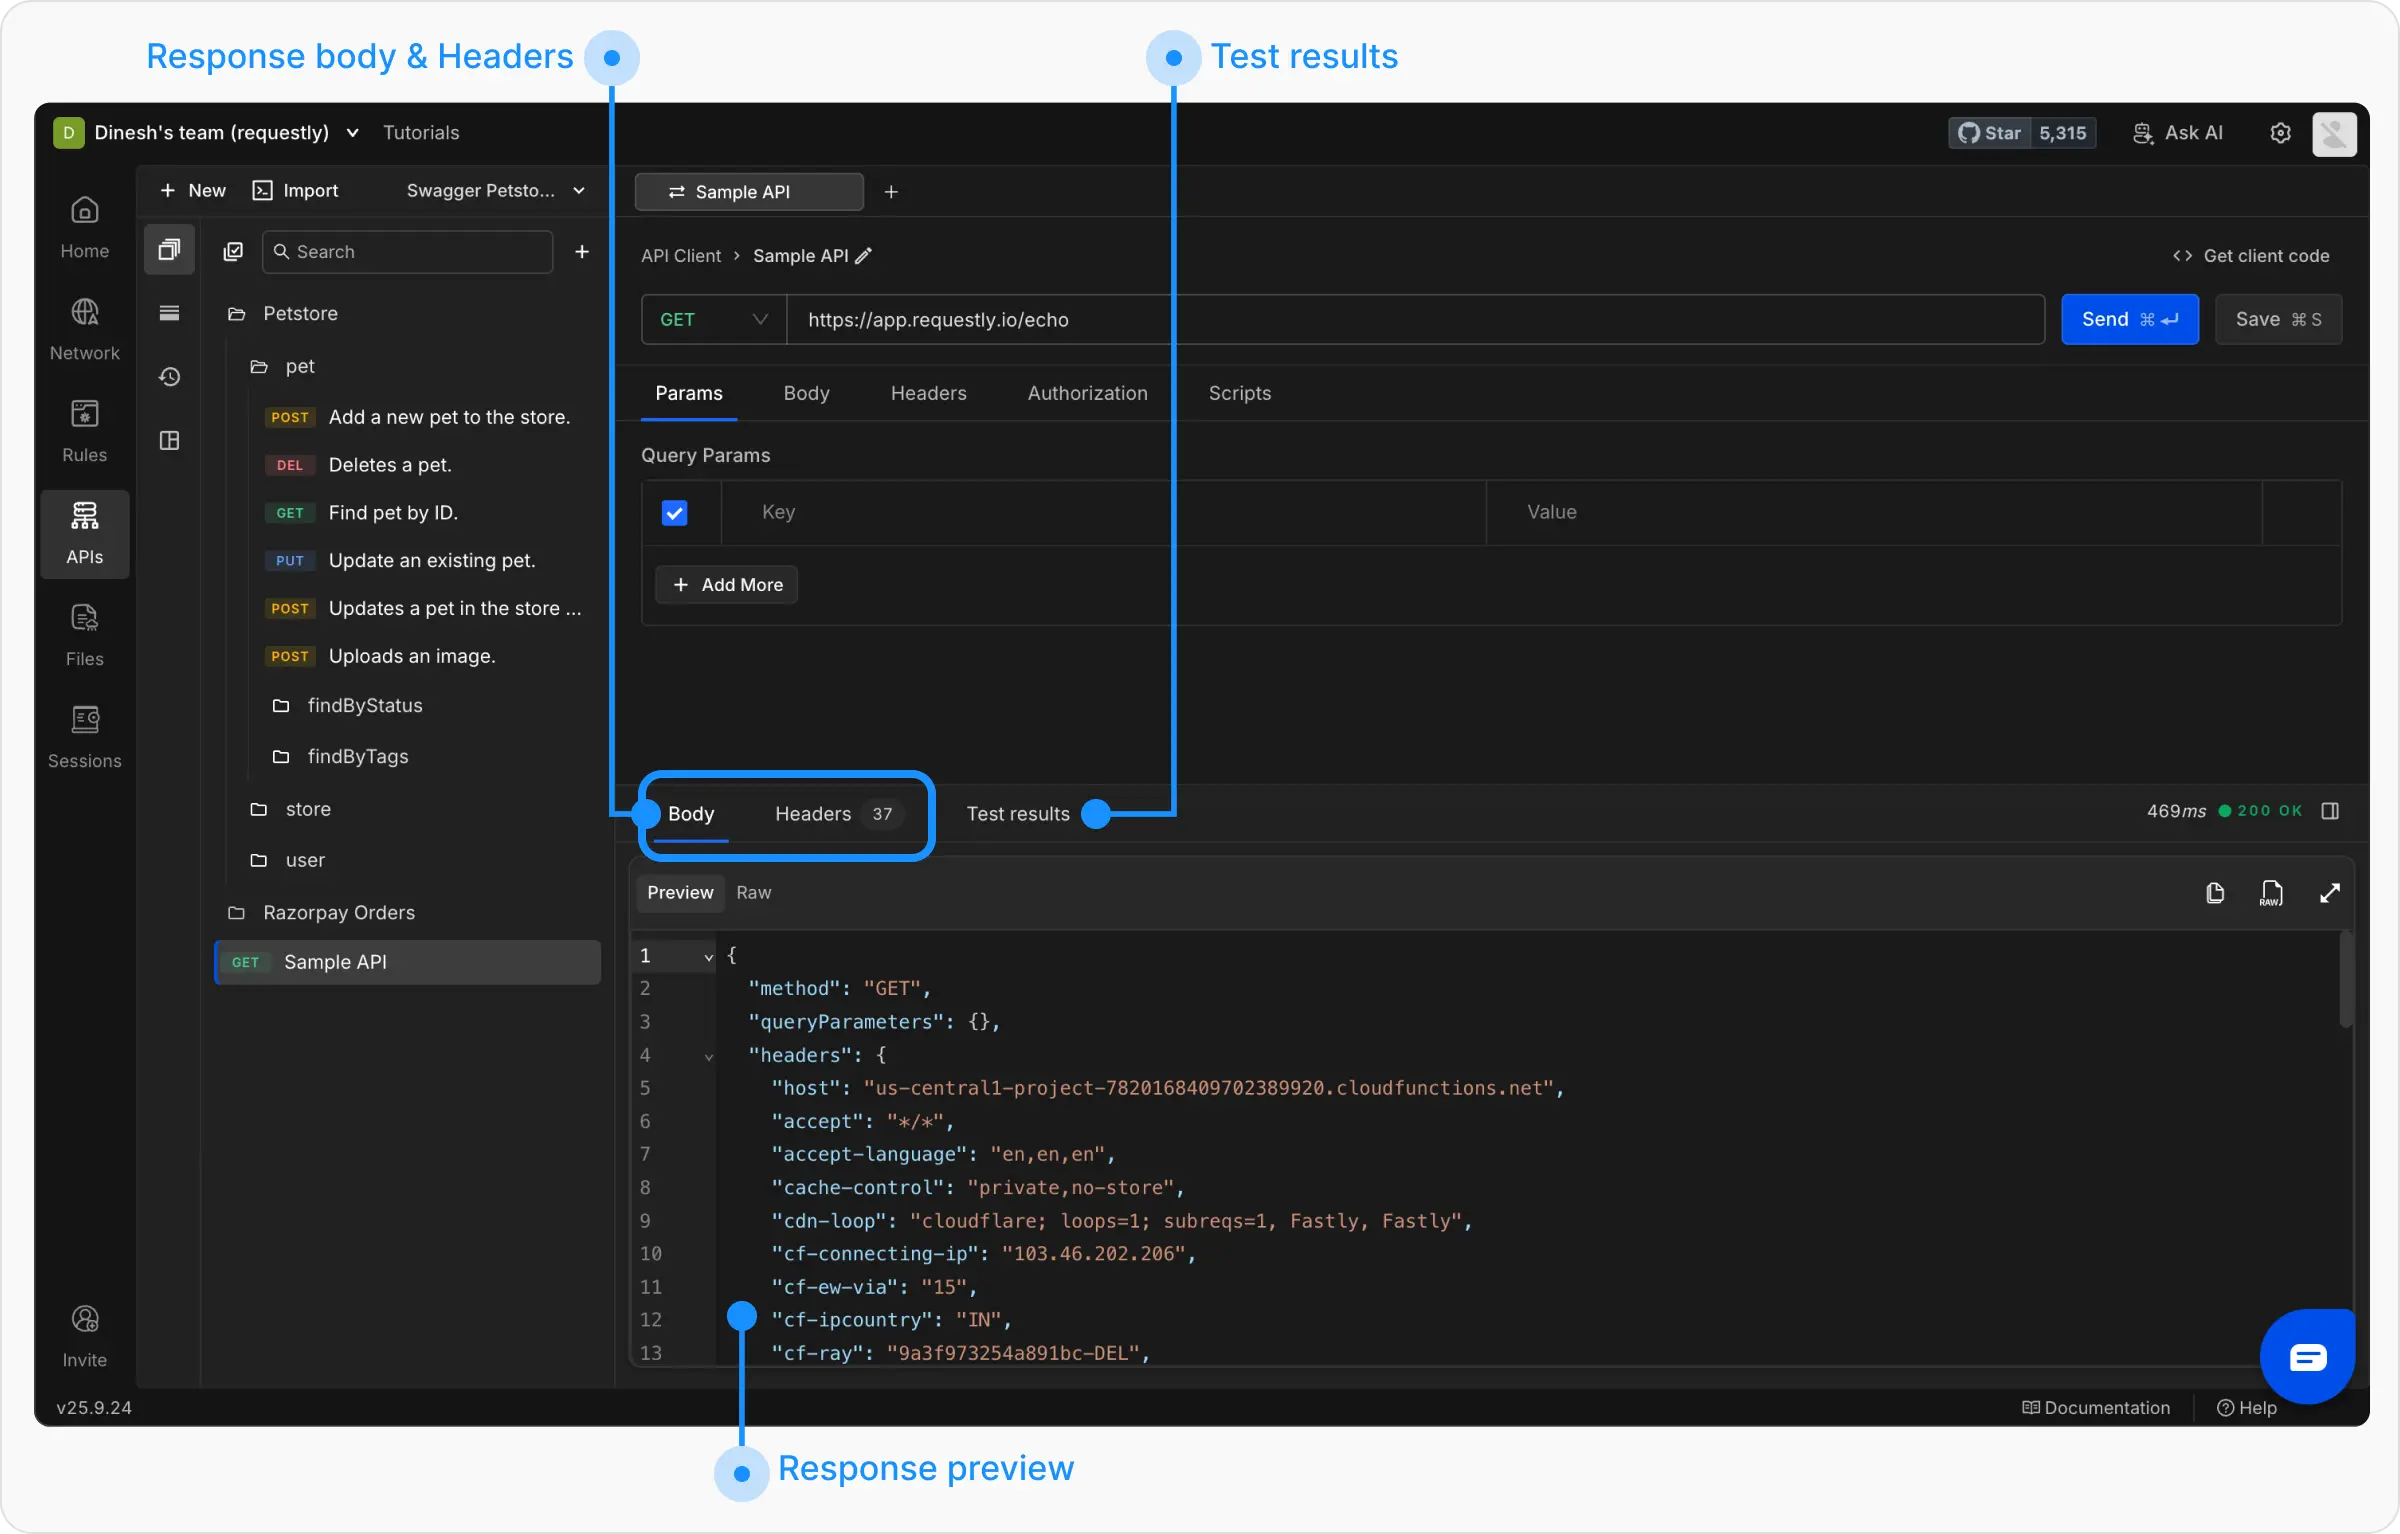
- Text and structured data (JSON, XML, HTML, plain text) shows in the editor. JSON and XML are pretty-printed in Preview, and the Raw toggle shows the response exactly as it came off the wire. For JSON, you can also filter the response to just the values you need using a JSONPath expression.
- Images (PNG, JPEG, WebP, GIF, SVG) render as the actual picture in Preview. Switch to Raw to see the underlying transported text.
- Other binary content (PDF, ZIP, audio, video, fonts, and similar) shows a Binary response placeholder with the response size, rather than unreadable characters. Switch to Raw to view the Base64-encoded body.
Download the Response Body
To save a response to a file, click the Download button in the response pane header, next to Save as example.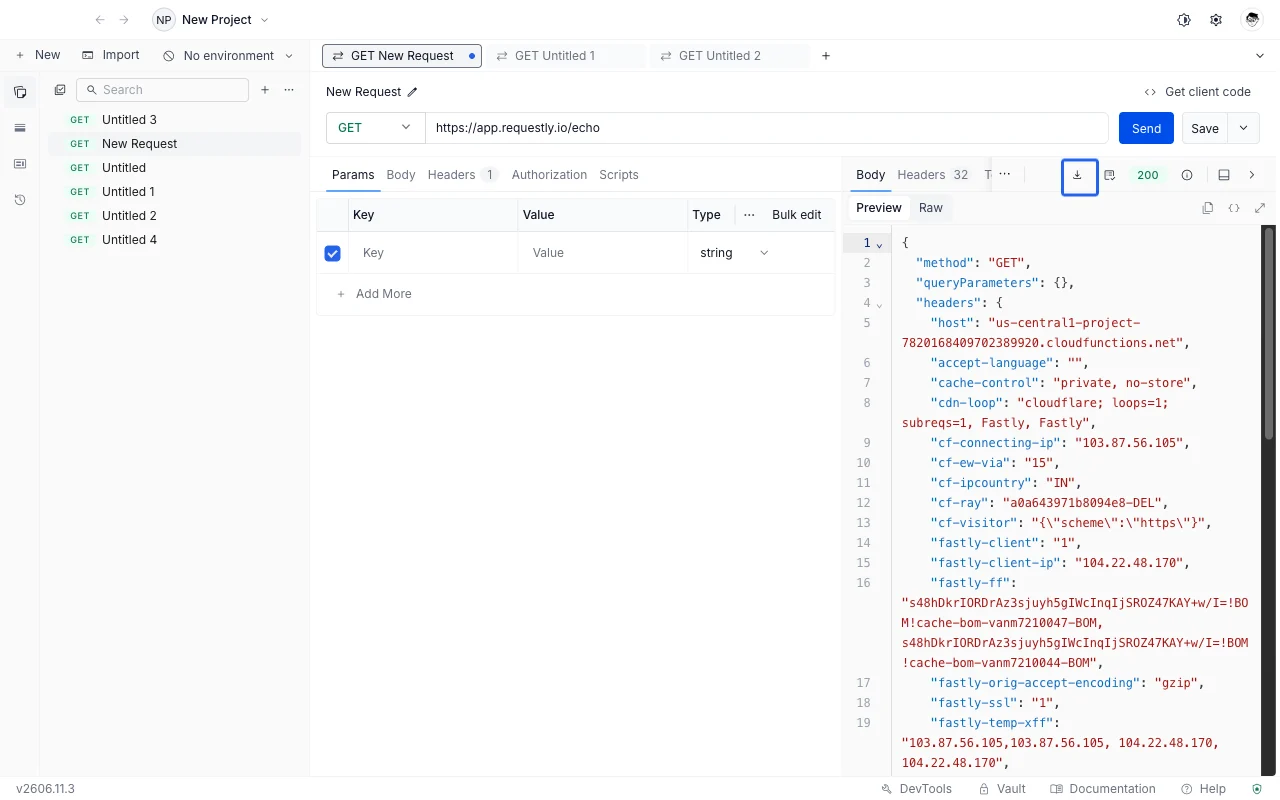
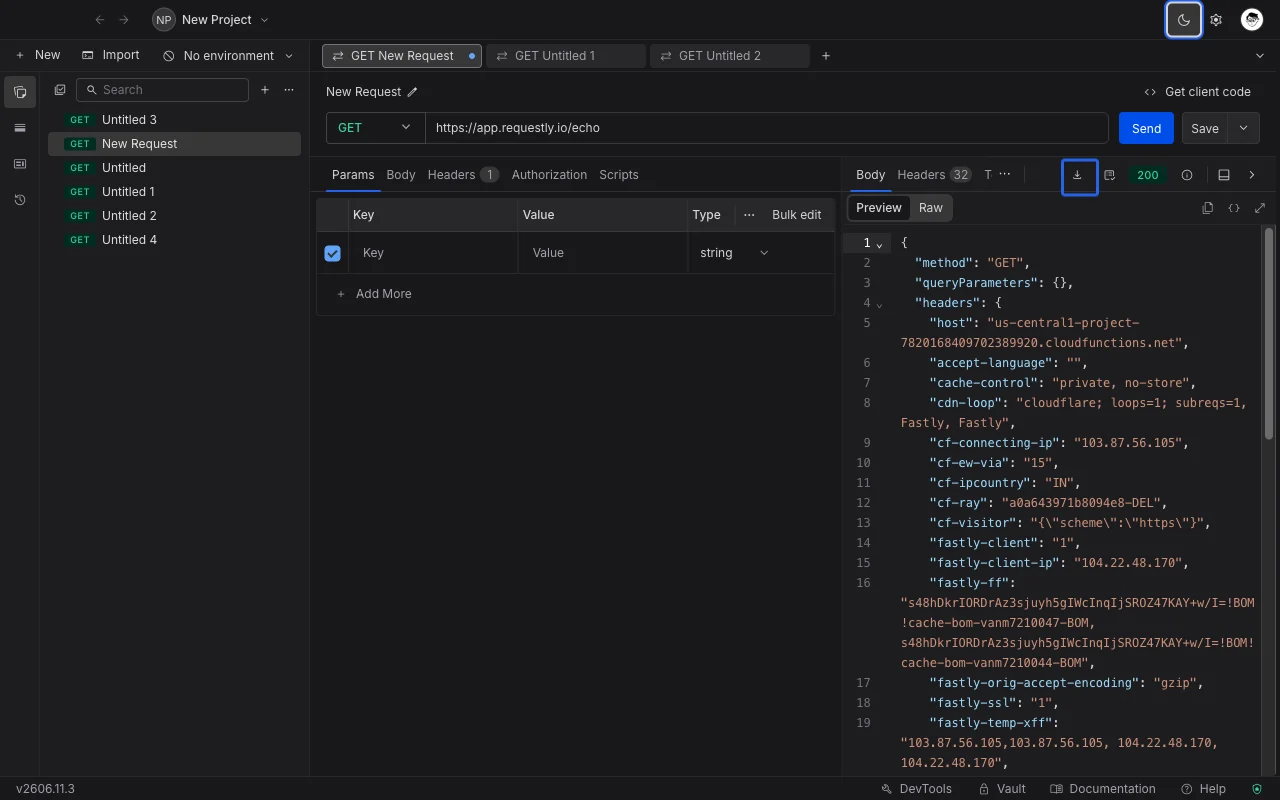
Check the Response Headers
Review the headers sent back by the server in the Headers tab.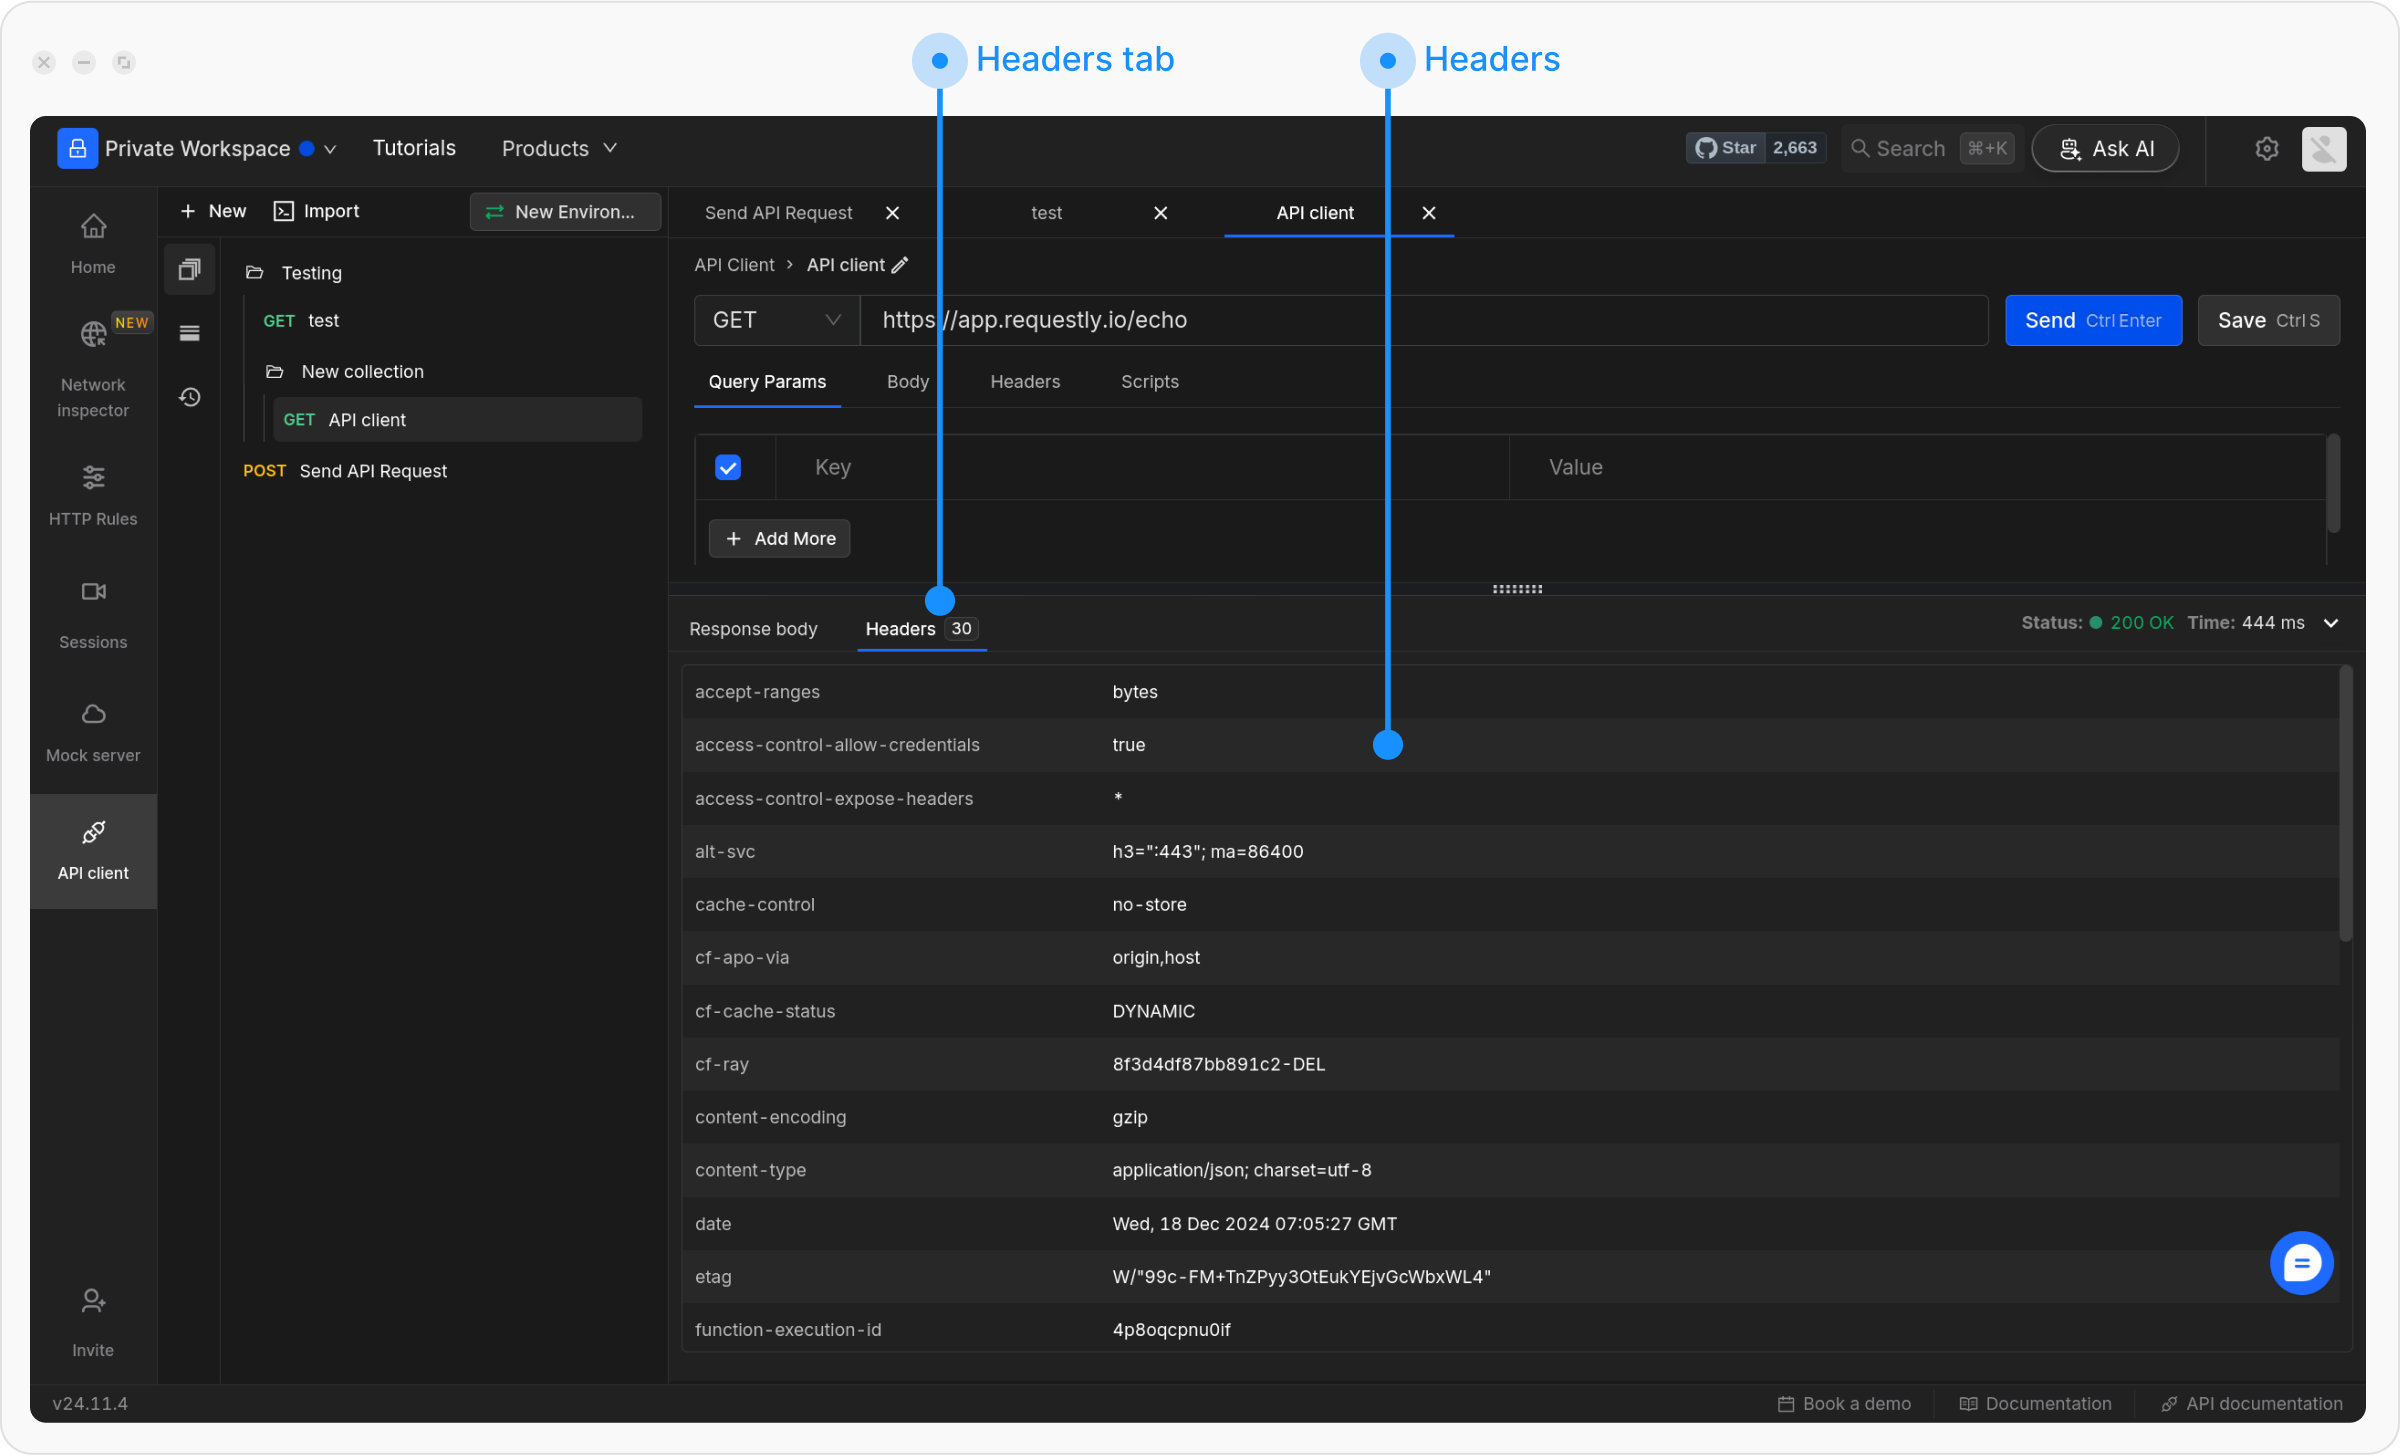
Next Steps
Now that you understand the basics, explore these guides to master API request creation:Configure Request
Set up HTTP methods, URLs, and send your first request
Parameters and Body
Add query parameters, path variables, and request body data
Request Headers
Configure headers for authentication and content types