

Git requires the desktop app. Download Requestly.
Open the branch picker
The status bar at the bottom of the sidebar shows the current branch name, on every tab and not only on the Git tab. Click the branch name to open the Branches window. The window holds three parts, top to bottom:- A Search branches box.
- The branch list.
- A Create branch row.
The branch name is not clickable while a merge or a rebase is in progress. Finish the merge first, then switch.
Read the branch list
Each row is one branch.
Type in Search branches to narrow the list by name. A search that matches nothing reads “No branches match.”
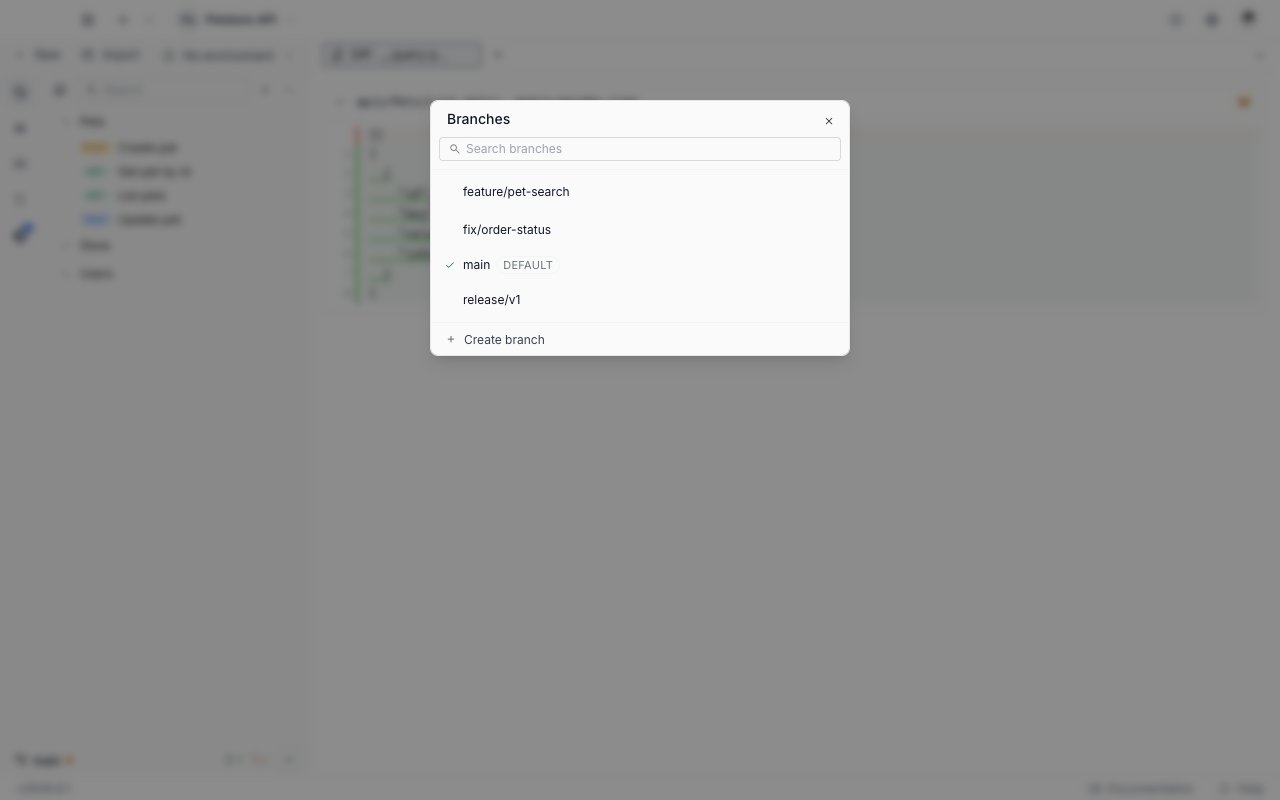
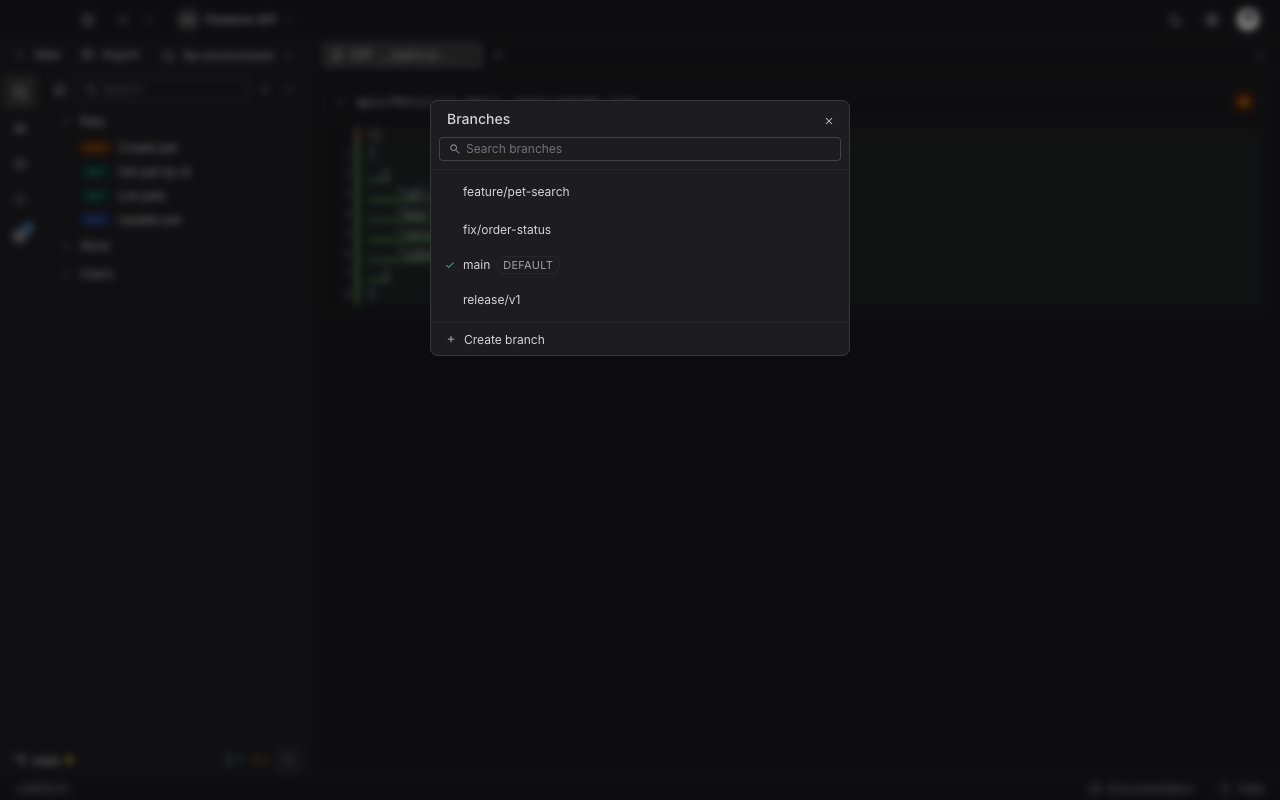
The list holds your local branches. A branch that exists only on the remote does not appear, and Requestly does not check one out. Pull instead, to bring the remote’s commits into the branch you are on.
Switch to another branch
1
Open the Branches window
Click the branch name in the sidebar status bar.
2
Pick the branch
Click the row you want. With a clean working tree, Requestly switches and closes the window.
3
Resolve uncommitted changes
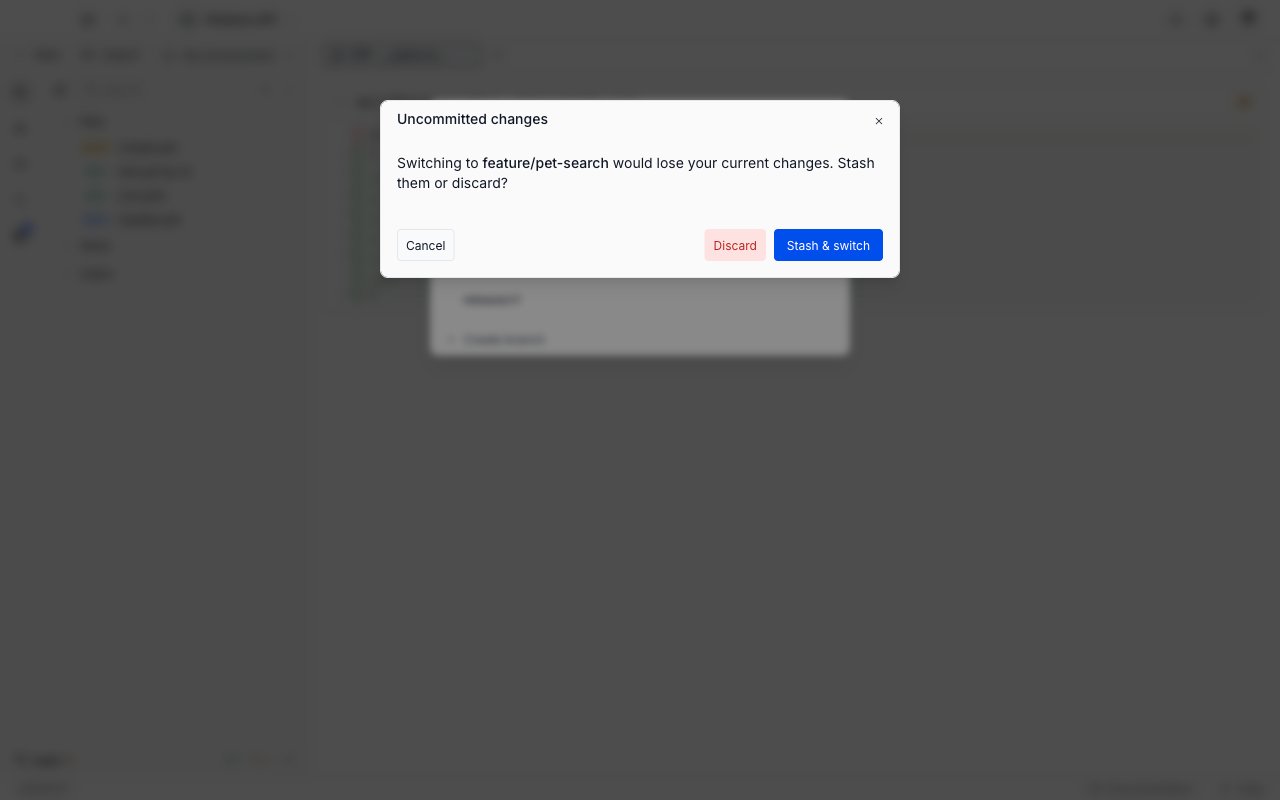
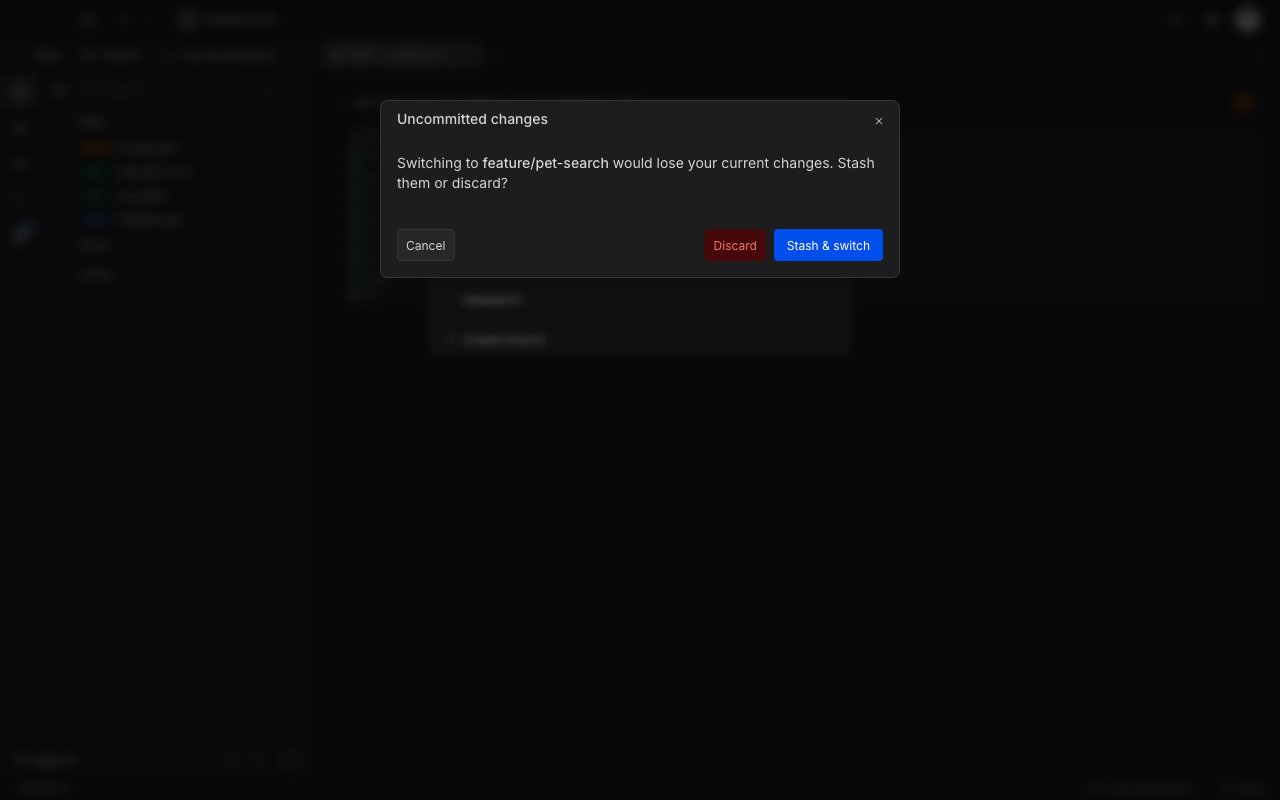
With staged or unstaged changes in the tree, the Uncommitted changes dialog opens first. Choose how to handle them, as described below.
When the working tree is not clean
Switching would lose changes you have not committed, so Requestly asks first. The dialog reads “Switching to<branch> would lose your current changes. Stash them or discard?” and offers three buttons.
Create a branch
1
Open the composer
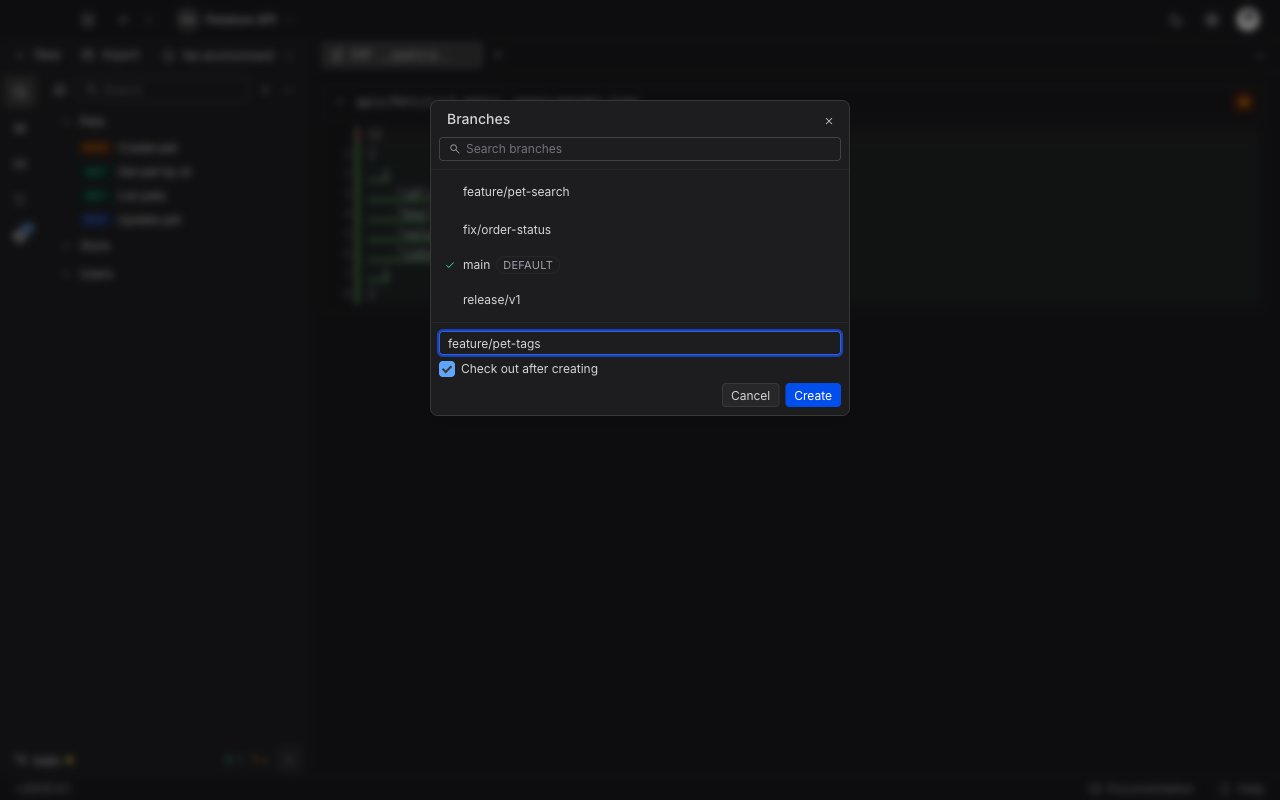
Click Create branch at the bottom of the Branches window.
2
Name the branch
Type the name. Requestly checks it as you type and blocks Create until the name is valid.
3
Decide whether to switch
Check out after creating is selected by default, so the new branch becomes the current one. Clear it to create the branch and stay where you are.
4
Create
Click Create. The new branch starts from the commit you are on, and the window closes.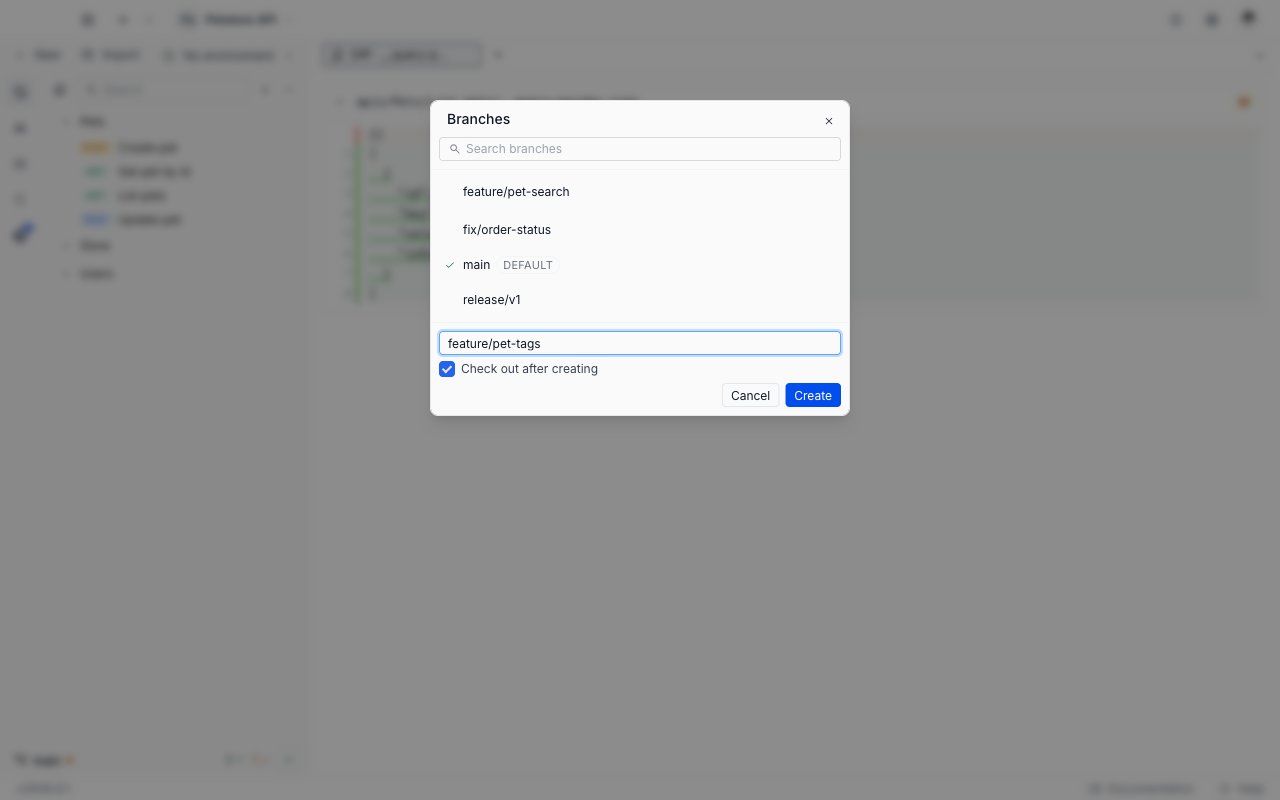
Names Requestly refuses
Delete a branch
1
Reveal the delete action
Hover the branch you want to remove. The trash icon appears at the right of the row. The branch you are on has none, so switch away from a branch before deleting it.
2
Confirm
The Delete branch dialog asks “Delete branch 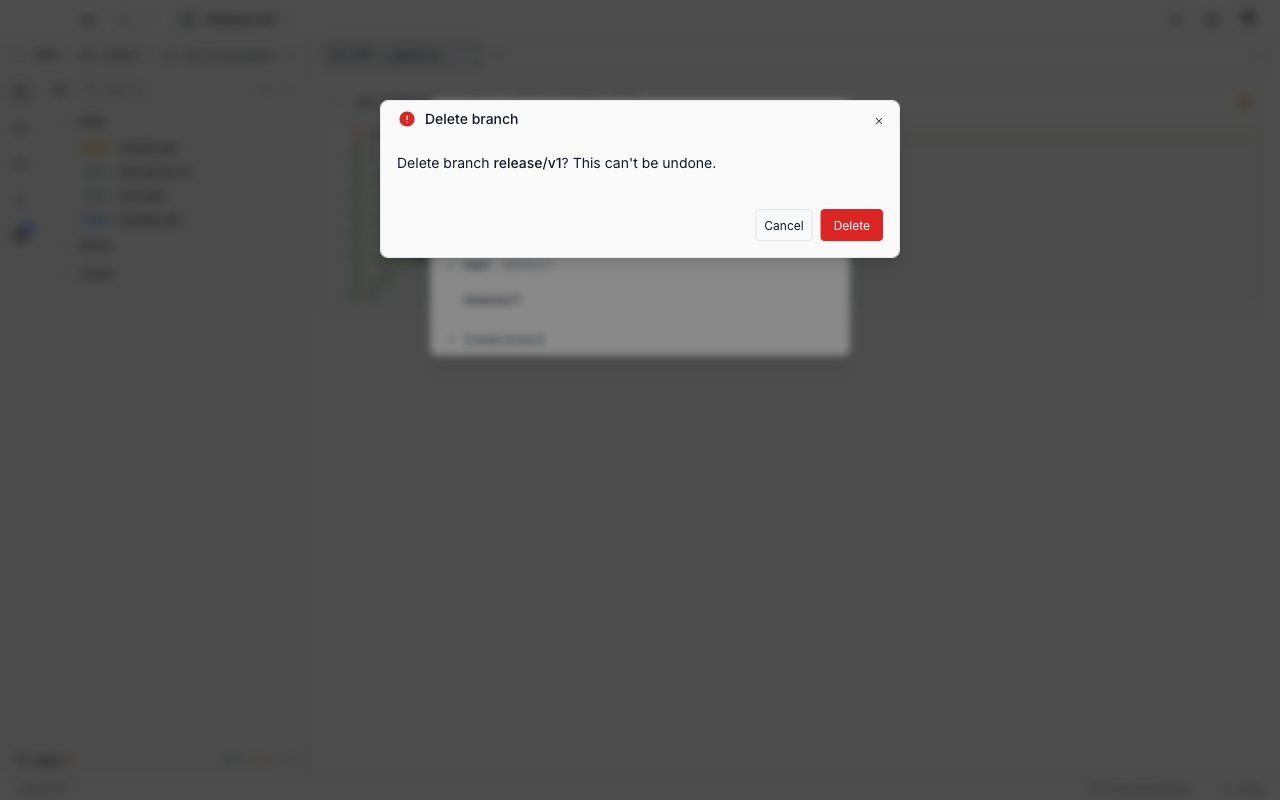
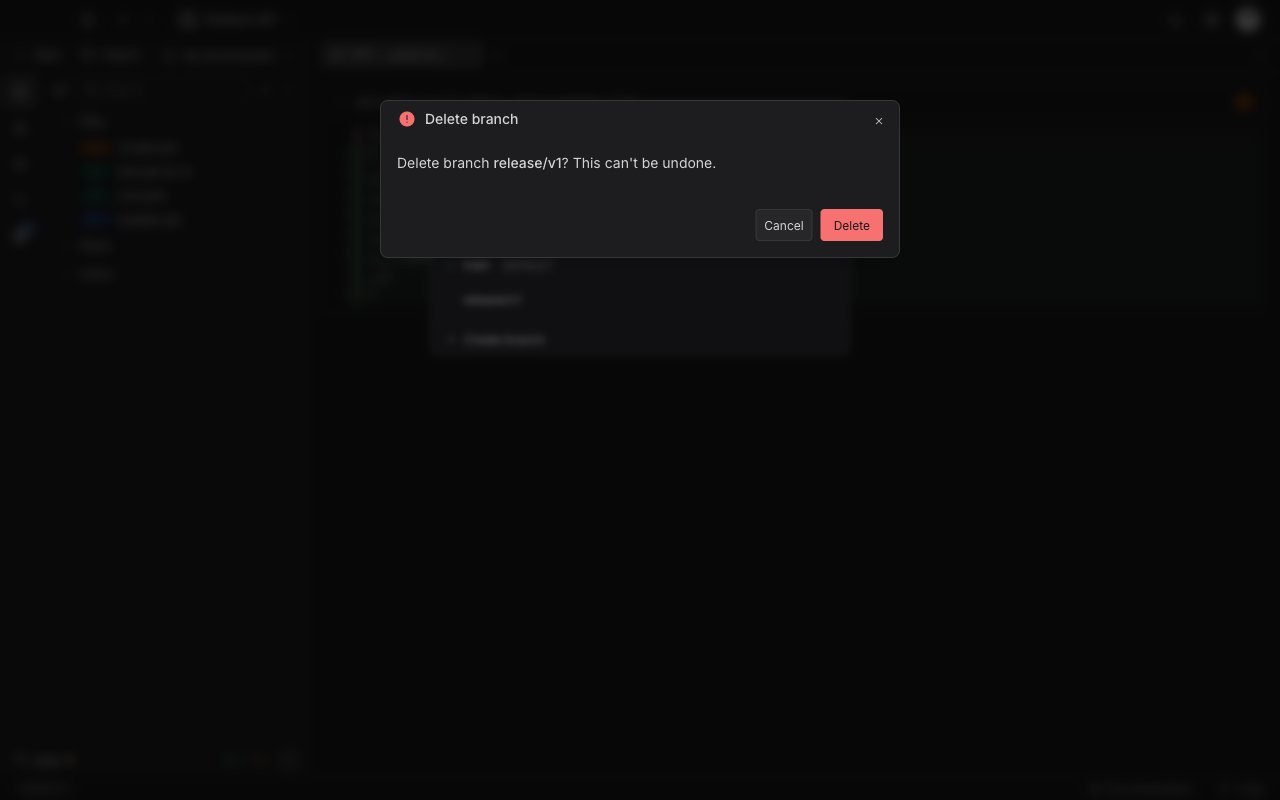
<name>? This can’t be undone.” Click Delete.3
Force the delete if Git refuses
A branch holding commits that are not merged anywhere else cannot be deleted normally. The dialog becomes Branch not fully merged and offers Force delete, which removes the branch and its unmerged commits with it.
Next steps
Browse history and diffs
Read a branch’s commits on a graph, and open a read-only diff for a commit or a file.
Stage and commit changes
Read the change list, stage or discard files, and write a commit.