

Git requires the desktop app. Download Requestly.
Open the Stashes section
Stashes is the second of the three sections below the file area of the Git panel, between Commits and Remotes. Click its header to expand the list, and click again to collapse. The header carries two things at the right: the number of stashes you hold, and a plus button that opens the Create stash window. The count appears only when you hold at least one stash, and it is current whether the section is open or closed.The three sections are hidden while a merge is in progress. Finish or abort the merge first. See Resolve merge conflicts.
Create a stash
1
Click the plus button
The plus button sits at the right of the Stashes header. It is disabled while the working tree is clean, because there is nothing to stash, and while another Git operation is running.
2
Describe the stash
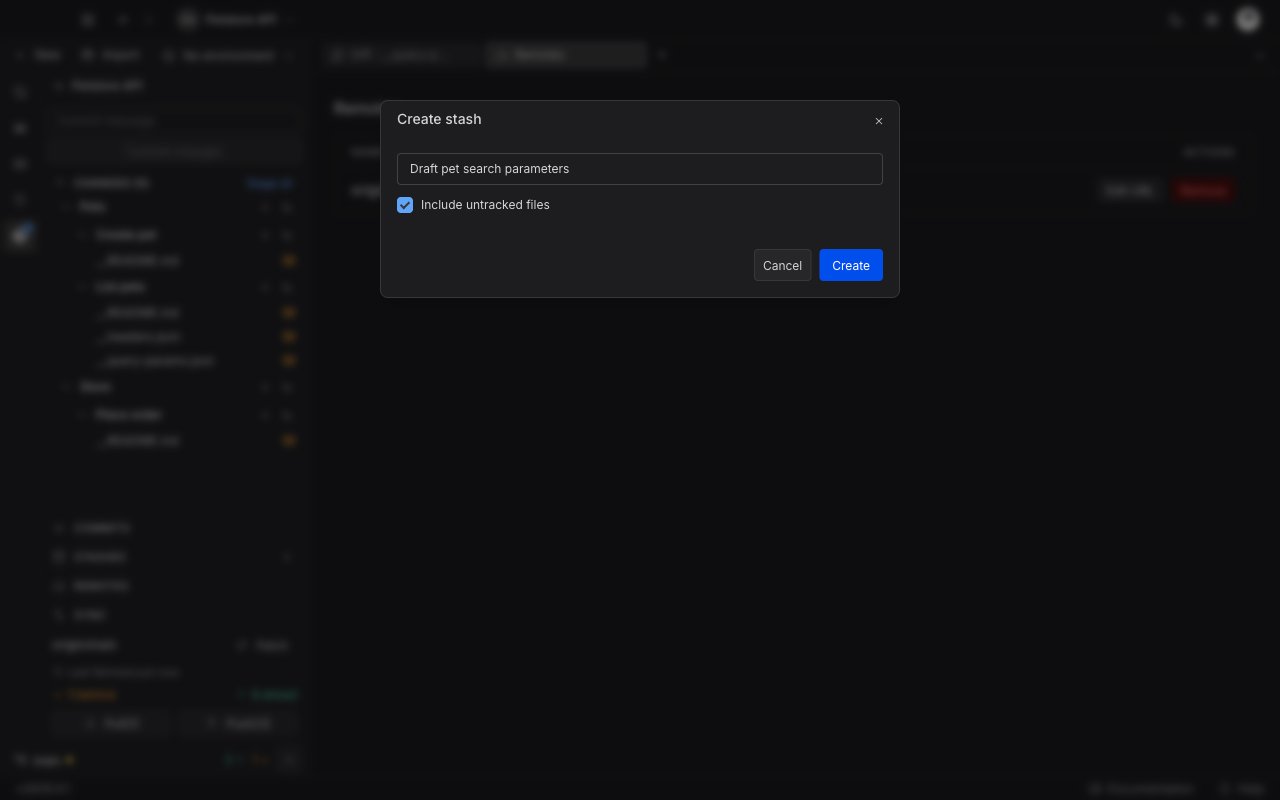
The Create stash window opens. Type into the Stash message (optional) field to name the stash, so it is easy to recognise later. Leave it empty and Git writes its own description.
3
Choose whether to include untracked files
Include untracked files is selected by default, so a brand new file that Git has never seen goes into the stash with the rest. Clear it to stash only the files Git already tracks.
4
Create
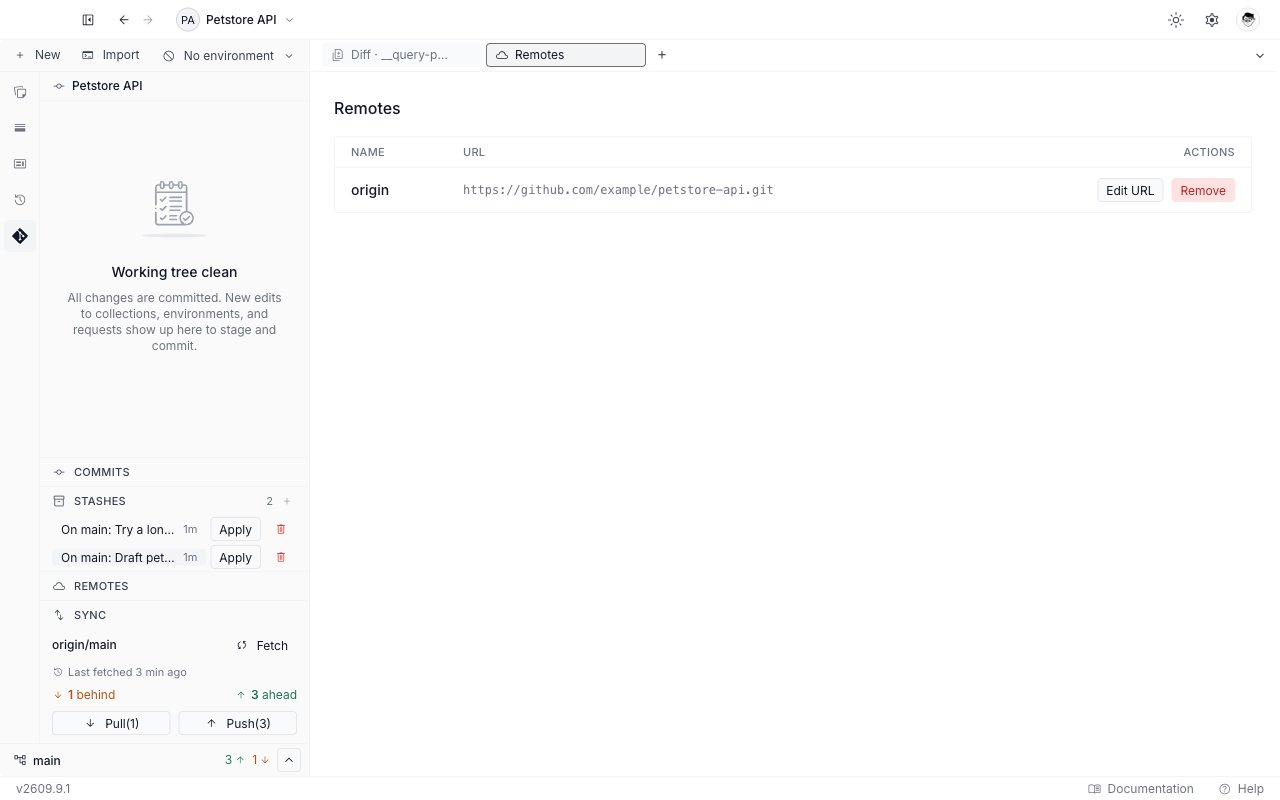
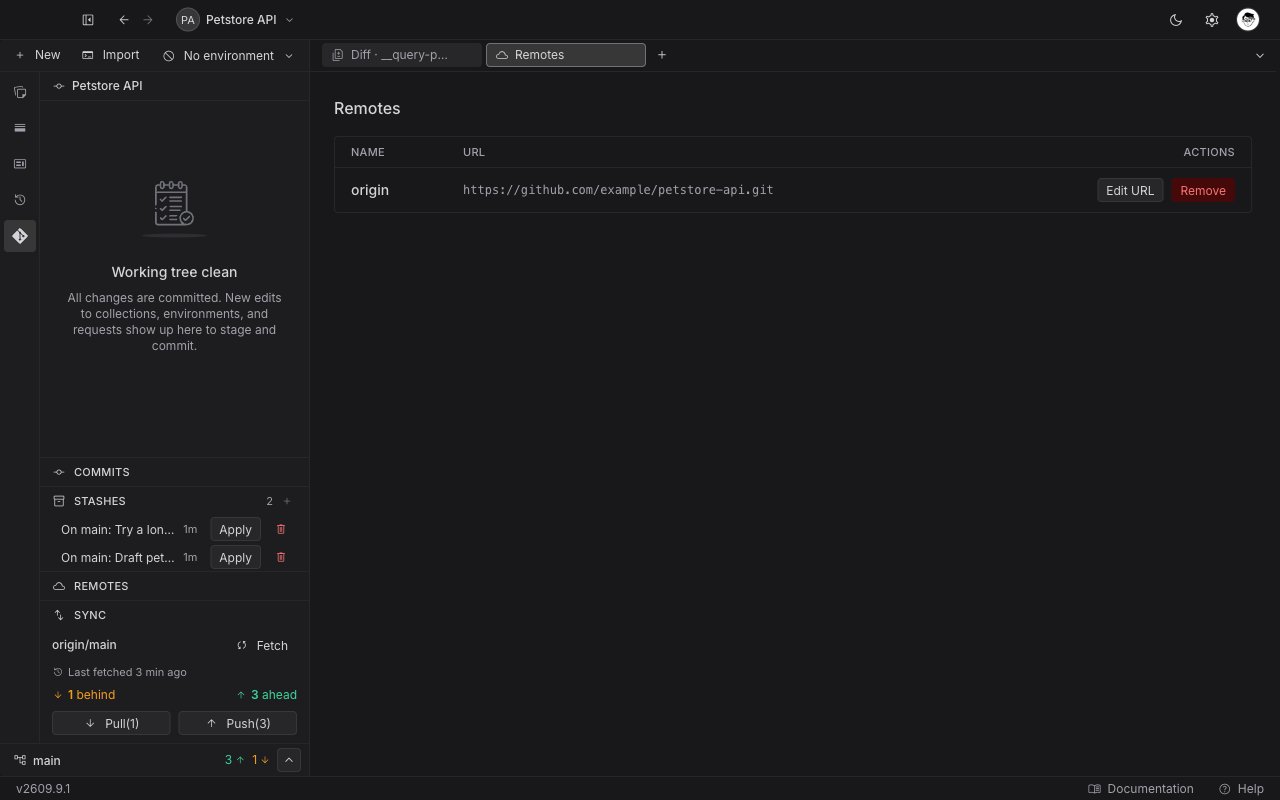
Click Create. The window closes, the working tree returns to its last commit, and the new stash appears at the top of the list.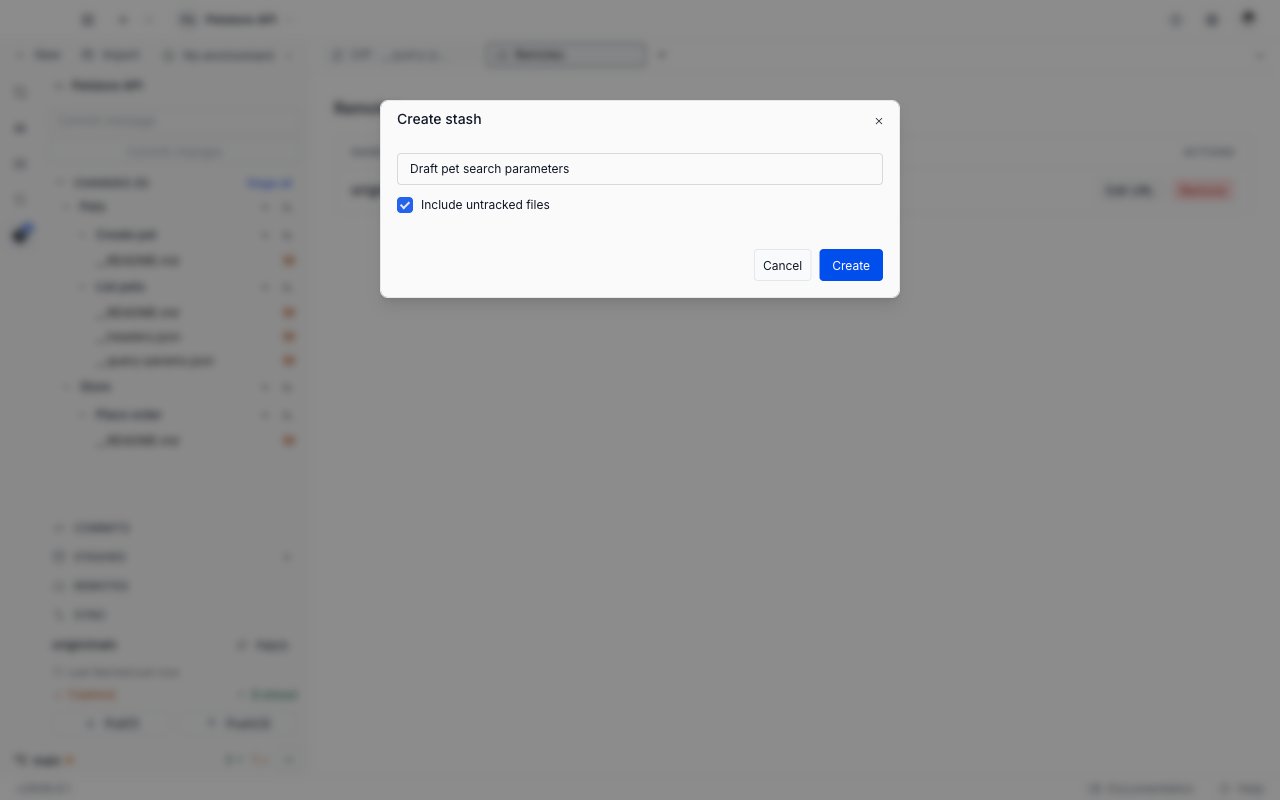
Read the stash list
Each row is one stash, newest at the top.
An empty section reads “No stashes yet”.
Diff · stash@{0} after the stash it holds. The tab behaves exactly like any other Git diff in Requestly, so read Browse history and diffs for what the comparison shows.
Apply a stash
Applying puts the stashed changes back into your working tree, on the branch you are on now.1
Click Apply on the row
Requestly restores the stash’s files. They appear in the Changes section of the panel, ready to stage and commit.
2
Commit or continue working
The restored files are ordinary working-tree changes. Stage and commit them as usual. See Stage and commit changes.
3
Drop the stash when you no longer need it
Applying does not remove the stash. The row stays in the list until you drop it yourself.
Drop a stash
Dropping deletes the stash and the work it holds.1
Click the trash icon
Find the stash in the list and click the trash icon at the right of its row.
2
Confirm
The Drop stash window asks “Drop 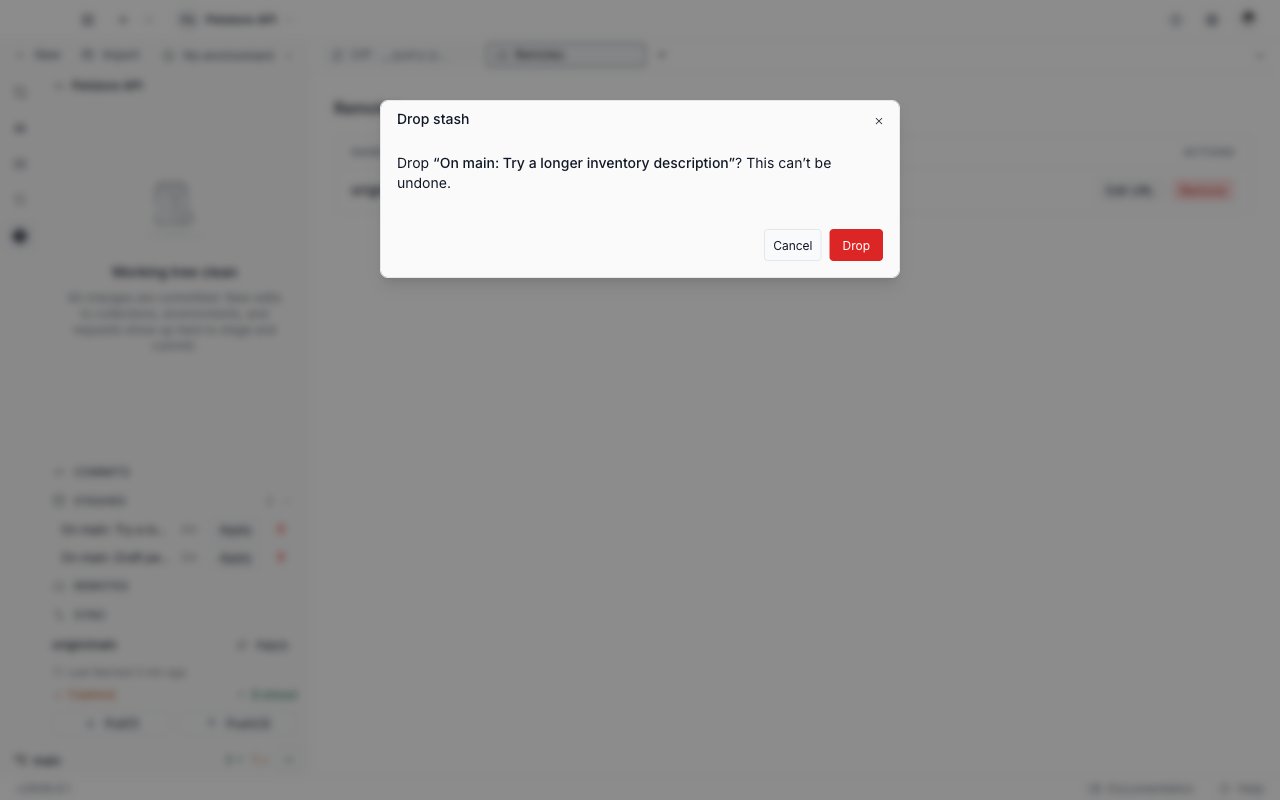
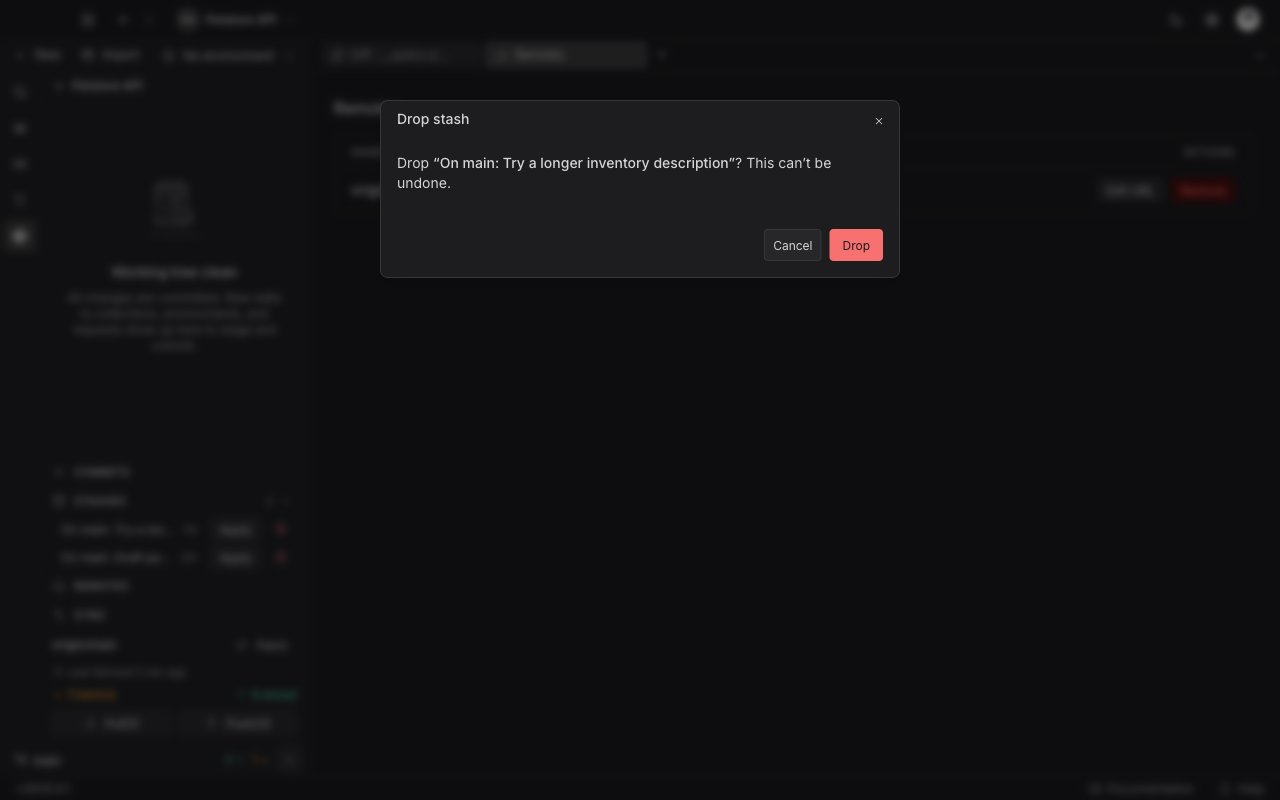
<message>? This can’t be undone.” Click Drop to delete it, or Cancel to keep it.When an apply hits conflicts
A stash you apply onto a branch that has moved on can collide with the files already in your working tree. Requestly raises no toast for this, and the Stashes section itself does not change. The conflicted file turns up in the ordinary Changes section of the panel instead, carrying a conflict badge beside itsU status letter. The row behaves like every other row there: the plus icon stages the file, the undo arrow discards it, and clicking the name opens its diff.
Git writes both versions into the file on disk, marked with its usual conflict markers, so settle the file yourself before you stage it.
1
Find the conflicted file
Look in Changes for the row carrying the conflict badge. Every other changed file sits alongside it as usual.
2
Settle the file
Edit the file so it holds the text you want to keep, and remove the conflict markers Git left in it.
3
Stage and commit
Stage the file with its plus icon, then write a commit from the panel as usual. See Stage and commit changes.
4
Drop the stash
The stash is still in the list, because applying never removes one. Drop it when you are done with it.
This is not the merge conflict surface. A stash that applies with conflicts leaves no merge in progress for Git to continue, so the panel stays on its normal change list.
Next steps
Stage and commit changes
Read the change list, stage or discard files, and write a commit.
Switch and create branches
Open the branch picker to switch, create, or delete a branch, and stash on the way.
Browse history and diffs
Read the commit graph, and open a read-only diff for a commit, a stash, or a changed file.
Resolve merge conflicts
Work through a merge that stopped on conflicting files, or abort it.