

Git requires the desktop app. Download Requestly.
Prerequisites
- A local project. The Git tab does not appear while a team project is active.
- The
gitcommand installed on your machine.
Initialize an existing local project
Use this path when the project already holds the collections you want to track.1
Open the Git tab
Open the local project, then click Git in the API Client sidebar.
2
Initialize the repository
The panel shows the No git repo empty state, described as “Version-control your collections, environments, and requests.” Click Initialize git.Requestly creates the repository in the project folder and names the first branch 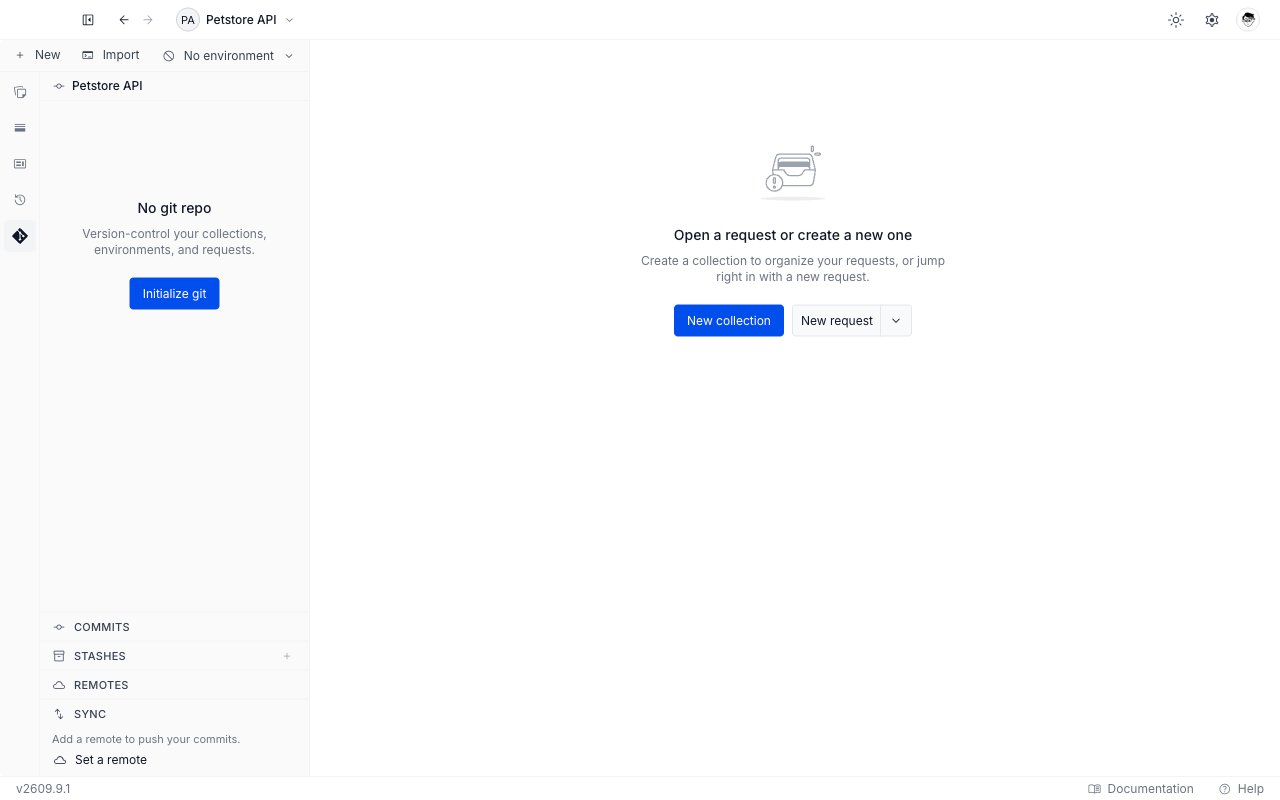
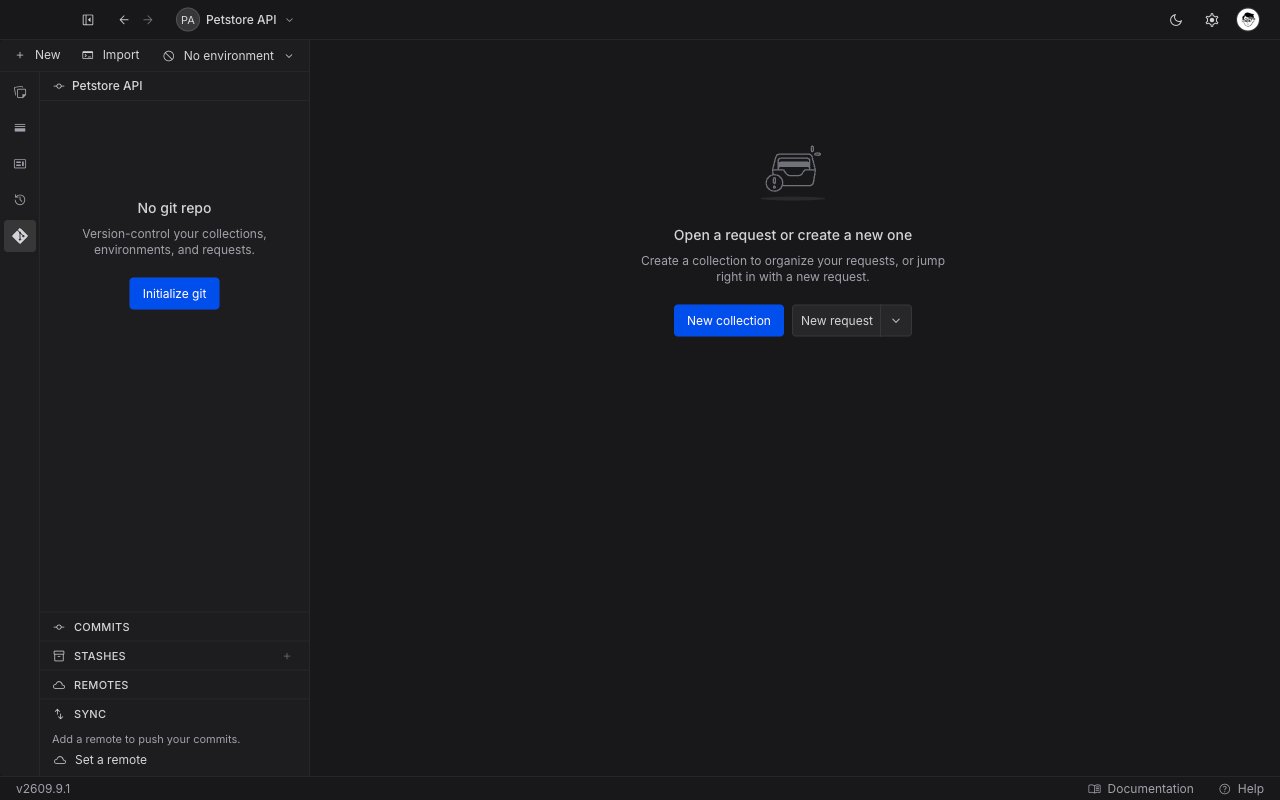
main.3
Make the first commit
The panel switches to the change list, with every project file waiting under Changes. Stage what you want to track and write a commit. See Stage and commit changes.
4
Add a remote
A new repository has no remote yet, so the Sync section reads “Add a remote to push your commits.” Click Set a remote to open the Remotes tab and add one.
Requestly leaves an existing Git identity alone, and fills a missing one from a connected GitHub account. With no GitHub account connected Requestly sets nothing, so Git falls back to whatever identity your machine already has; if your machine has none, set one with
git config --global user.name and git config --global user.email.Clone a repository
Use this path when the collections already live in a repository, for example one a teammate pushed.1
Open the project switcher
Click the project name at the top left of the app.
2
Start a new local project
In the Local projects section, click Add project. If you have no local projects yet, the section shows a Create a local project button instead. Either one opens the Add a local project dialog with three options.
3
Choose Clone from Git
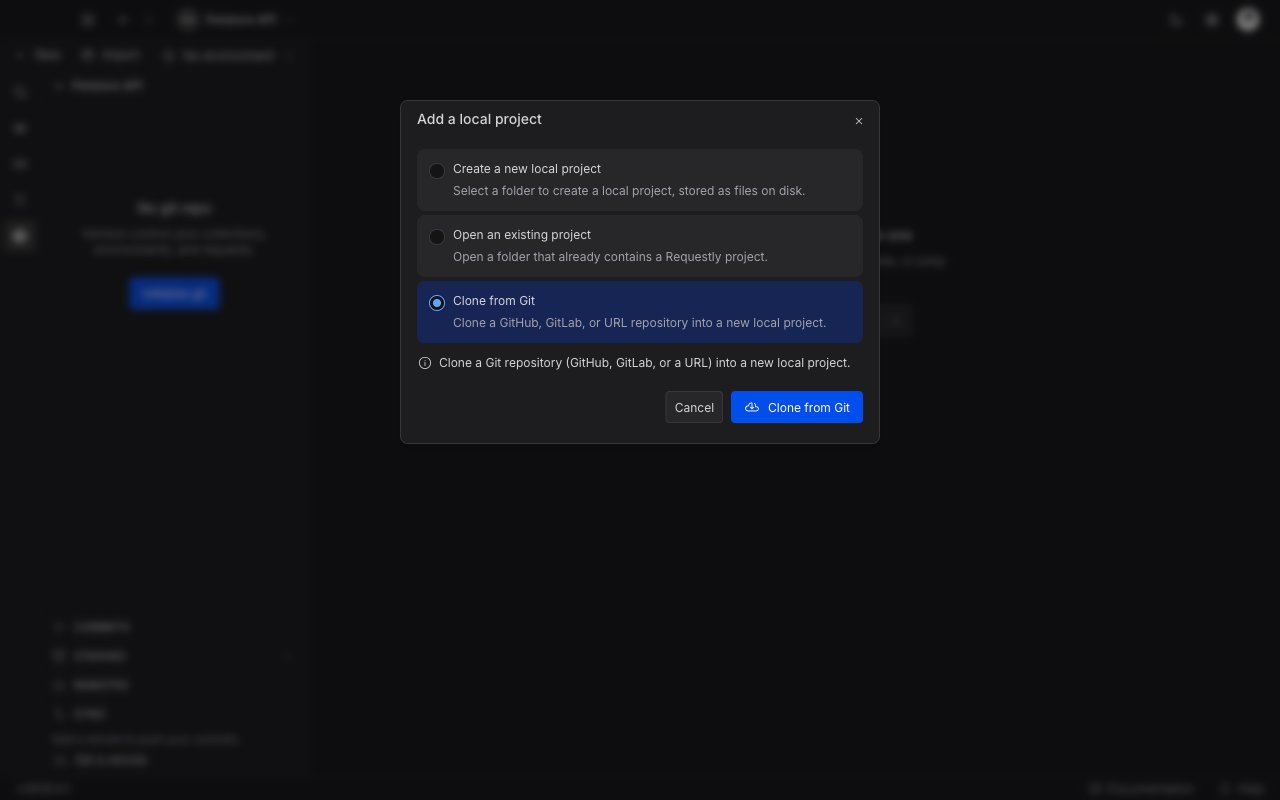
Select Clone from Git, described as “Clone a GitHub, GitLab, or URL repository into a new local project.” Then click the Clone from Git button.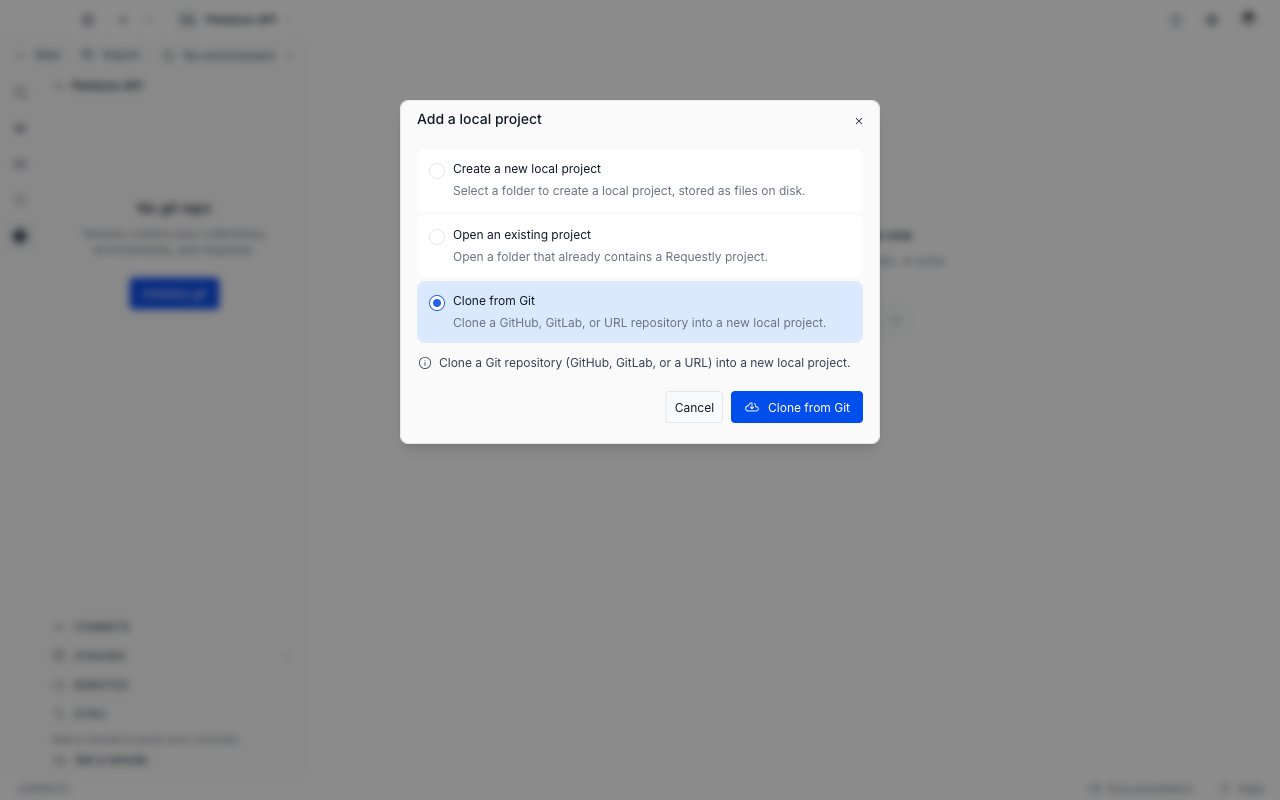
4
Enter the repository URL
On the Paste URL tab, pick HTTPS or SSH and paste the repository URL. The toggle is guidance only, and the field accepts either kind.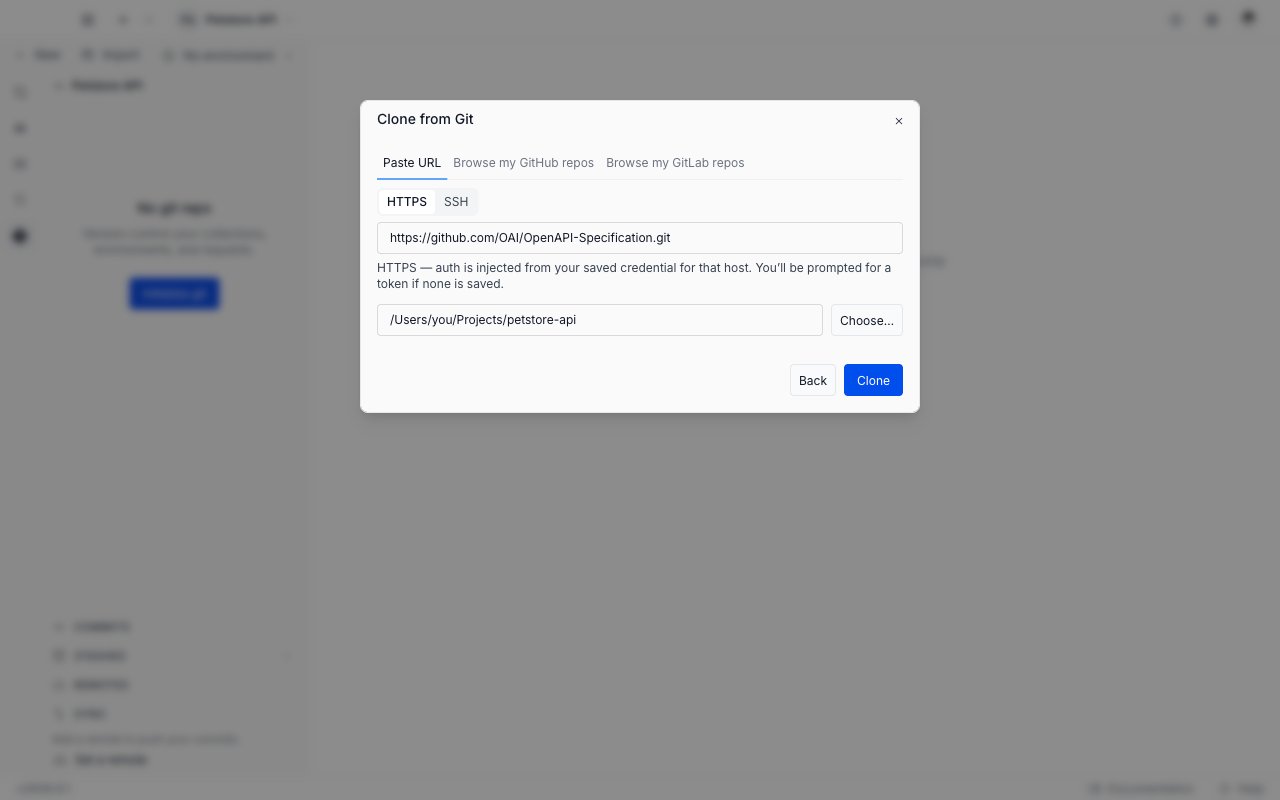
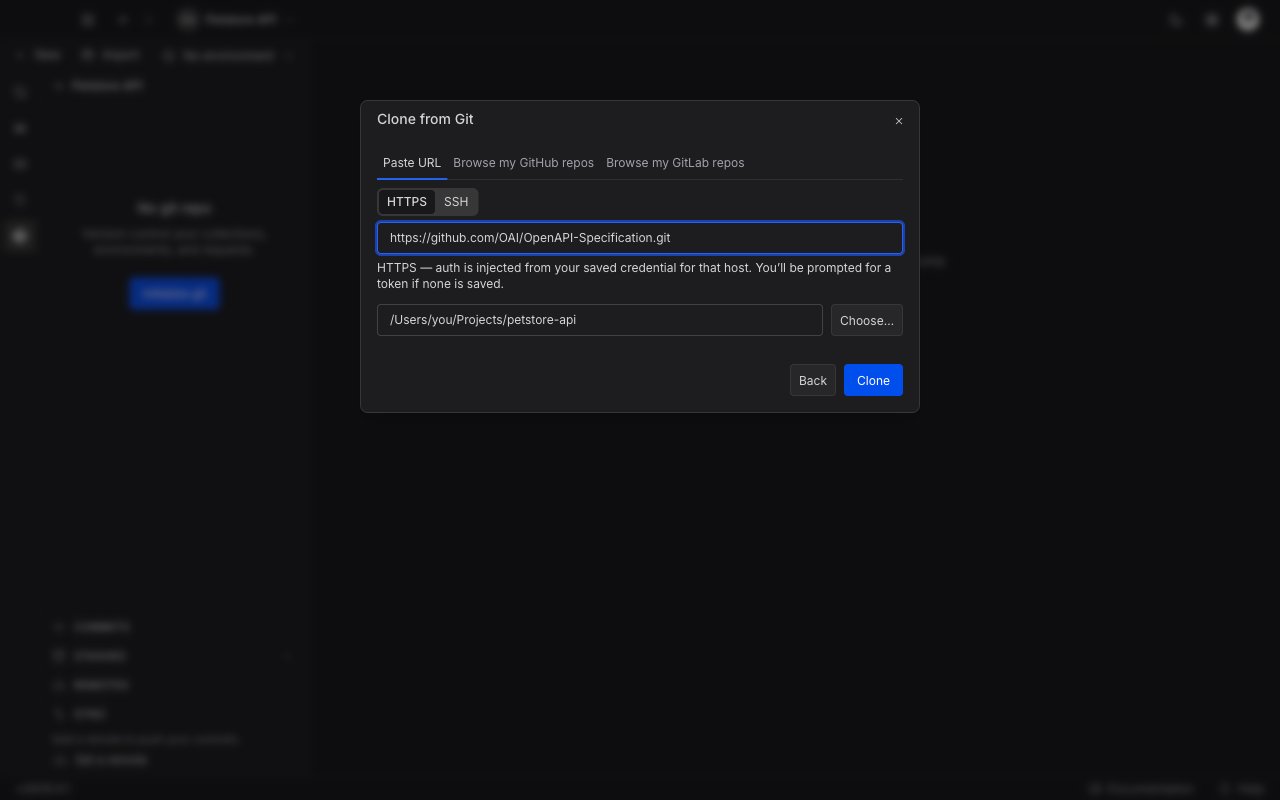
- HTTPS: Requestly injects the saved credential for that host. If none is saved, it asks you to connect the account.
- SSH: Git uses your own system SSH keys, so Requestly needs no credential.
5
Choose the destination folder
The second field is empty, with Destination folder as its placeholder text rather than a label above it. Click Choose… beside it and pick a folder in the system dialog. The placeholder gives way to the path you picked. Requestly never fills this in for you.
6
Clone
Click Clone. The dialog shows Cloning… while Git runs. Do not close the dialog during a clone.
What happens after a clone
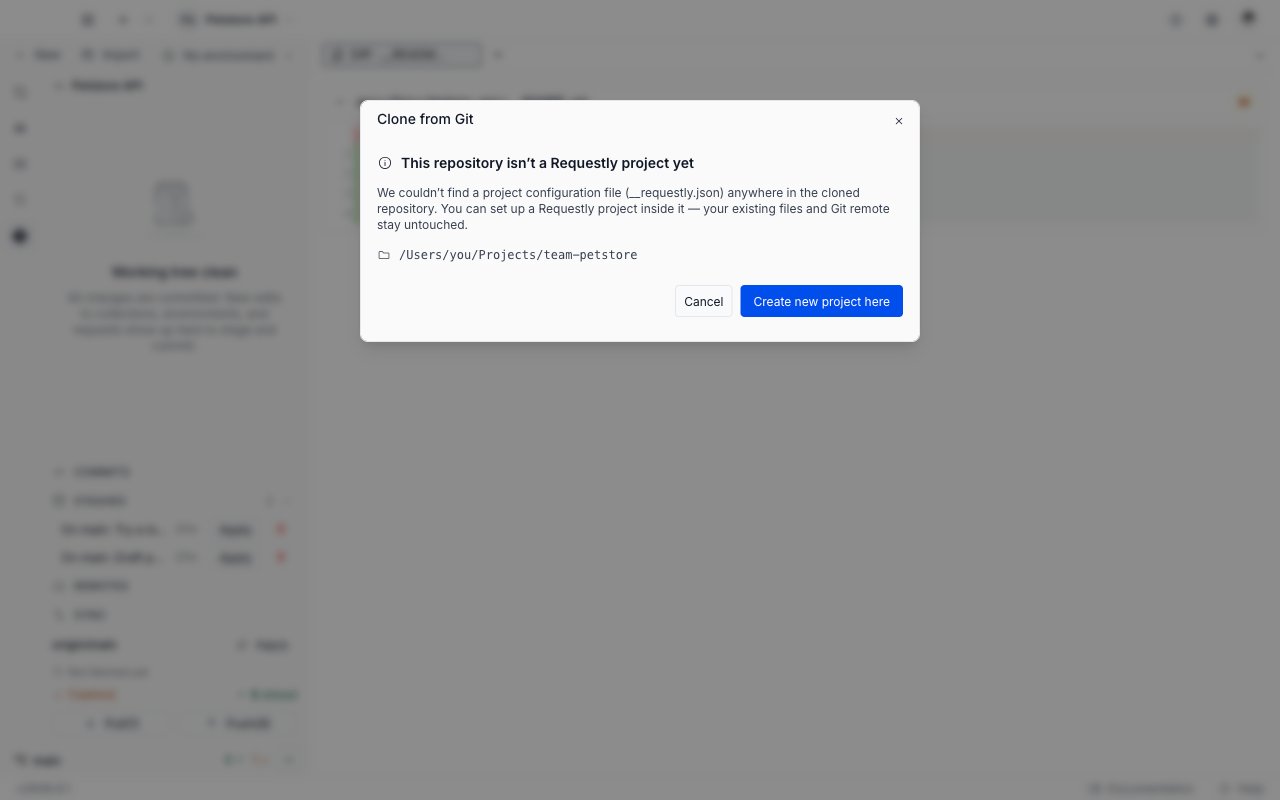
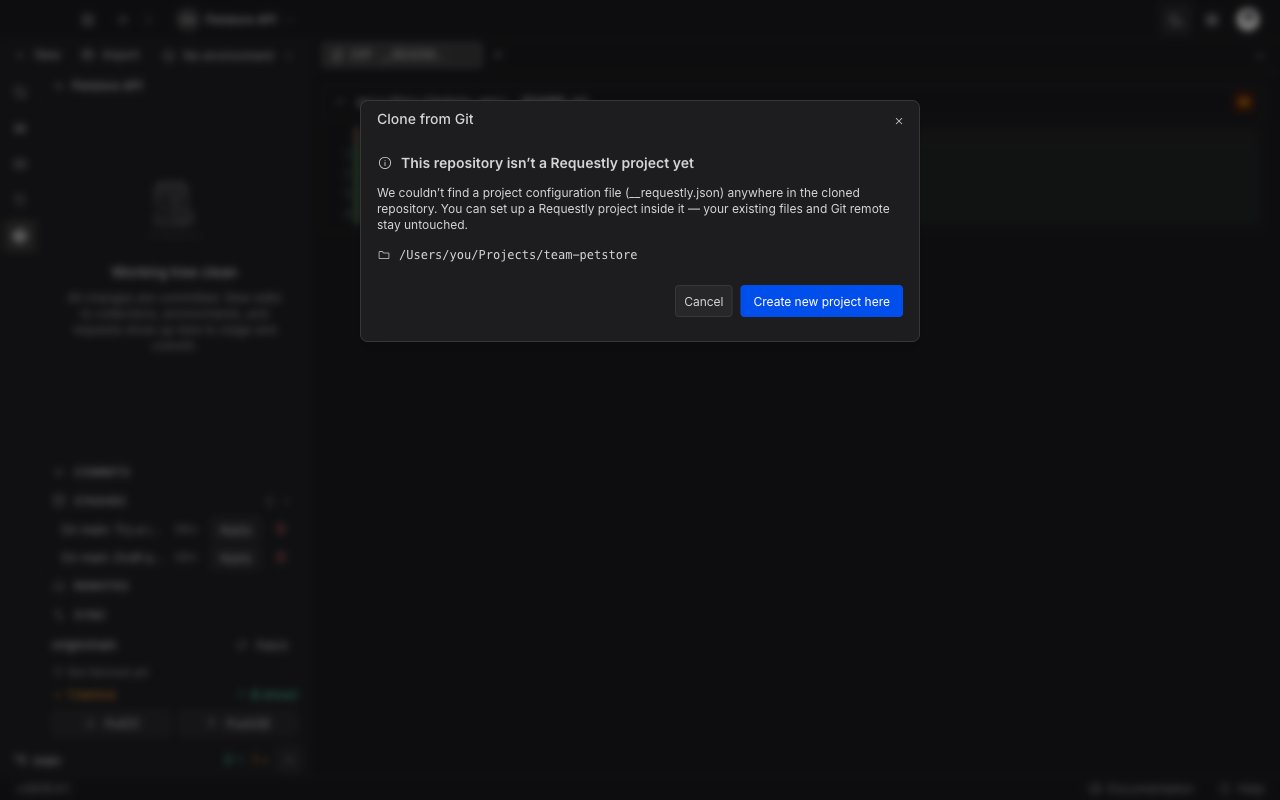
Requestly looks for a Requestly project inside the repository it just cloned.
In the last case the dialog keeps its Clone from Git title and swaps its body for a panel headed “This repository isn’t a Requestly project yet”. Click Create new project here and name the project. Requestly scaffolds it inside the cloned folder, and Git stays bound to the repository you cloned, so the remote, push, and pull keep working. Click Cancel to leave the files on disk and register nothing.
Next steps
Stage and commit changes
Read the change list, stage or discard files, and write a commit.
Push and pull
Fetch from the remote, read the ahead and behind counts, and sync your work.